Chromebook tablets: Get the best out of the Chrome OS tablet mode
Get the best tablet features on your Chromebook
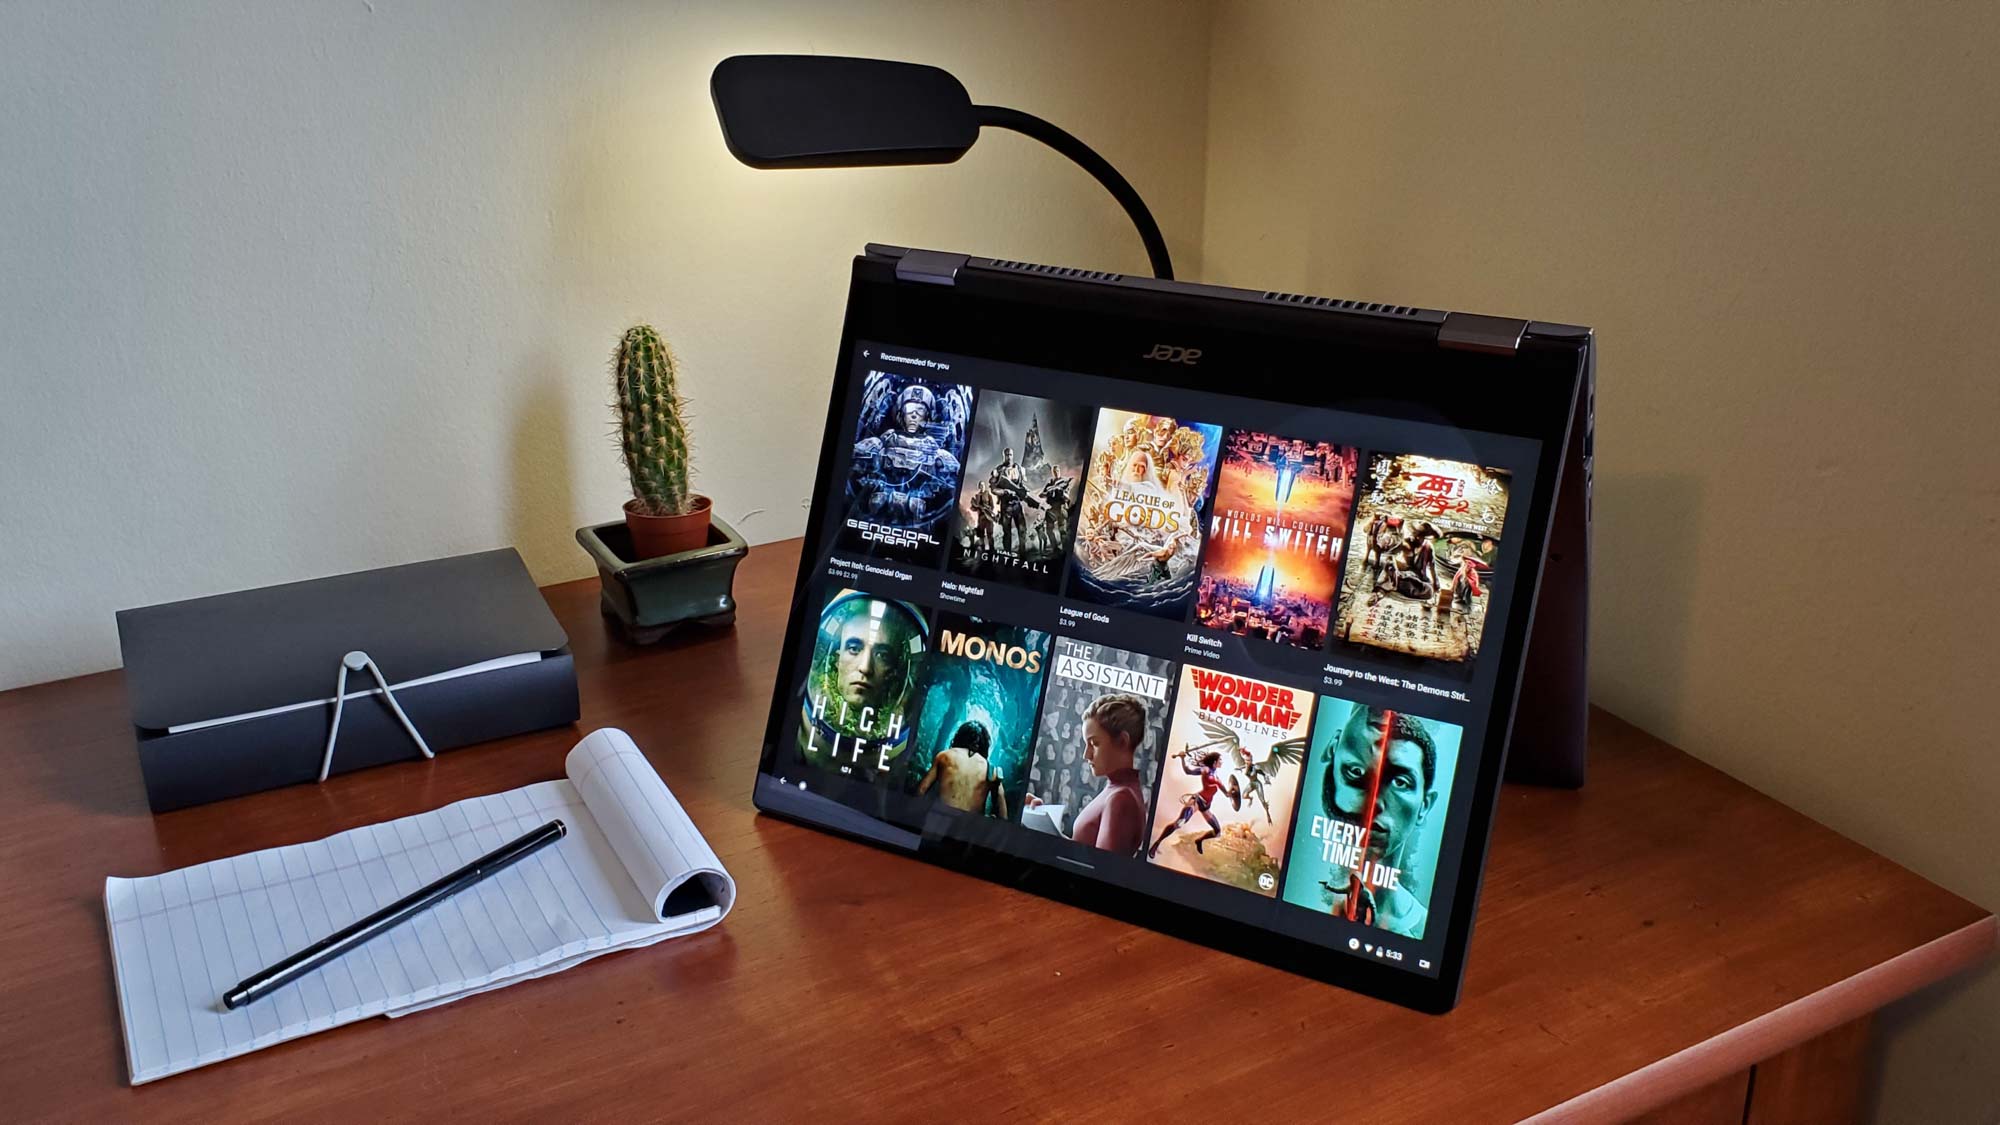
Chromebooks are no longer just dirt-cheap laptops used solely to browse the web and do rudimentary schoolwork. In addition to running Android apps, many Chromebooks now come equipped with a touchscreen and a versatile form factor that lets you turn them into tablets.
But Chrome OS’s tablet mode is still relatively new and not as mature as its peers', like those on iPadOS or Windows 10. However, it’s quickly catching up and Google has already rolled out a series of updates that let you get more out of Chrome OS on a touchscreen. Here’s how to have a better tablet experience on your Chromebook.
Switch to a floating keyboard
Typing on a touchscreen can be a cumbersome process. It’s even more awkward when the virtual keyboard ends up taking up half the screen.
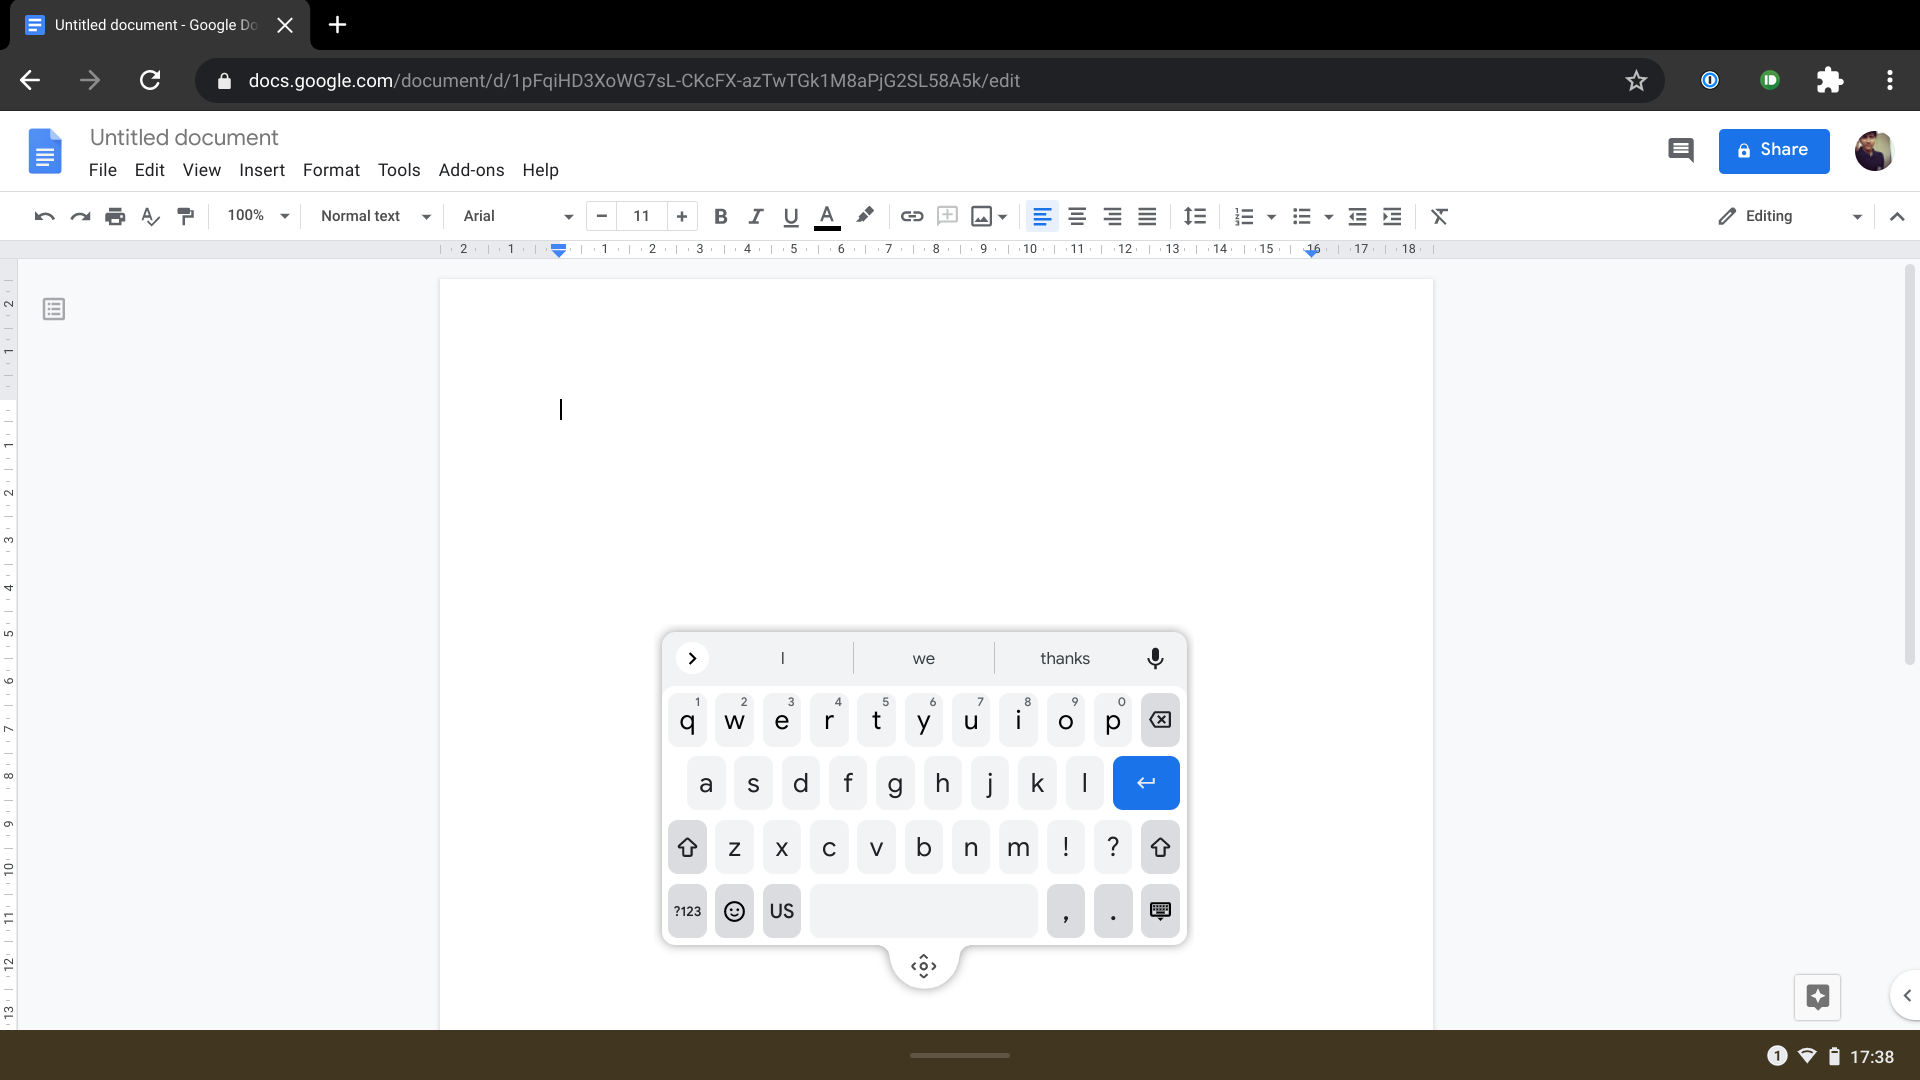
On Chrome OS, you can fix this by switching to a floating keyboard. This minimizes the wide keyboard that, by default, stretches across the bottom half of your screen into a floating movable window.
The mini, floating keyboard allows you to type on a touchscreen more conveniently, especially with one hand. You can place it in a corner so that your fingers easily reach all the keys.
To enable this feature, bring up the keyboard on your Chromebook in tablet mode then tap the little square button in the middle of the top row. Your keyboard will undock from the bottom and shrink into a much smaller window. You can also hold and drag its edges to resize. To restore the keyboard to its original size, touch the square icon again.
Get familiar with the multitasking gestures
Chrome OS’s multitasking abilities are available in tablet mode as well, which means you can easily multitask between windows or put apps side-by-side — all with just your fingers. But first, you have to get the hang of your Chromebook’s touch gestures.
Sign up to receive The Snapshot, a free special dispatch from Laptop Mag, in your inbox.
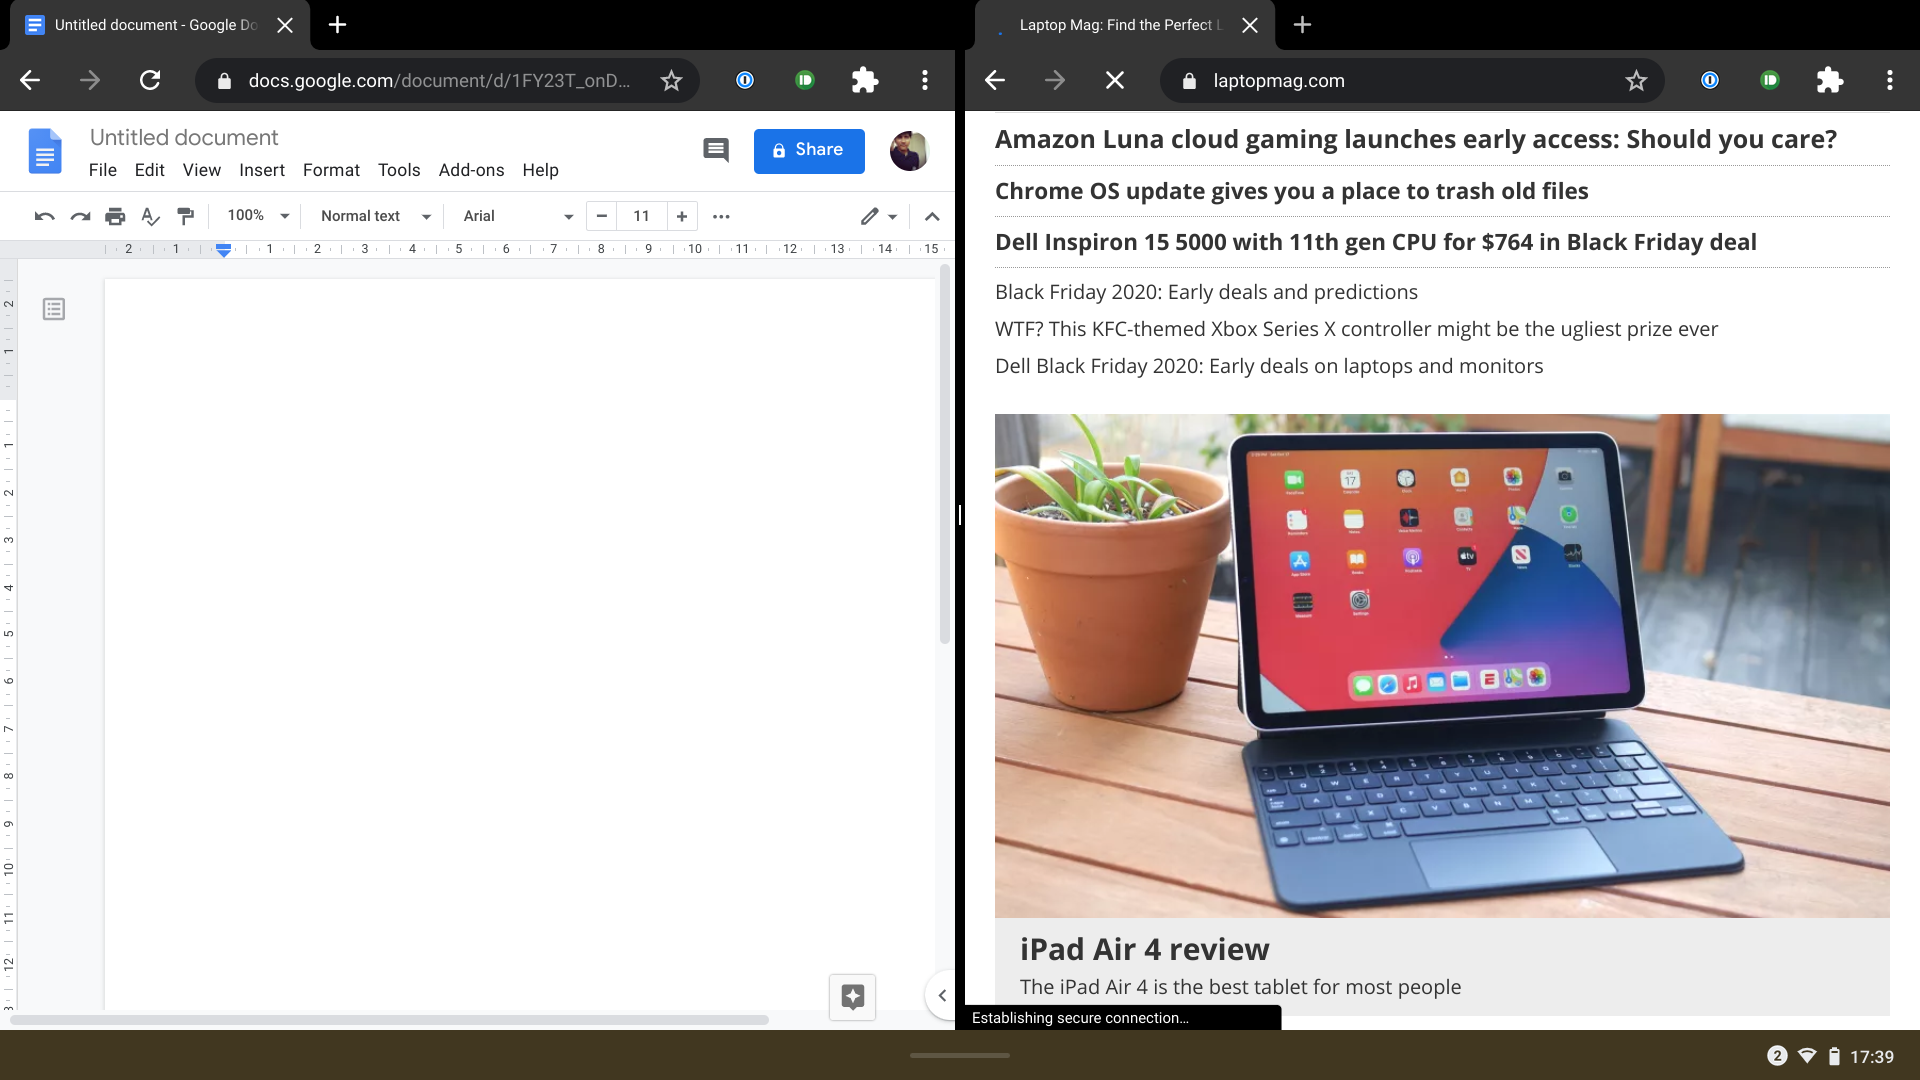
To view all your open apps, swipe up from the bottom and hold until you enter the overview layout. If you’d like to operate on two windows simultaneously, navigate to the overview page. Hold down and move one of the apps and drop it on the left or right edge. In case you’re already inside an app and want to activate the split-screen mode, swipe down from the top and drag the window toward either of the two sides.
Once it has taken up half of your screen, touch the other app and it will automatically expand to fill the remaining space. You can adjust the size of each split-screen app by dragging the thin black stripe in the center.
Lastly, you can pull up your pinned dock of apps by performing a short swipe-up gesture from the bottom. A longer bottom swipe will take you to the app drawer.
Summon the Google Assistant to execute quick actions hands-free
Navigating on a full-fledged desktop operating system like Chrome OS with your hands can be tiring. Luckily, the Google Assistant can help.
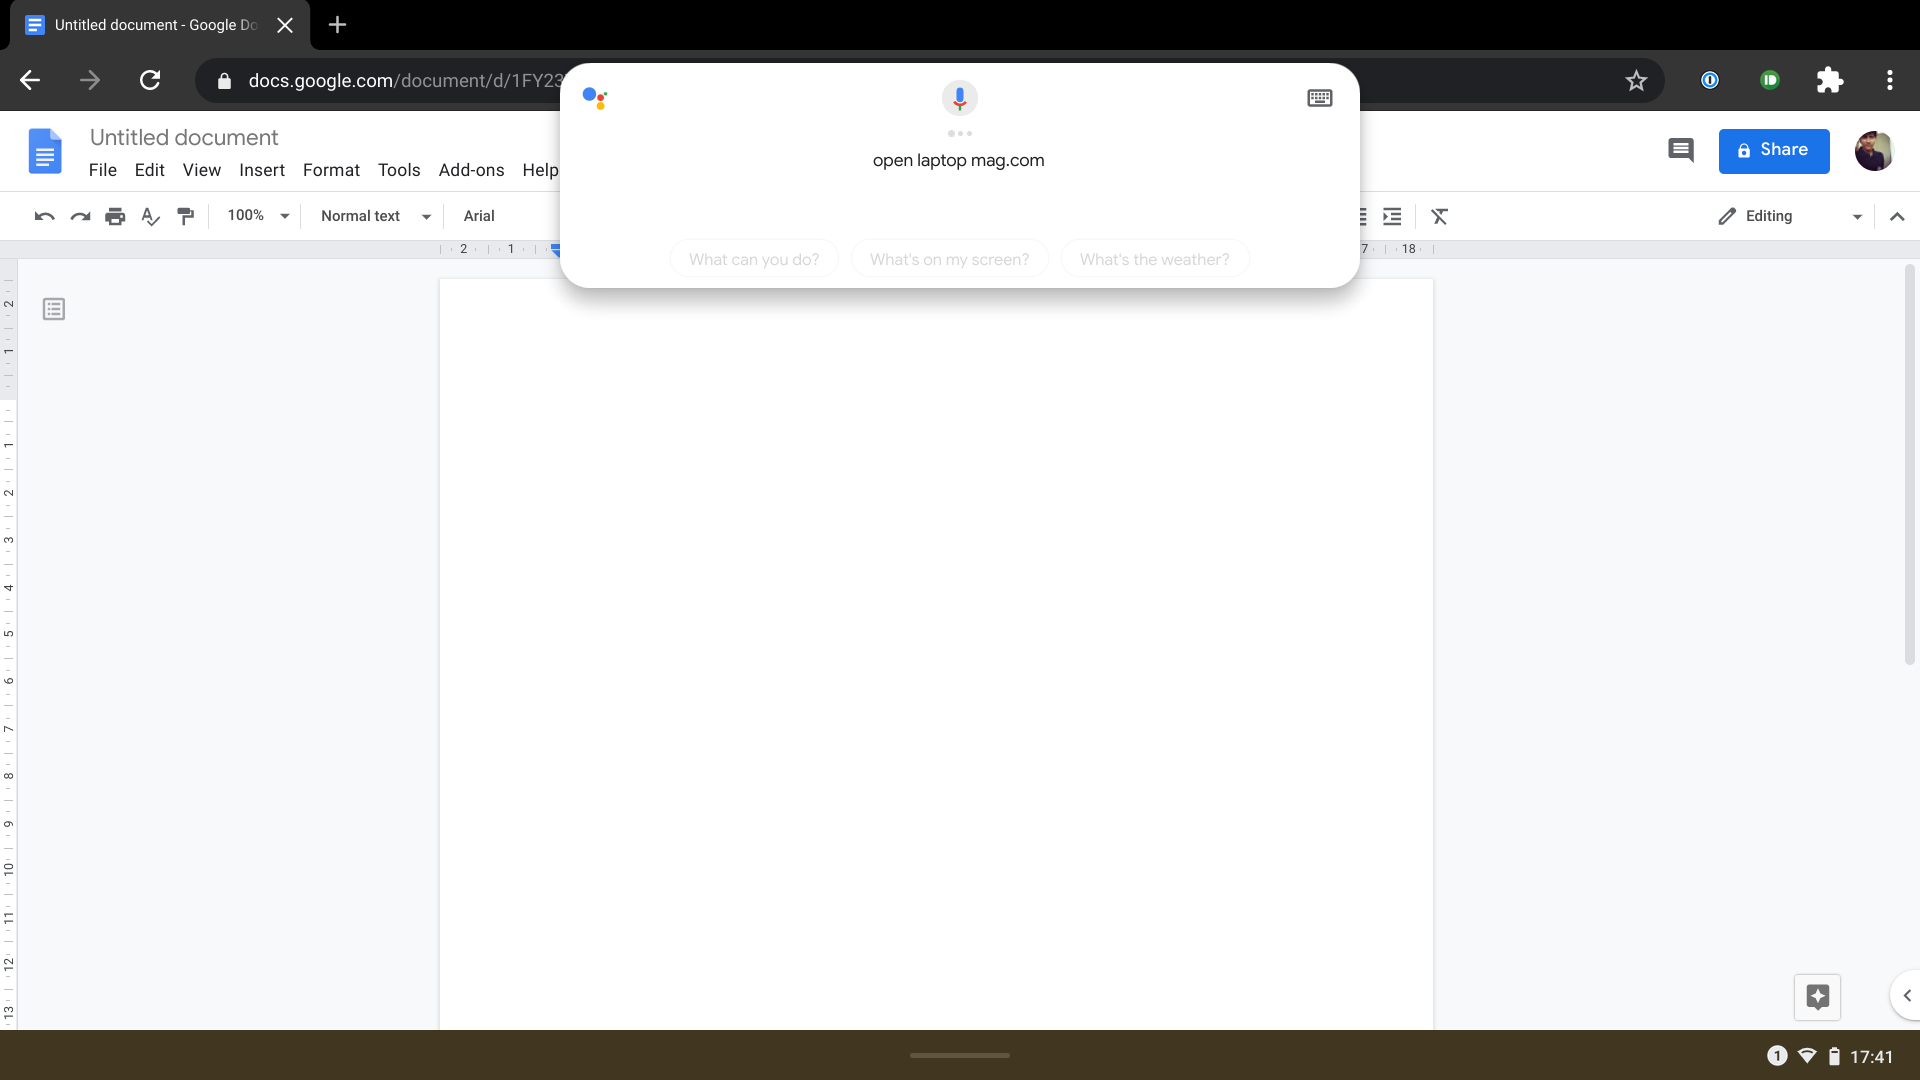
By plugging Google Assistant into your Chromebook workflow, you can skip several steps and save time for actions like launching an app or creating a new document on Google Docs.
On your Chromebook, you also have the option to summon the Google Assistant with your voice. So, instead of, say, constantly going to the app drawer to open new apps, you can simply ask the Google Assistant to do it for you. And the Google Assistant can scan what’s on your Chromebook’s screen and pull up any relevant information.
To turn on Google Assistant on Chrome OS, go to Settings > Search and Assistant > Google Assistant. Enable “Ok, Google” for hands-free commands.
Go back to the previous web page with a swipe
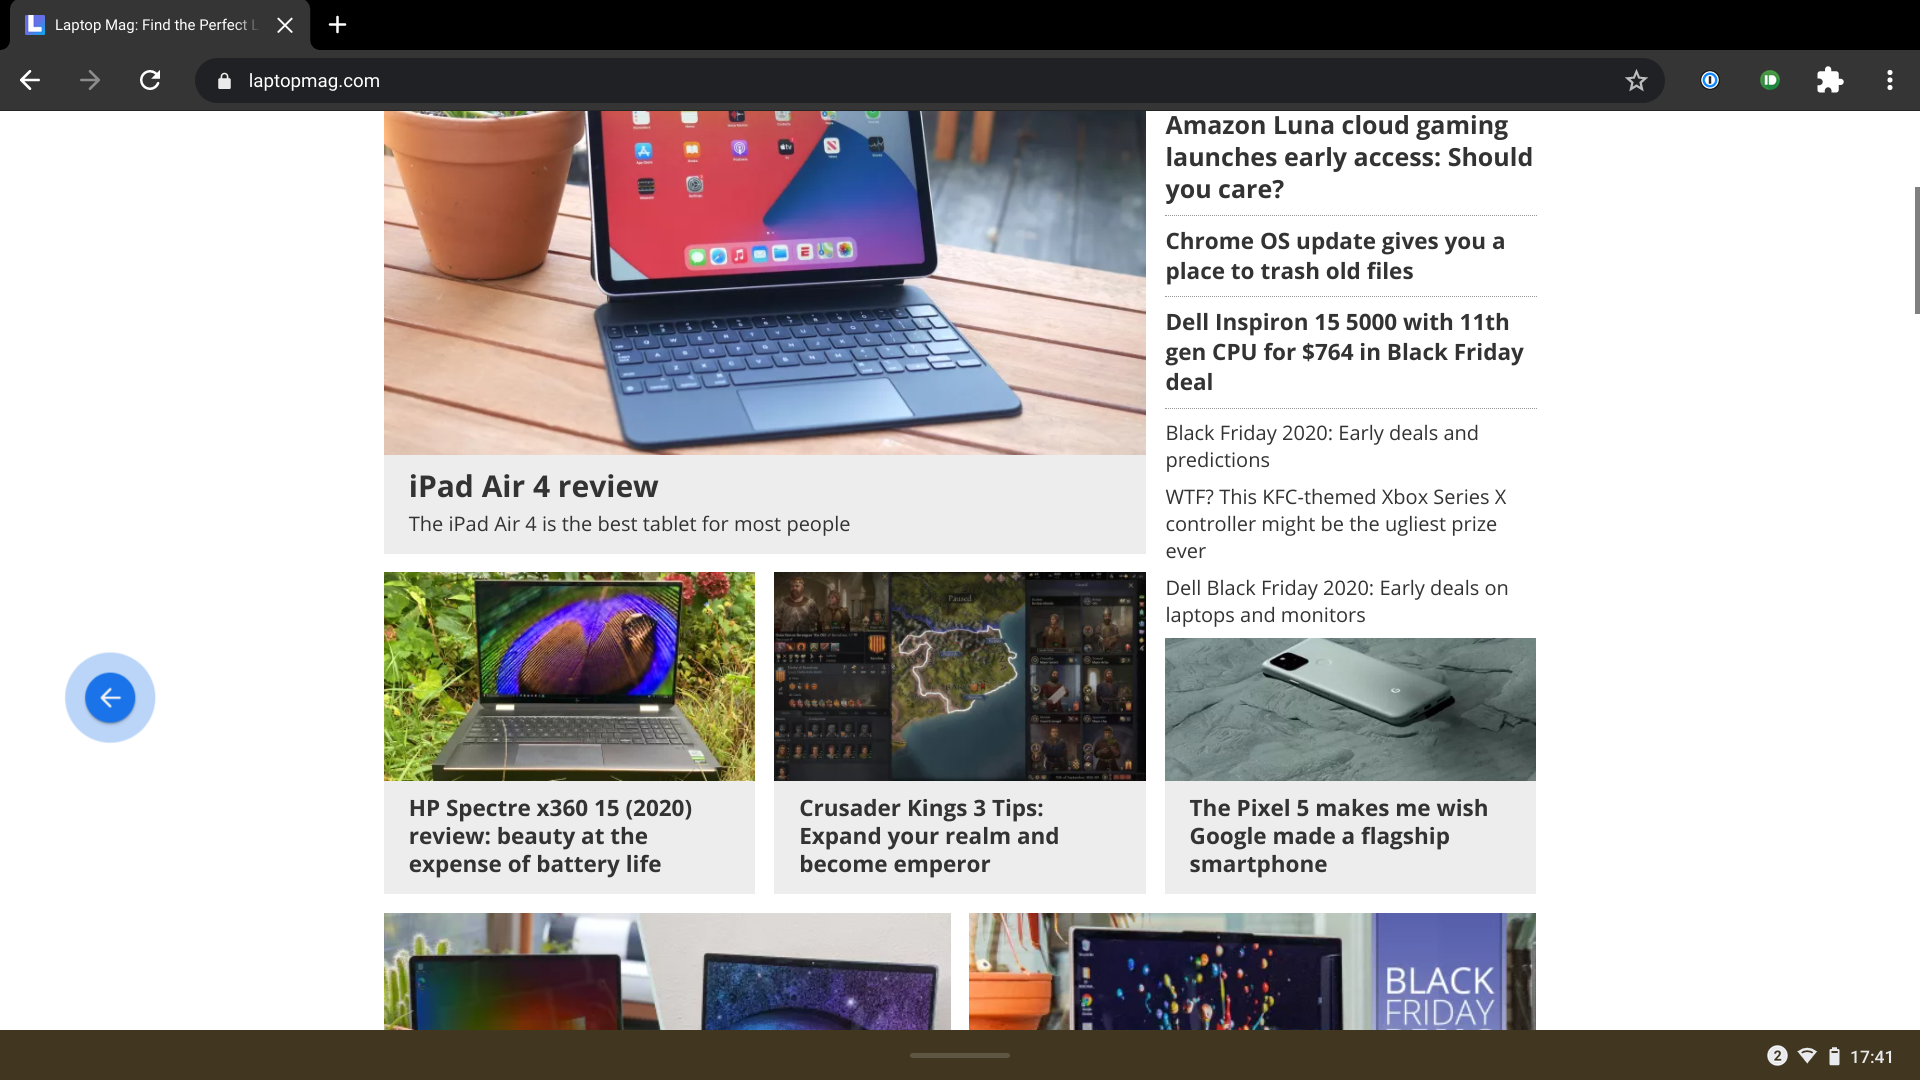
You don’t have to reach for the back button on Google Chrome every time you want to go to the previous webpage.
In Chrome OS’s tablet mode, just swipe inwards from the leftmost edge of your screen. This gesture works the opposite way as well. You can go forward in your browsing history with a left-swipe gesture from the right.
Hide the shelf to free up more screen space
When you have your Chromebook in the tablet position, Chrome OS separates your pinned apps into a more touch-friendly dock and the shelf only shows the connectivity status and time. While the dock is set to hide automatically by default, the shelf is always visible, consuming precious screen real estate.
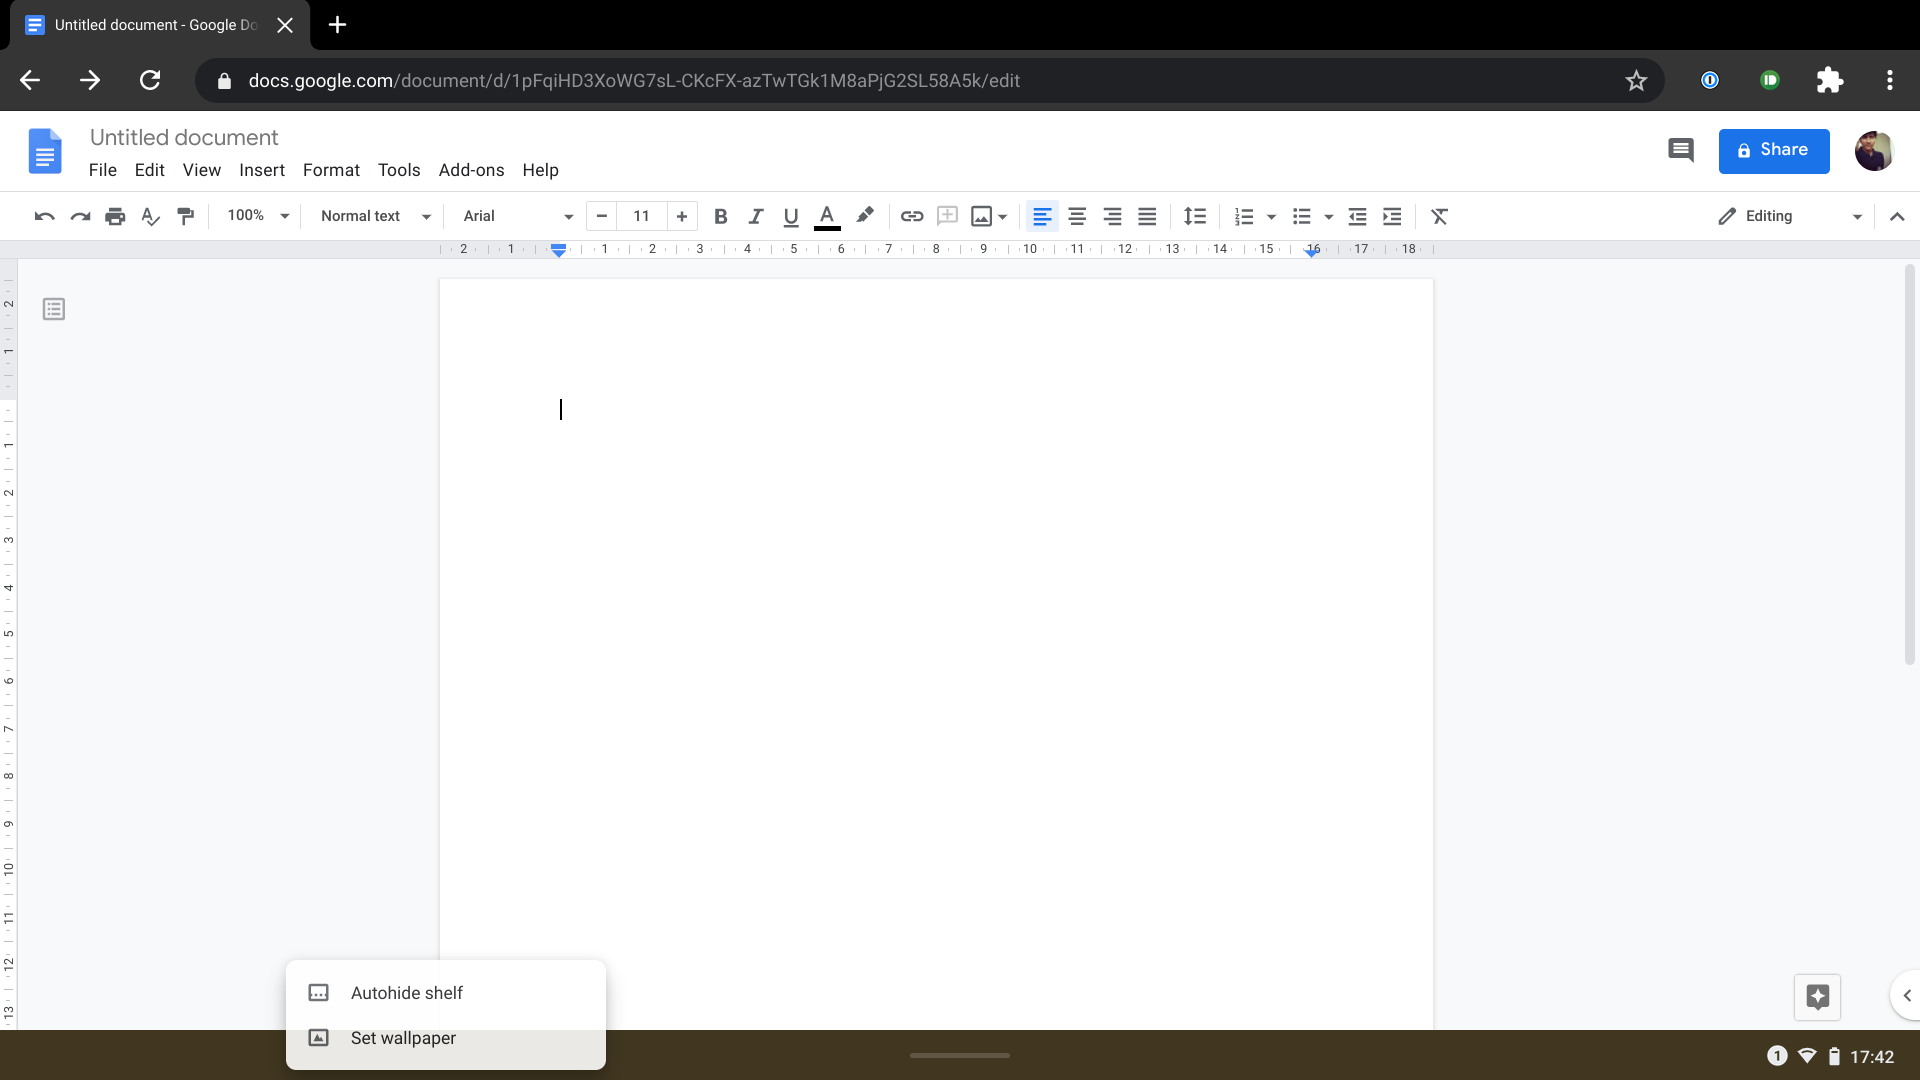
Fortunately, Chrome OS enables you to hide the shelf as well. You can do it by long-pressing and selecting the “Autohide shelf” option. When you need to access your shelf to check the time or Wi-Fi connection, it’s just a swipe-up gesture away.
Stick to Android apps that are optimized for Chrome OS
Even though the Android Play Store has been available on Chrome OS for a while, not every app is Chromebook compatible. When you use an app that’s not updated for Chrome OS in tablet mode, it can abruptly crash or become unresponsive and won’t function as intended on a large screen.
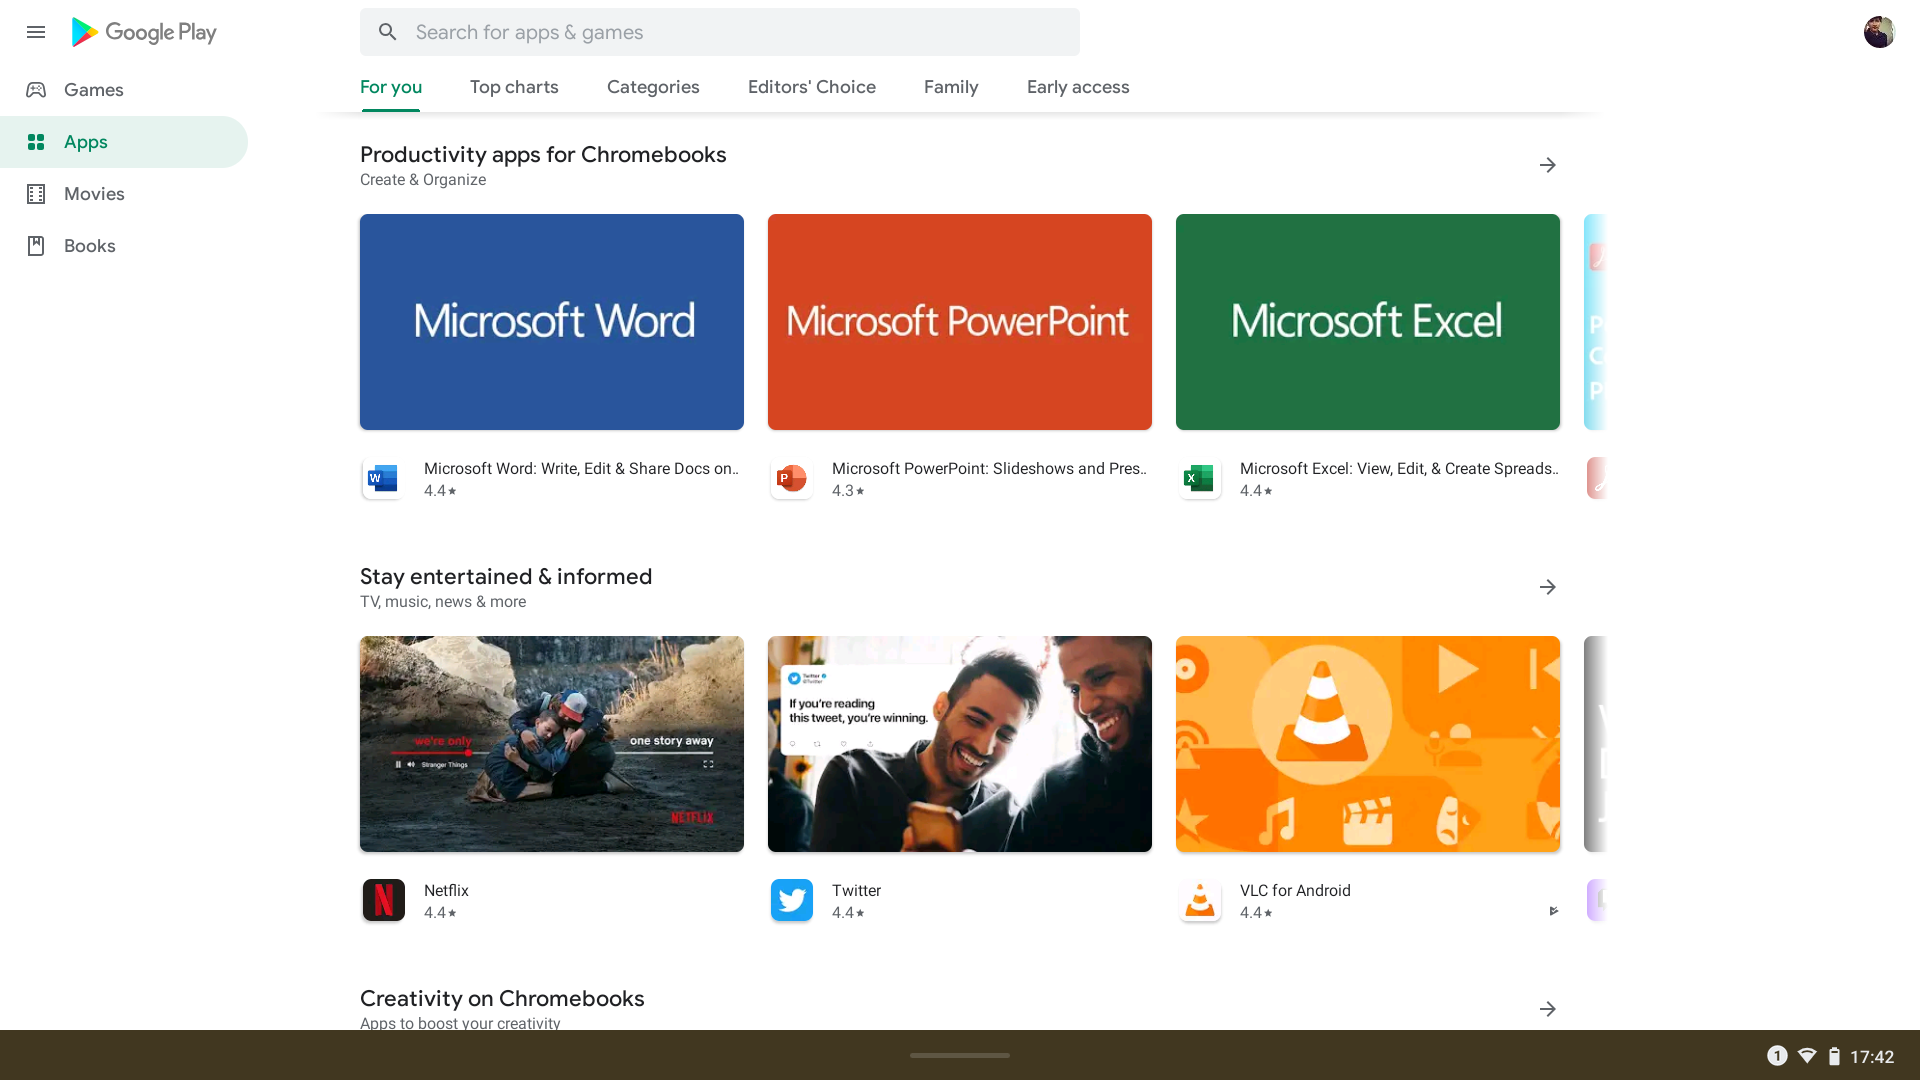
Therefore, it’s best to stick to the Android apps that are engineered for Chrome OS. You won’t have to look far to find these apps either. On the Play Store’s home page, Google reserves the first few sections to highlight Chromebook-optimized apps. So when you launch the Play Store, you will find lists like “Productivity apps for Chromebooks” and “Creativity on Chromebooks” right at the top.
Input text with your handwriting
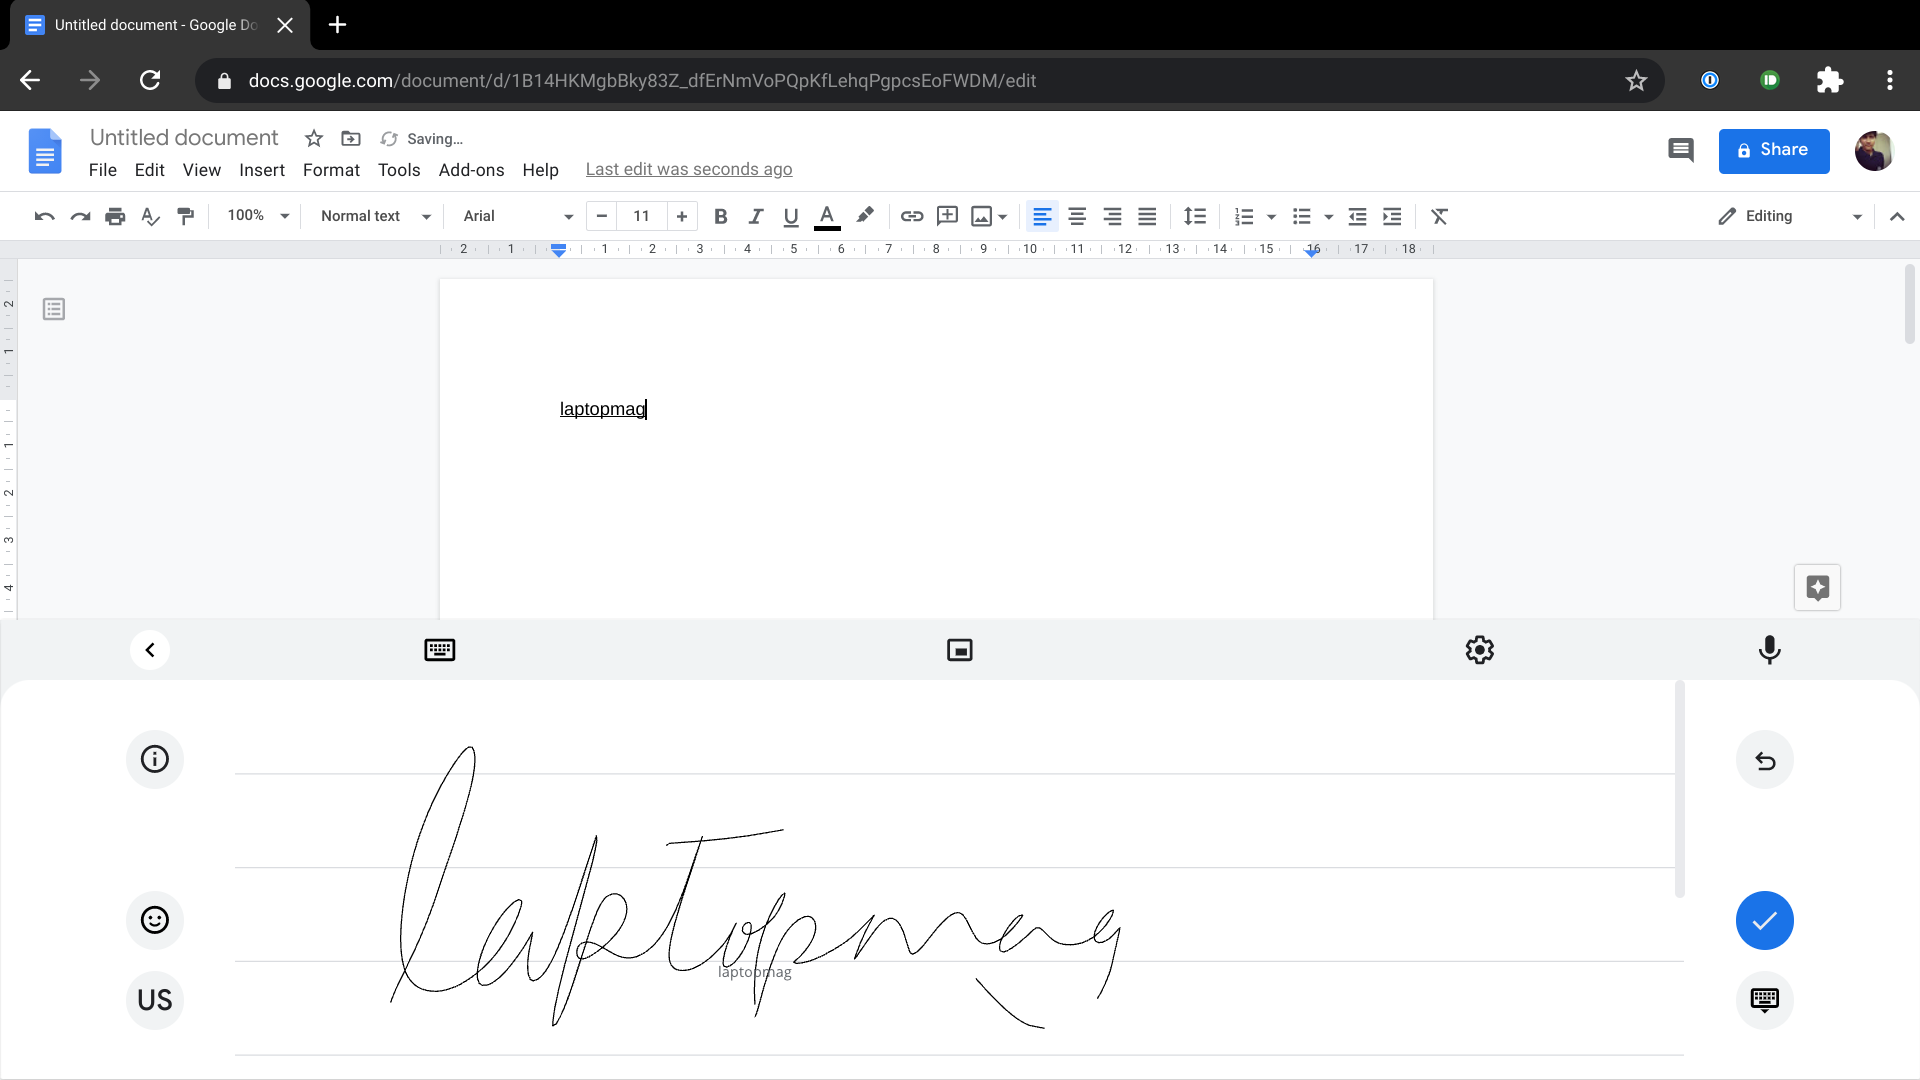
If you have a stylus or you are just fed up with typing using a traditional keyboard layout on a touchscreen, Chrome OS allows you to input text with your handwriting. Instead of punching in one key at a time, you can scribble as you would normally and Chrome OS will detect the characters and translate it into text -- even if it’s in cursive.
You can fire up the on-screen keyboard and touch the button that looks like a squiggly line in the top left corner to activate the handwriting mode. On the black canvas, you can write in your handwriting and the list of buttons on either side offers quick access to characters like the backspace, carriage return, emojis, and more. You can also cross a word you’ve written to instantly delete it.
Shubham Agarwal is a freelance technology journalist from Ahmedabad, India. His work has previously appeared in Business Insider, Fast Company, HuffPost, and more. You can reach out to him on Twitter.
