Black and white photography is a great way to capture textures. It is also a wonderful draw focus to your subject without the colors distracting the viewer. The light and shadows are the only defining aspects, making a black-and-white image look more dramatic.
Unfortunately, sometimes the realization that a shot would have been better in black and white comes when you are reviewing your photos later. The good news is you don't need expensive software like Photoshop to make that change, you can digitally alter it in Microsoft Photos in just a few seconds.
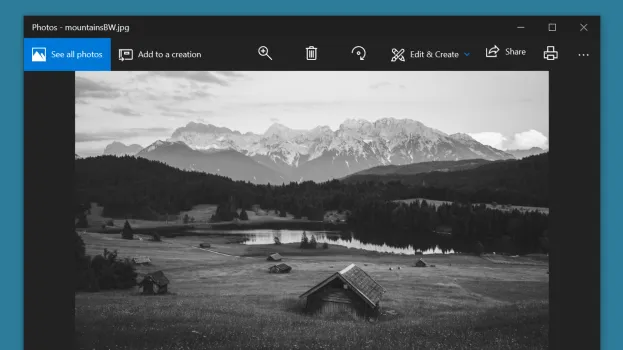
Microsoft Photos is a built-in app available in all editions of Windows 10 and 11, so there is no need to install it. The process to edit the photo is also quite simple. Just remember to save a copy instead of overwriting the color photo in case the dramatic effect you were imagining doesn’t turn out as you had hoped.
Article continues below
1) Right-click the image to open the context menu.

2) In the menu, select Edit with Photos.

3) In the Photos app in the Edit mode, go to the Adjust tab.

4) Drag the Color slider to the left till the image becomes black and white.

5) At the bottom left, click Save a copy.

6) In the Save as dialogue box, assign a new file name.

7) Click Save to save the copy.
