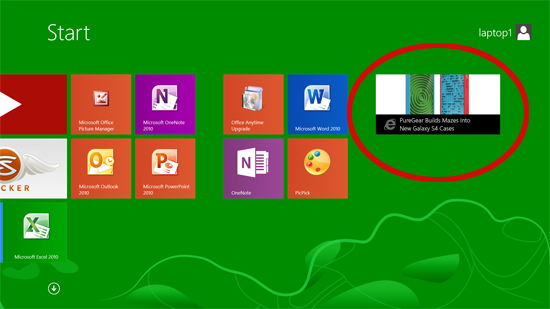
How To Create a Windows 8.1 Live Tile For Your Website
With Internet Explorer 11 on Windows 8.1, users are able to pin websites to their Start Screens as live tiles, which show updates and notifications from their favorite websites. If you are a developer who wants to optimize your site for your Windows 8.1 audience, it is essential that you add this powerful but simple feature to your site.
Fortunately, making your website live tile-ready doesn't take a lot of time or programming expertise. All you'll need are a working RSS feed of your content, a graphic file of your logo and the ability to add a few lines of code to the header of your pages. Here's how you can add live tile support to your website.
MORE: How to Download and Install Windows 8.1 Preview
The Basics
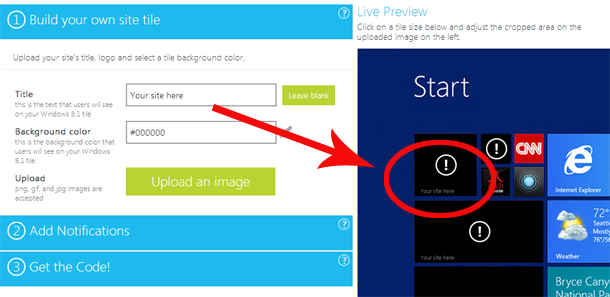
1. Navigate to BuildMyPinnedSite.com
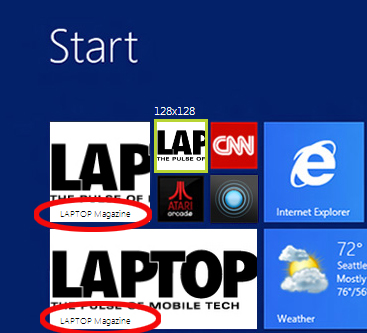
2. Enter your site's name. Notice that it appears at the bottom of four different tiles on the live preview panel to the right.
3. Upload an image to be used as your live tile's thumbnail. Supported formats are .png, .gif and .jpg. BuildMyPinnedSite's crop feature is extremely limited, so we recommend that you create about 250 pixels of padding around all sides of your image and upload the padded image.
Sign up to receive The Snapshot, a free special dispatch from Laptop Mag, in your inbox.
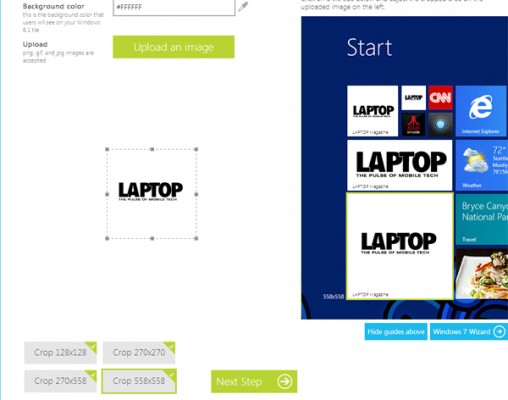
4. Crop your image for each thumbnail size.
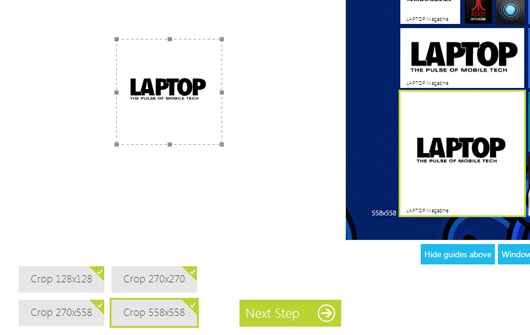
Four different thumbnail sizes are available for Windows 8.1 - 128X128, 270X270, 270X558 and 558X558 (all in px). Click the button that says Crop for each size, then move your cursor over to your uploaded image. Your cursor should turn into a crosshair.
Just as you would crop a Facebook profile picture, click and drag your cursor on the uploaded image to select the portion of your image you would like to use as a thumbnail. Look at the live preview panel to see if the thumbnail is to your satisfaction.
If you want more control over this, create your own thumbnail images in these dimensions and continue with the next step.
5. Adjust the background color in the second field so that your title is visible on your tile in the live preview panel. If you're using your own images and can't see them in the live preview, use this tip: for light-colored, background images, use white (or #FFFFFF) as your background color. For dark ones, use black (#000000). This changes the color of the font.
When you are done, click Next.
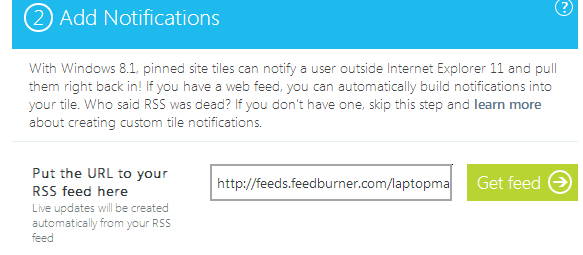
6. Enter the URL of your RSS feed to enable live updates to your tile. Click Get Feed, then click Next.
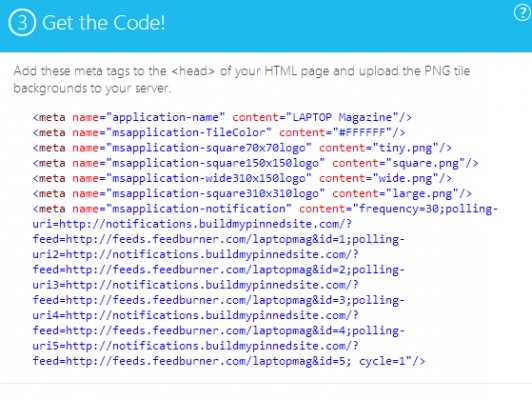
7. Copy the lines of code generated by the wizard. Paste it within the <head> section of your HTML documents, save and upload.
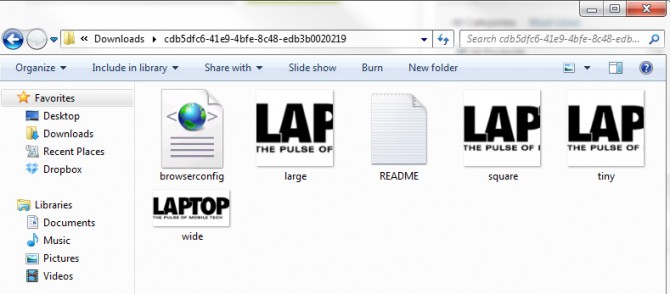
8. Click the green Download Package button to get a zipped file of your thumbnail images, an xml package of the code and a Readme text document.
9. Unzip file and rename.
By default, the zipped file is assigned an unintelligible name, so rename it for your own sanity. If you chose to create your own thumbnail images in step 4, replace the images in the package with yours. You will need to name them according to their sizes like below:
- 128X128 should be named tiny.png
- 270X270 should be named square.png
- 558X270 should be named wide.png
- 558X558 should be named large.png
Of course, you can name the files whatever you want, but this makes for better compatibility across all of Windows' platforms and future updates.
10. Upload files to your domain. Make sure you put them in the root directory for your site.
11. Test your tile. Pin your site to a Windows 8.1 machine to see what it looks like.
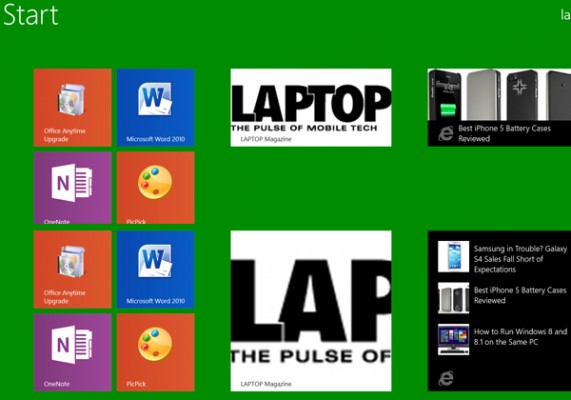
You now have a basic, functioning live tile for your website that will feature beautiful live updates from your RSS feed. As long as your RSS feed has images in it, the tile will rotate through your most recent five articles with images.
More Customization Options
If the basics aren't enough for you, and you'd like a lot more control over the way your site's live tile behaves, here's how to make changes to the code for more control over your tile.
Frequency Of Updates
By default, the RSS feed of your website will be pinged once a day to check for updates. If that isn't frequent enough for your site, you may set it to update every 30 minutes, 60 minutes, six hours or 12 hours. Microsoft only allows updates up to every 30 minutes for now and not more frequently.
If you copied the code directly from BuildMyPinnedSite, the frequency will have been set at 30-minute intervals. But if that's not right for you either, go into your code and look for the line below:
<meta name="msapplication-notification" content="frequency=30;polling-uri=...>
Change the number after "frequency=" to reflect the number of minutes you would like to use as an interval. You may choose between 30, 60, 360 (6 hours), 720 (12 hours), and 1440 minutes.
So if you changed your code to update every hour, here's what your code should look like:
<meta name="msapplication-notification" content="frequency=60;polling-uri=...>
Starting URL
Sometimes a user may pin your site to their Start screens from a secondary page, but you might like to direct them to your home page every time they open your pinned site. Use an additional meta tag to control what page your site will start on. Insert the line of code below in the <head> section of your code.
<meta name="msapplciation-starturl" content="YOUR HOME PAGE URL HERE">
Limitations
There are many more customizations available on Microsoft's documentation for Pinned Sites, but many of them are only supported in the desktop version of IE. It might be worth watching to see what updates Microsoft rolls out for pinned sites on the Start screen.
We would especially like to have some control over a lower banner overlay on the tile to make sure the site's name is always displayed, or to cycle a custom frame as part of the polling cycle so that users know what site those updates are from. Right now a brute workaround would be to emblazon your logo over all the images on your RSS feed so that they show up on the tile.
Another gripe we have is that, as with all live tiles for sites and apps, clicking on the tile takes you to the website home page, not to the article whose picture you saw. This may be a bit misleading if you were expecting to go to a story on "Breaking news: Morsi Out In Egypt Victory" but end up being brought to the home page of the news site instead. Unfortunately, this is simply how live tiles work. If you try tapping on the Mail tile, you end up in your inbox, not in the message you might have seen on the tile surface.
That said, any website that produces frequent content updates should have its own live tile. The time and effort necessary to add this code is negligible in comparison to the benefit of showing users your latest content, right on their start screens.

