How to Fix OS X's Broken Ethernet Connectivity
Sign up to receive The Snapshot, a free special dispatch from Laptop Mag, in your inbox.
You are now subscribed
Your newsletter sign-up was successful
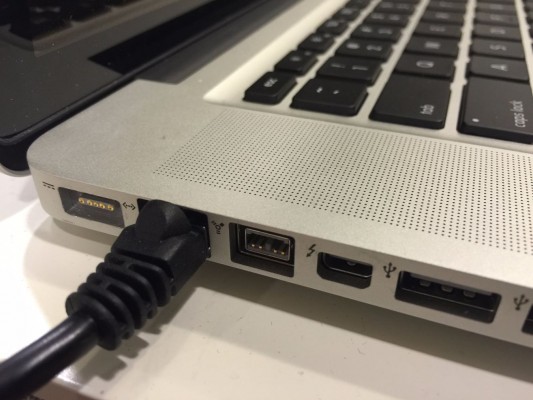
If you're wondering why your Mac's Ethernet connection suddenly stopped working, the culprit may be Apple itself, as an the company released an update that inadvertently disabled those ports on some of its computers. The update silently downloaded and installed on Macs over this past weekend (Feb. 26 to 28), so effected users had no way to know what had caused the malfunction.
Apple pushed out a patch to fix the mistake on Sunday (Feb. 28) in another update that downloaded in the background. Since the update can only be downloaded by users who have Wi-Fi, the company also explained how to fix the Ethernet glitch if you rely on that to get online. The process is slightly complicated, requiring users to open Terminal and enter code, so we've provided instructions below.
MORE: The Best Cable Modems to Cut Your Internet Bill
The update responsible for disabling Ethernet connectivity was an addition to the kernel extension blacklist, which OS X El Capitan uses to shield systems from harmful code. The update accidentally contained the extension for Apple's own Ethernet drivers, and thus disabled the ability to connect over Ethernet.
Here are step-by-step instructions for how to to find out if your Mac's Ethernet port is effected by the kernel blacklist update, and how to restore the port.
How to Check Your Incompatible Kernel Extension Configuration Data Version
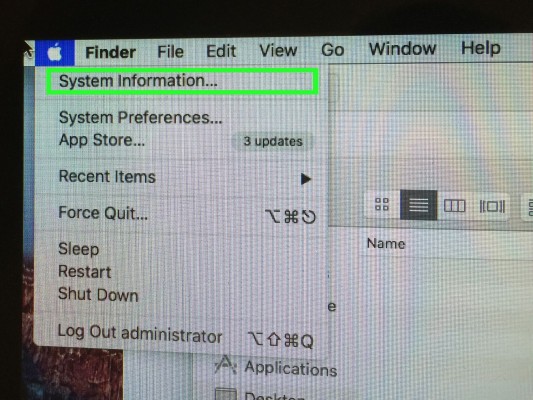
1. While holding Option, click Apple in the Menu bar, and then select System Information.
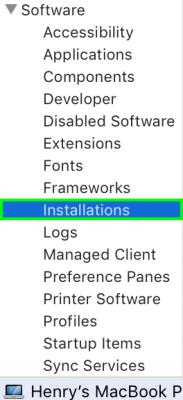
2. Select Installations, which is under Software.
Sign up to receive The Snapshot, a free special dispatch from Laptop Mag, in your inbox.
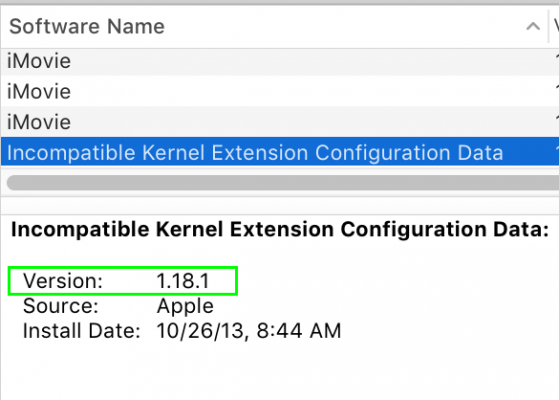
3. Select "Incompatible Kernel Extension Configuration Data” and check the version number. If the version number is 3.28.1, you need to follow the below steps. Our test Mac was not effected by this bug.
How to Download Kernel Extension Configuration Data Update Over WiFi
1. Open Terminal. It can found in the Utilities folder inside of your Applications folder.
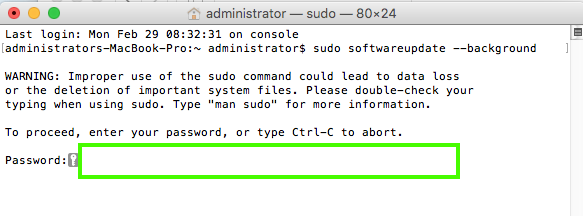
2. Type or paste the below text and click Return.
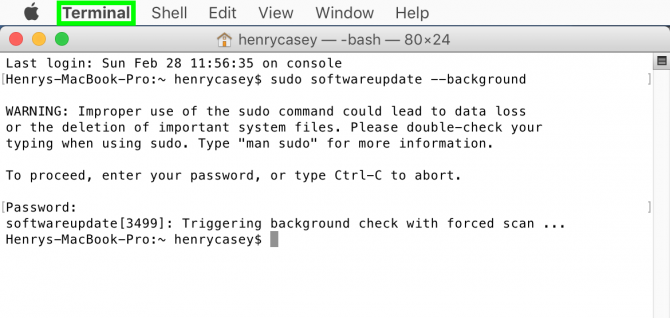
sudo softwareupdate --background
3. Enter your system password and click Return.
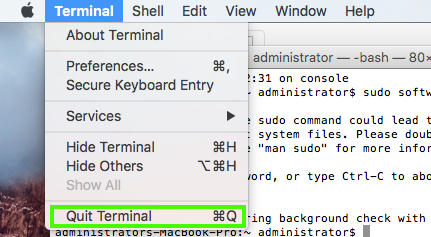
4. Click Terminal in the Menu bar.
5. Select Quit Terminal.
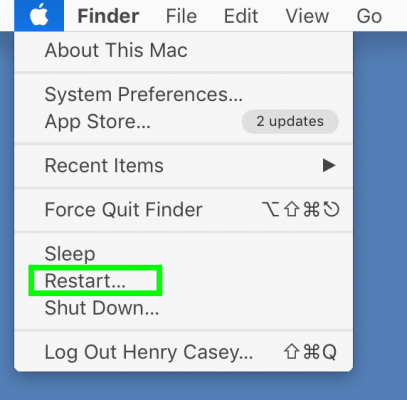
6. Click Apple in the Menu bar.
7. Select Restart. Follow the steps in "How to Check Your Ethernet Connectivity" to see if it has been fixed.
How to Restore Ethernet Connectivity Without WiFi
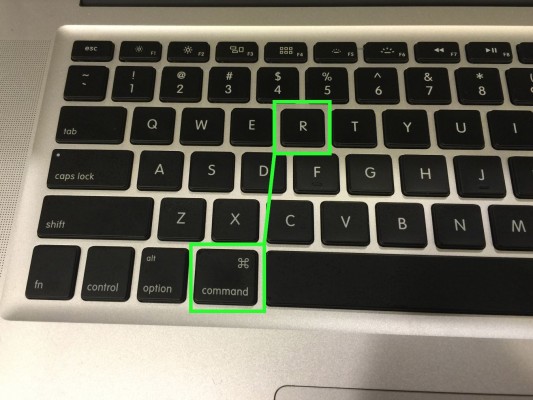
1. Restart your Mac and then hold Command +R.
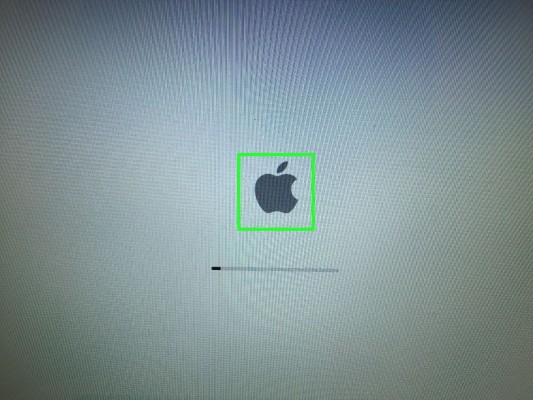
2. Release the Command+R when the Apple logo appears on screen.
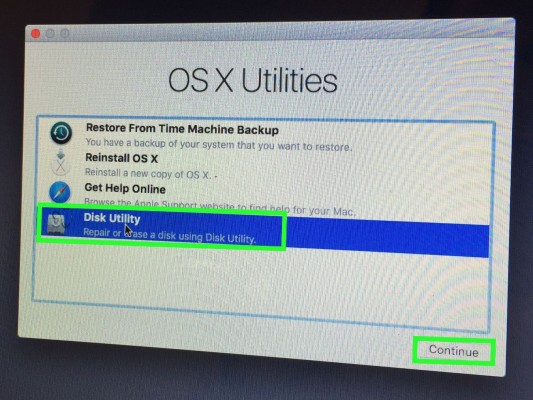
3. Select Disk Utility and click Continue.
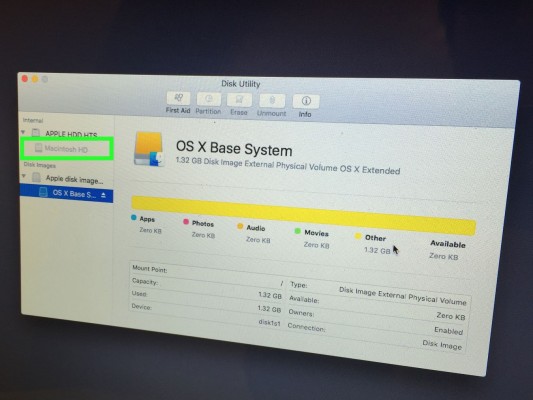
4. Click on your hard drive, likely named Macintosh HD. If it is grayed out, proceed to step 5. If it is not greyed out, skip to step 8.
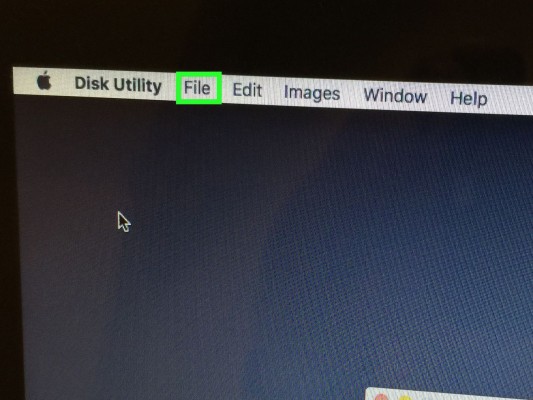
5. Click File.
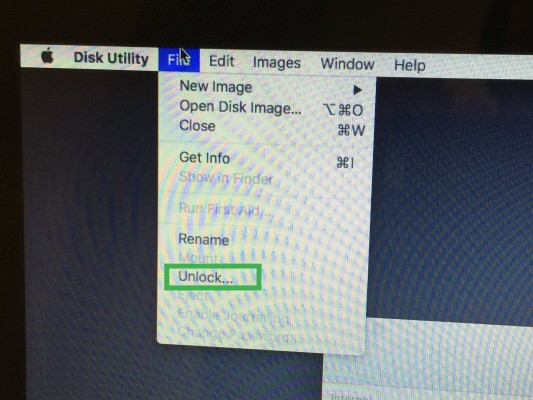
6. Select Unlock.
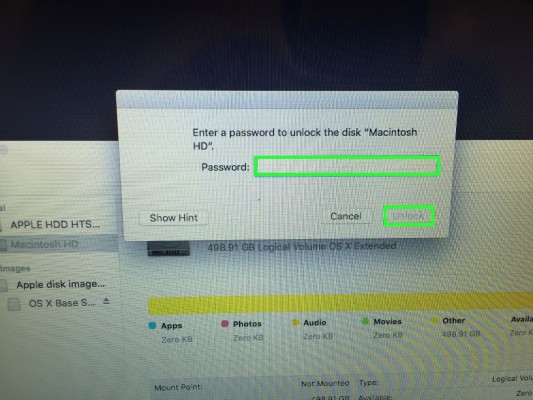
7. Enter your system password and click Unlock.
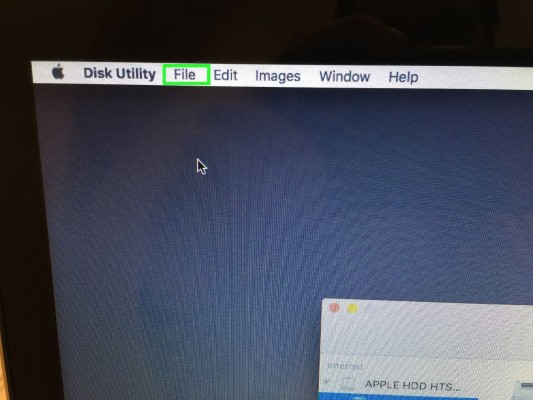
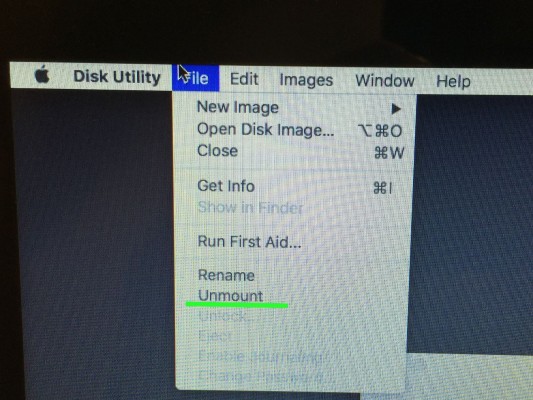
8. Click File.
9. Check to see if the menu includes an option for Mount or Unmount. If it says Mount, select Mount. If it says Unmount, proceed.
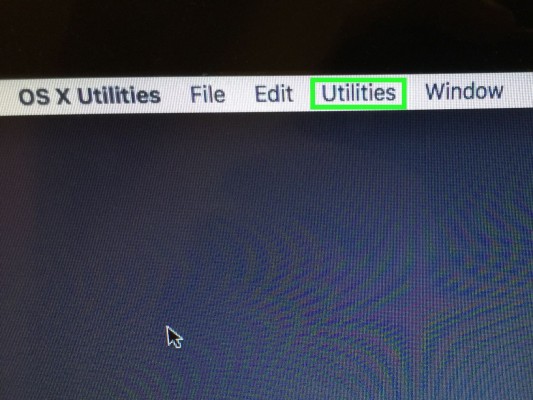
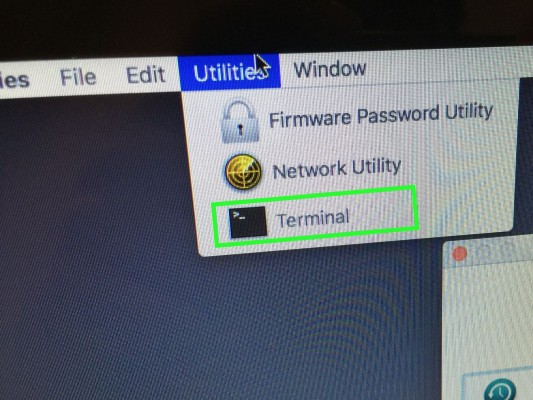
12. Select Utilities.
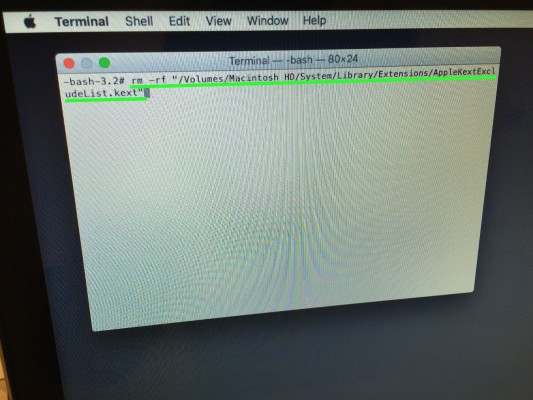
14. Type the following text, as-is, and click enter:
rm -rf “/Volumes/Macintosh HD/System/Library/Extensions/AppleKextExcludeList.kext”
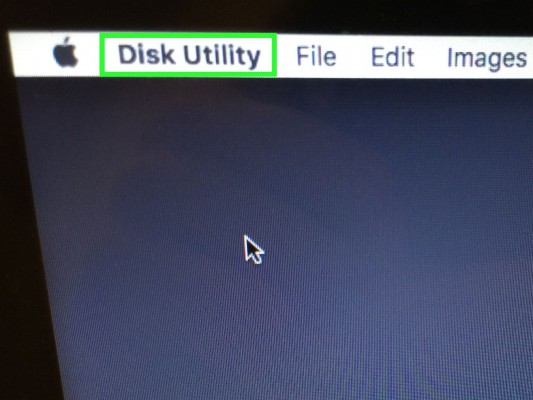
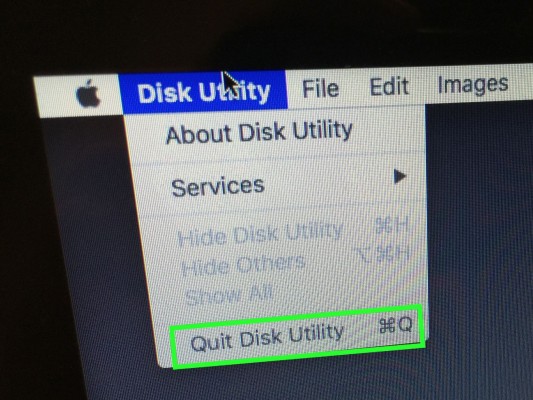
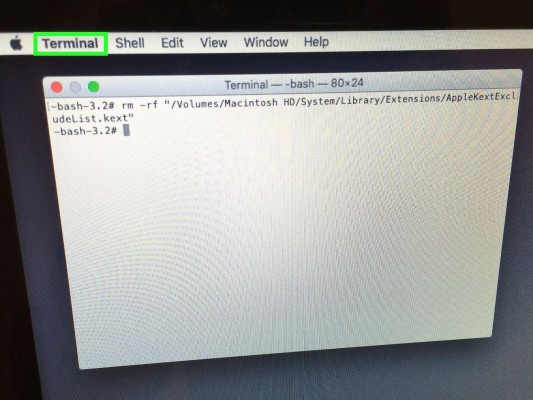
15. Click Terminal.
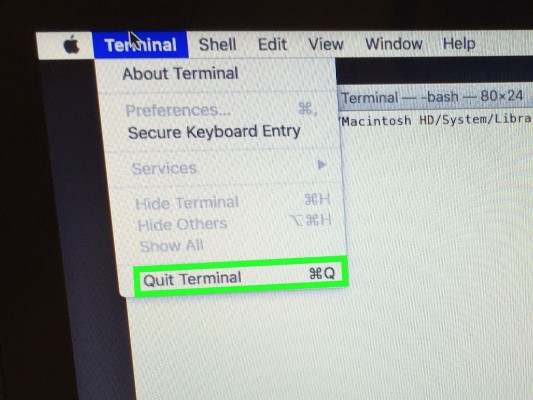
16. Select Quit Terminal.
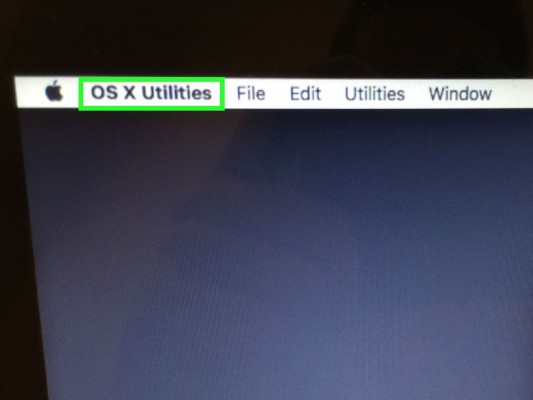
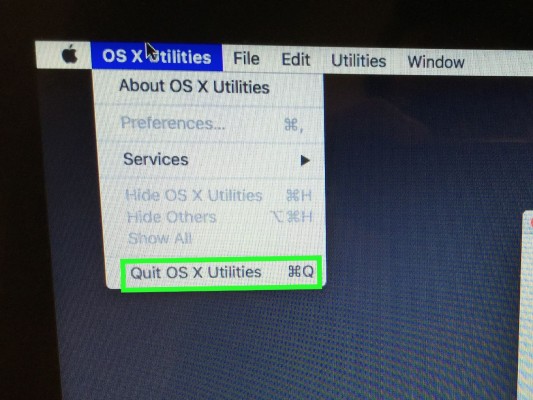
17. Click OS X Utilities.
18. Select Quit OS X Utilities.
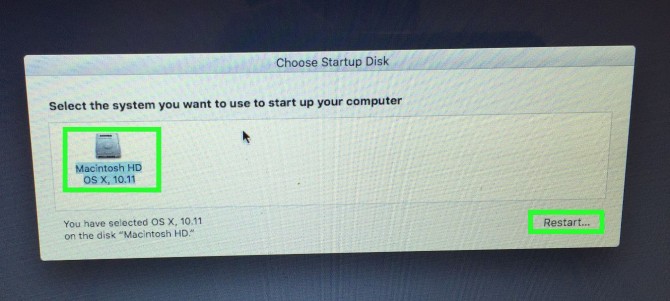
19. Select your hard drive and click Restart.
How to Check Your Ethernet Connectivity
1. Click on System Preferences.
2. Select Network.
Your Ethernet status should now be Connected!
Henry was a contributing writer at Laptop Mag. He penned hundreds of articles, including helpful how-tos for Windows, Mac, and Gmail. Henry has also written about some of the best Chromebooks, and he has reviewed many Apple devices, including various MacBook Air laptops. He is now a managing editor at our sister site Tom's Guide, covering streaming media, laptops, and all things Apple.
