How to Create a 3D Shape in Paint 3D
Sign up to receive The Snapshot, a free special dispatch from Laptop Mag, in your inbox.
You are now subscribed
Your newsletter sign-up was successful
Paint 3D is a great program, and one that offers multiple options for 3D modeling, all for free with the Windows Creators Update. It’s not as feature rich as some, but for a basic 3D model, or even full-blown (simplistic) scene creation, the application does the job.
Unfortunately, there’s a bit of a learning curve. For an entire generation used to working with Paint Classic, Paint 3D has a lot of new bells and whistles that you really have to dive into to get the hang of.
But it’s really not that hard, once you master a few basics.
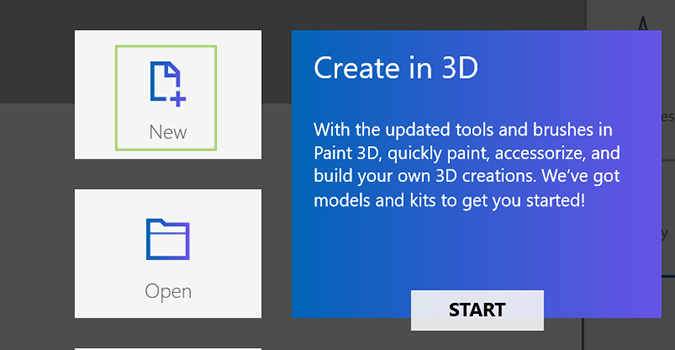
1. Open Paint 3D and select New from the opening menu.
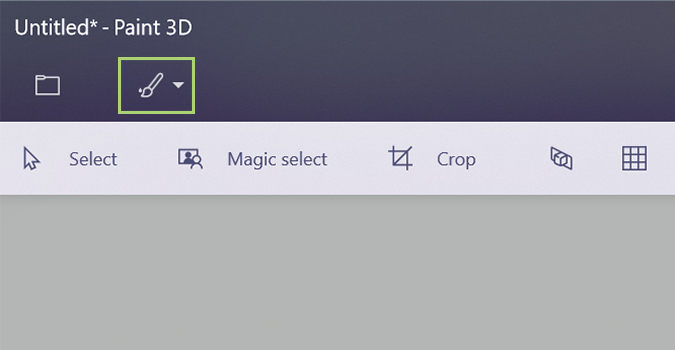
2. Click the paintbrush icon on the toolbar to bring up additional options. There are several available, including a couple of different ways to add 3D shapes.
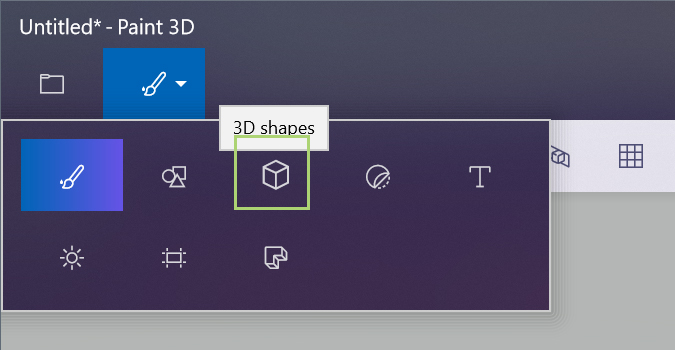
3. We’re going to select the third one from the left, 3D shapes. It’s the box icon, in case the tooltips don’t pop up when hovering over it.
4. Choose an object from the right toolbar. Alternatively, you can select a 3D model -- a male, female, dog, cat or fish -- or 3D doodle, which lets you create your own 3D object in real-time.
Sign up to receive The Snapshot, a free special dispatch from Laptop Mag, in your inbox.
5. Click and drag the mouse on the canvas to apply the shape to the blank space.
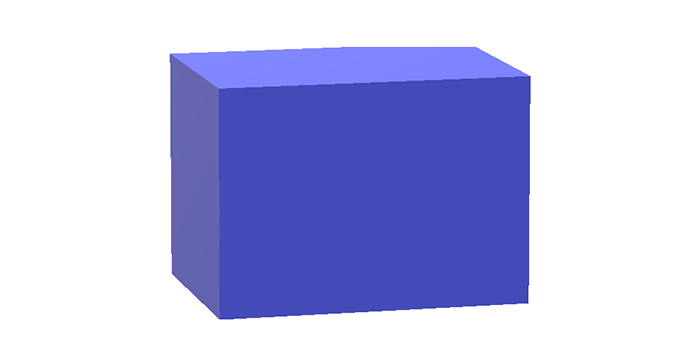
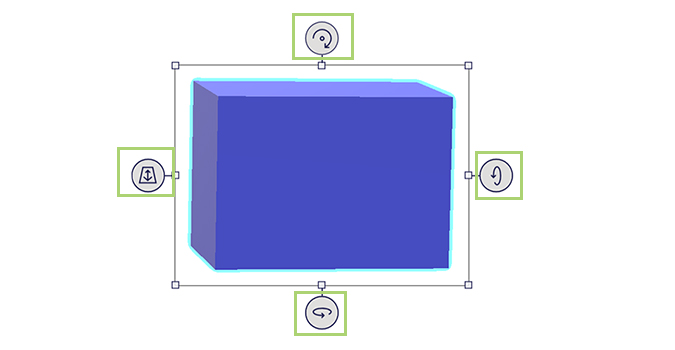
6. Use the handles on each edge to resize, turn, or flip the shape as needed and to create dimension. All of the objects placed are 3D, but it’s not immediately apparent until you start moving them.
Bryan covers everything you need to know about Windows, social media, and the internet at large for Laptop Mag. Thanks to his extensive knowledge of operating systems and some of the most popular software out there, Bryan has written hundreds of helpful guides, including tips related to Windows 11 drivers, upgrading to a newer version of the OS, editing in Microsoft Photos, or rearranging pages in Google Docs.
