There are plenty of factors that can affect the performance of a computer, one of them being the amount of drive space available. If a Windows PC is exhibiting issues or can no longer save new files, freeing up drive space may be the solution.
“Drive Space” refers to the amount of data a computer can store in its system. As a device is used, data is saved in the drive space to help the user recover it once it is needed again. An obvious instance where data is recorded on drive space is when documents are saved in Microsoft Word.
Here’s everything you need to know about how drive space affects your PC’s speed and 3 ways to free up drive space in Windows 11.
How drive space affects your PC’s speed
Imagine a basket that stores an assortment of items; as you use the basket, more and more items are stored within it. Imagine searching for a few items from the basket. If your basket doesn’t have much in it, it’s easy to find what you need. However, the more items are inside your basket, the longer the search takes.
Your computer works in the same manner as the basket; the space within the basket can be compared to a computer’s disc space. The more stored within the computer, the harder it is for the CPU to retrieve data. Hence, users will often notice a drop in their computer’s performance as time goes by.
The obvious solution is to free up some room to reverse this issue. This can be done manually by searching for large items to delete. Unfortunately, doing this may take ages. However, there are plenty of other ways to easily free up drive space in Windows 11.
How to use Windows 11’s Disk Cleanup tool
The easiest way to free space from your computer is by using Windows’s very own disk cleanup utility. Here are the steps to use Windows 11’s Disk Cleanup tool.

1. Using Windows’s search function, find and open the Disk Cleanup app. This application should come pre-installed in your system.

2. Select the drive that you need to clean from the menu shown. If this is your first time running this program, it is suggested that you run it on Drive C: or the main disk.


3. Click “OK” and wait for Windows 11 to sift through your files to look for items that can be safely deleted. After loading, Windows will show a list of different types of eligible items. The Disk Cleanup tool will pre-select items that it believes are safe to delete.

4. Select other item types that you wish to delete. You should notice that the total amount of disk space you can gain changes as you select or deselect items.

5. Click “Ok” and wait for the cleanup tool to load. Now you have automatically deleted some files thus freeing up some drive space.

6. If you wish to scan your system files for some deletable files, click “Clean up system files” on the window shown in step 5. Then, follow steps 5 and 6 again.
How to free space with your storage settings
Other than the cleanup tool, users can also use the various cleanup features in Windows 11’s Storage Settings. Follow the steps below:

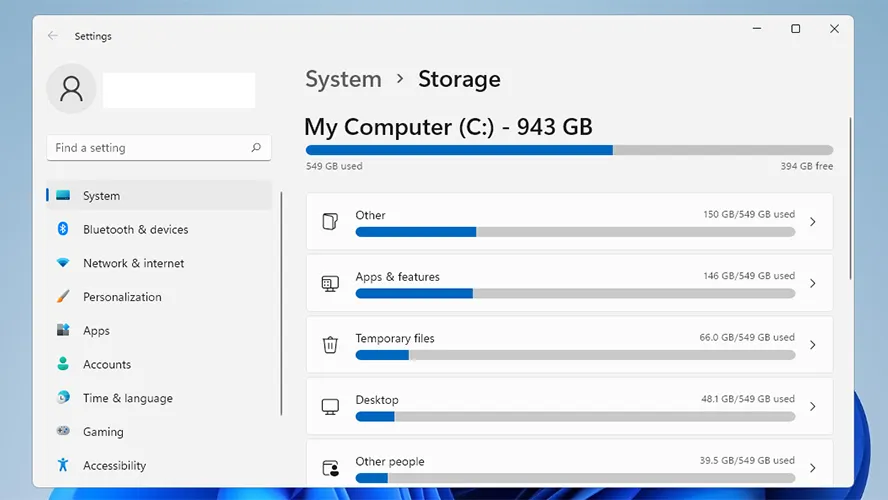
1. First, open the Storage Settings using Windows’s search function. You can also use Windows’s Settings under System > Storage.

2. Once in the Storage Settings window, scroll down to the Storage management section and click “Cleanup recommendations.” You will be redirected to the Cleanup recommendations page.

3. Wait for Windows to scan the system for excess files. Once done, it will segregate these files under four sections: “Temporary files,” “Large or unused files,'' “Files synced to the cloud,” and “Unused apps.”

4. Open each section and select the files to be cleaned. Be careful when selecting file groups, such as Downloads and Recycle Bin. Windows will delete all these files if you select them.

5. Select “Clean up” for each section after you choose the files or file groups to be deleted.
Windows 11’s Storage Sense
In Storage Settings, users also have the option to activate Storage Sense. The utility automatically detects and deletes files that it deems unnecessary. Users can also customize it to exclude the Recycle Bin and Downloads from scheduled cleanups.

1. To activate Storage Sense, simply click the toggle button beside Storage Sense in the Storage Settings to activate it.

2. Users can also manually run its cleanup process by clicking “Run Storage Sense now” while inside Storage Sense’s settings page.
