Most Chromebooks are built to last and practically support a lifetime of software updates. Chrome OS’ naturally low-maintenance nature means there are minimal hardware requirements. On top of that, your Chromebook can keep on running even on outdated specs. But at some point, the Chromebook you bought for just a couple hundred bucks years ago or as a starter computer for your kids will begin to show signs of age.
But just because your old Chromebook is getting on in years doesn’t mean you should toss it to the back of your closet. You’d be surprised at how much more Chrome OS has to offer, even on a machine that’s on its last legs. You can turn it into a second screen for your new computer, a personal media server, a digital photo frame, and more. Here are a few ways to repurpose your old Chromebook.
1. Use it as an external monitor
As long as your Chromebook is compatible with Android apps, you can refashion it as an external monitor. This is really best for Chromebooks with 4K displays, like the Samsung Galaxy Chromebook. For this, you’ll need an app called Duet Display, which lets you employ a Chromebook as a second display for a Windows PC or Mac — all without plugging in any cables.
The app offers all the functionality you’d expect from an external monitor and lets your Chromebook function as any other traditional monitor. You can move windows across the screens, extend or mirror your primary computer’s display, adjust the resolution, and more. The setup process is straightforward, too; all you have to do is install Duet Display’s clients on both computers.
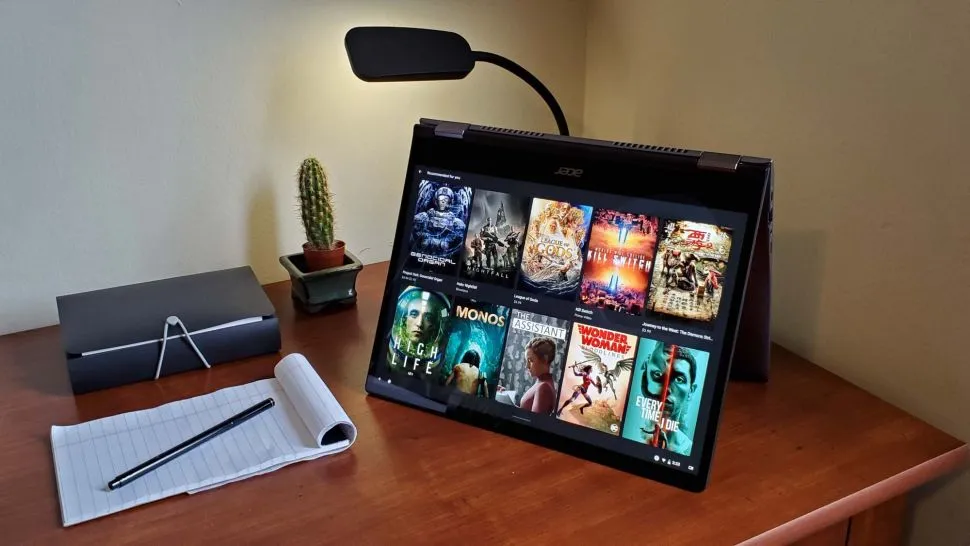
2. Play an always-on slideshow of your photos on it
If your Chromebook is running on ChromeOS 88 (or later), you can repurpose it into a digital picture frame. In addition to the time and weather forecast, its ambient mode can continuously cycle through pictures from your Google Photos library or backdrops from Google’s Art Gallery collection on the lockscreen.

To enable it, visit your Chromebook’s Settings app and, under Personalization, click “Screen Saver.” Toggle it on then, from the “Background” section, select the source for the slideshow. You can also head into “Google Photos” and specifically pick which albums it should use for grabbing new pictures.
Plug your Chromebook in to prevent its display from shutting off and lock the device to activate the screensaver.
3. Hand it to your kid with parental controls on
Chrome OS’ approachable desktop experience is ideal for kids. And since they don’t need as much computing power as you, your outdated Chromebook can be perfect for children.
Plus, Chromebooks come equipped with a set of parental controls so you can fine-tune your kid’s foray onto the web and remotely manage what they do on their computer, including the length of time and their activities. You can even configure a daily bedtime schedule to limit your child’s exposure to the screen at night.
To get started with Chrome OS’s parental controls, drop by our detailed guide.
4. Make it your personal media server
No matter how worn out your Chromebook is, chances are its storage is as responsive as ever. You can take advantage of this to transform your Chromebook into your very own cloud media storage. Doing this allows you to host all your local files, like movies, TV shows, music, and more, on your Chromebook’s idle space and access them from any internet-enabled device.
To do this, you will have to first enable Linux on your Chromebook. Go to Settings > Linux (Beta), select the “Turn On” button, and follow the on-screen instructions.

Once the Linux environment is ready to go, download the Plex Media Server installation file for Ubuntu.
Launch the .deb file and select the “Install” button. Your Chromebook will take a few seconds to configure everything.

When you open the “Plex Media Server” app, it will fire up a new tab on Google Chrome where you’ll be asked to go through an initialization process involving account creation, entering the server’s name, etc.

In the “Media Library” screen, click the “Add Library” button and define what kind of content you are planning to store. You can edit this and add more libraries later. When you select a library type, the “Add Folders” tab will be activated. You can then simply choose a folder on your computer’s local drive and upload it onto your new media server.

Note: Make sure to move your content to the “Linux Files” folder from your Chromebook’s Files app.
Once you finish this step, you will land on your server dashboard where you can access Plex’s own media library alongside your own. To manage your library and server, click the “Activity” button at the top-right corner.
Now, you can download a Plex client app on your phone and computer to remotely stream the content saved on your Chromebook.
5. Monitor your home with its webcam
If your Chromebook has a functioning webcam or you’re willing to shell out a few bucks for an external accessory, you can easily turn it into a home surveillance camera.

There are several free Android apps like Alfred that stream your Chromebook’s live webcam footage from any other computer or phone. With this, you can prop up the laptop in the corner of your living room to watch your home or use it as a baby monitor. The setup for Alfred takes a few minutes. All you need to do is create an account and grant it permissions for your webcam feed and microphone.
6. Breathe a new life into it with CloudReady
For people who only occasionally experience stuttering and latency on their Chromebook and just want to jumpstart its performance, CloudReady may be the way to go.

Think of CloudReady, which is owned by Google, as a stripped-down version of Chrome OS. It looks and functions pretty much the same. The difference is it won’t have Google’s latest features like the screen saver mode and Android apps. But for browsing the web, CloudReady can go toe-to-toe with Chrome OS.
CloudReady is free and runs through an external drive and you can find the installation guide here. To ensure you don’t face any performance hiccups, it’s best to load it up on a high-quality disk.
