Change Your Router's Quality of Service (QoS) Settings: How to
Some routers allow you to customize exactly what multimedia gets priority via a process known as Quality of Service (QoS). For instance, perhaps you want to make sure that video streaming always gets more love than streaming audio. The QoS can do that. You can even tell some routers that Skype takes priority over Netflix by assigning “highest” priority to these applications.
- More: How to Enable AES Encryption on Your Router
- This is how to change your router’s IP Address
- Where to place your router for the best Wi-Fi signal
- See how to Install a New Router
1. Log into your account. Open your browser and enter the manufacturer’s default IP address, typically located on the underside of your router or in the user manual or a custom one that you set. Using your username and password, log into your router settings page.
2. Open the Wireless tab to edit your wireless settings.
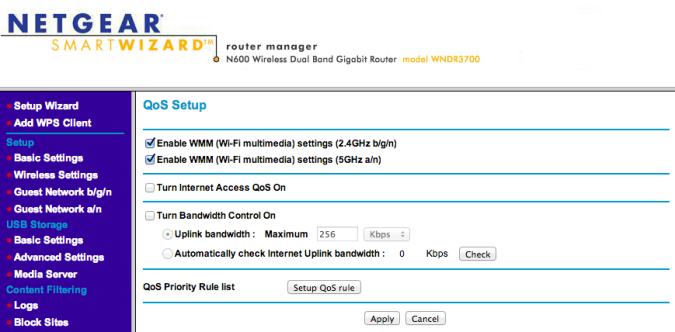
3. Locate the QoS Settings. This can likely be found as a subcategory beneath advanced network settings or Wireless Settings.
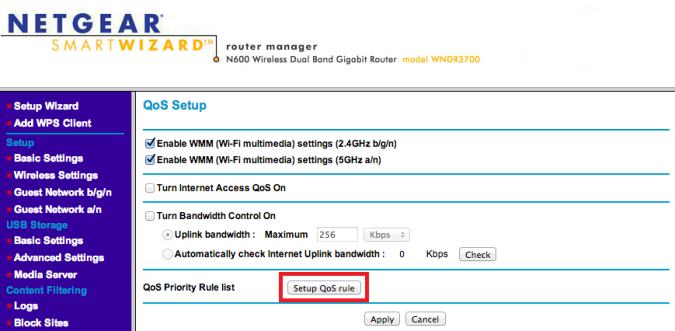
4. Click on the Set Up QoS Rule button. QoS Rules are customized settings to tell the router what types of traffic to give priority to. Each rule will allow you to assign priority to a certain type of connection (e.g. Skype), which the router will then use to start filtering your bandwidth.
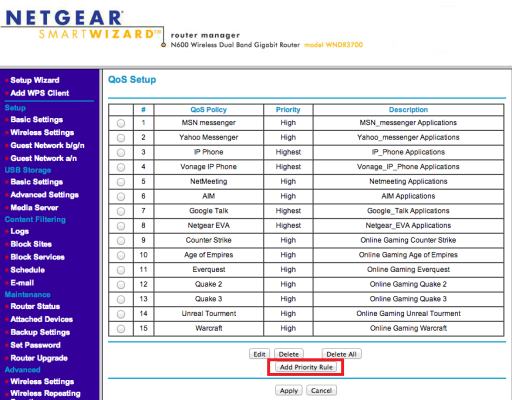
5. Add Networks you want to Prioritize. Your router will likely populate a field of commonly used applications in the main QoS setting tab. If you see the applications you want to give “highest” priority already populated, click the box next to the application and click Edit. Assign the application “highest” priority, then click apply to Apply your settings. If the application isn’t already populated, add it by clicking the “Add Priority Rule” button at the bottom of your QoS page, and go through the basic setup for each network type.
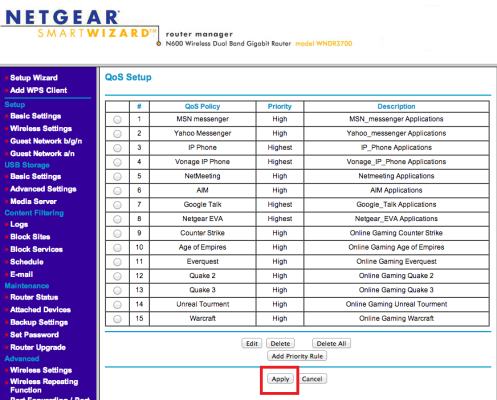
6. Click Apply. Then reboot your router under the general settings.
Sign up to receive The Snapshot, a free special dispatch from Laptop Mag, in your inbox.


