How to make your Chromebook more secure to use
Upgrade your Chromebook’s security with these tips
Chromebooks are hard-to-crack computers. By default, Google secures them with a series of vital safeguards — like automatically isolating infected apps or web pages — that can withstand some of the deadliest threats. But attackers come up with new methods to hack you every other day and sometimes even Google can’t keep up with their pace. Thankfully, you can easily bulk up your Chromebook’s defenses in a few steps.
Like any traditional computer, you can opt into several optional features and install third-party tools to ramp up your Chromebook’s security. You can control how much access your apps and extensions have, secure your connections with additional layers, and even deploy antivirus software. Here’s how to make your Chromebook even more secure and private.
Secure your Google account
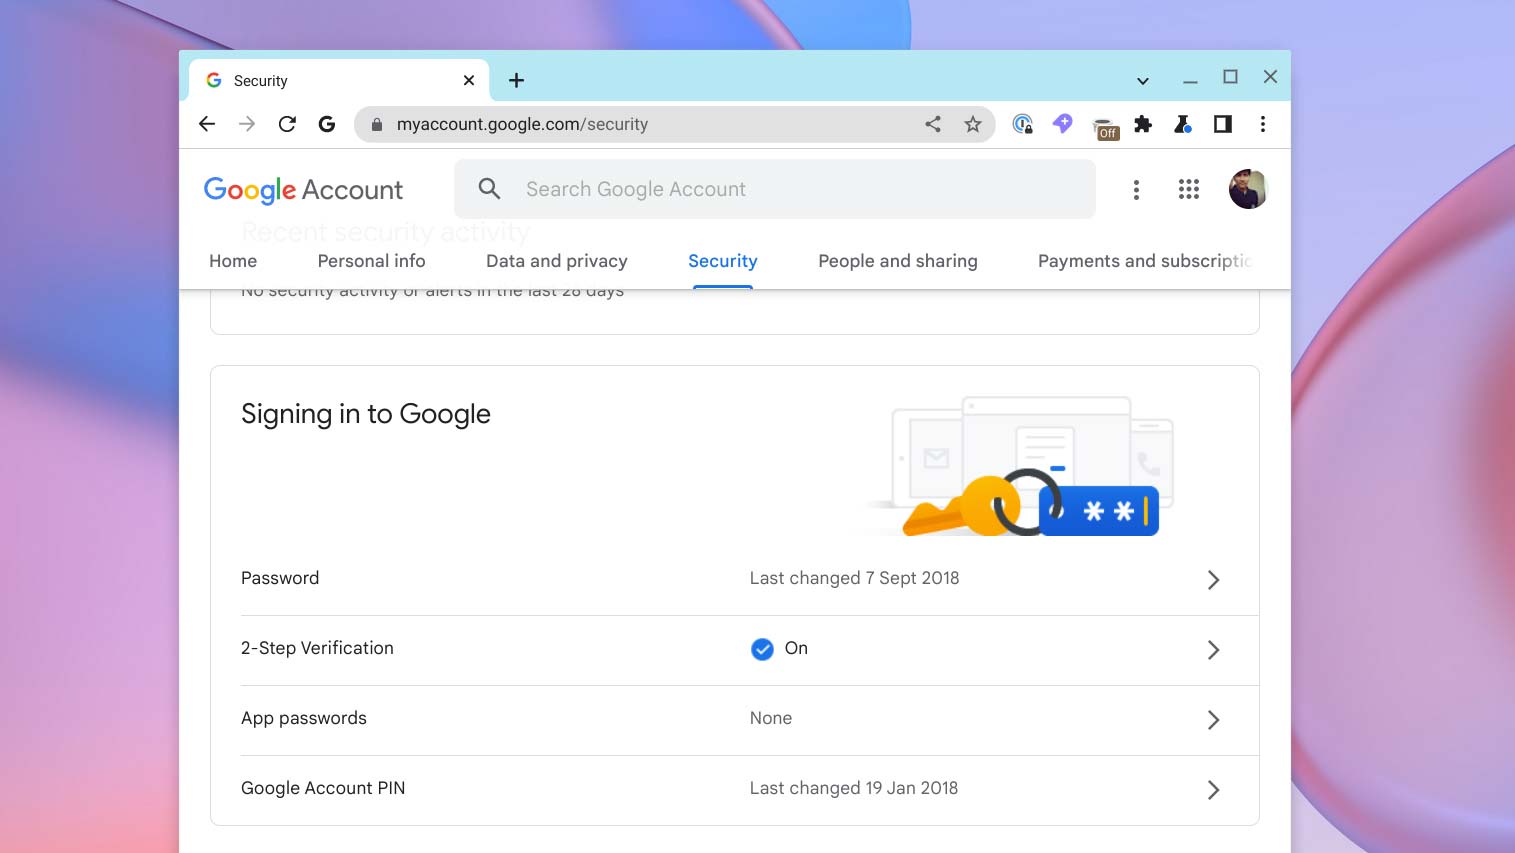
Your Google account is the key to your Chromebook. Letting its access slip into the hands of malicious actors can compromise your entire ChromeOS device. So, the first step to securing your Chromebook is to make sure that never happens.
Go to Google’s My Account dashboard on your browser and head into the “Security” section. Set up two-factor authentication if you haven’t already and update your password in case you haven’t in a while. While you’re here, navigate to “Third party apps with account access” and review which services are linked to your Google account. Remove the ones you no longer trust or use.
Switch to a private DNS
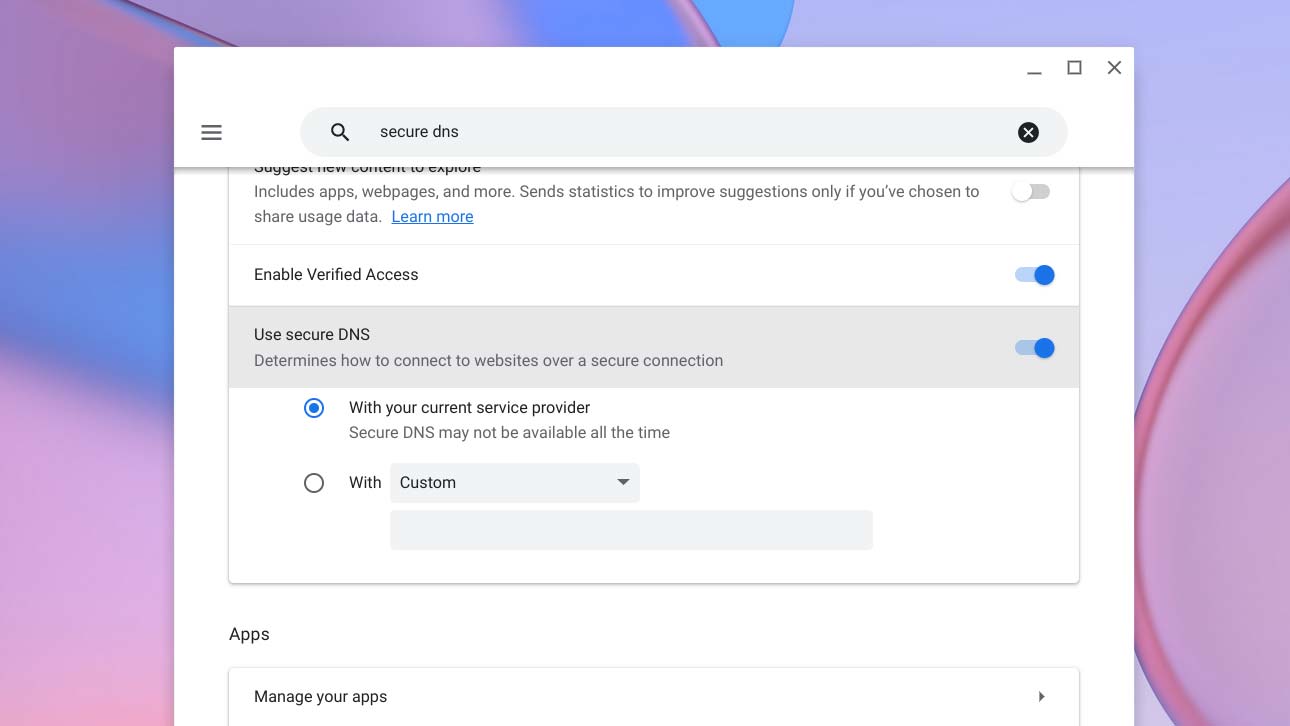
All your activities on the web go through a module called the DNS, which acts as the internet’s phonebook. It’s what turns URLs like “Laptopmag.com” into computer-readable language and helps your Chromebook locate where the website you’re searching on is stored. It’s also a weak link in your privacy as internet providers generally tend to skimp on its security protections and quality.
To prevent anyone from snooping on your online activities, it’s best to switch to a more private DNS which you can do in a few clicks on your Chromebook. Go to Settings > Security & Privacy and toggle on “Use secure DNS.” Select “Cloudflare” in the “With” dropdown.
Lock your sleeping Chromebook
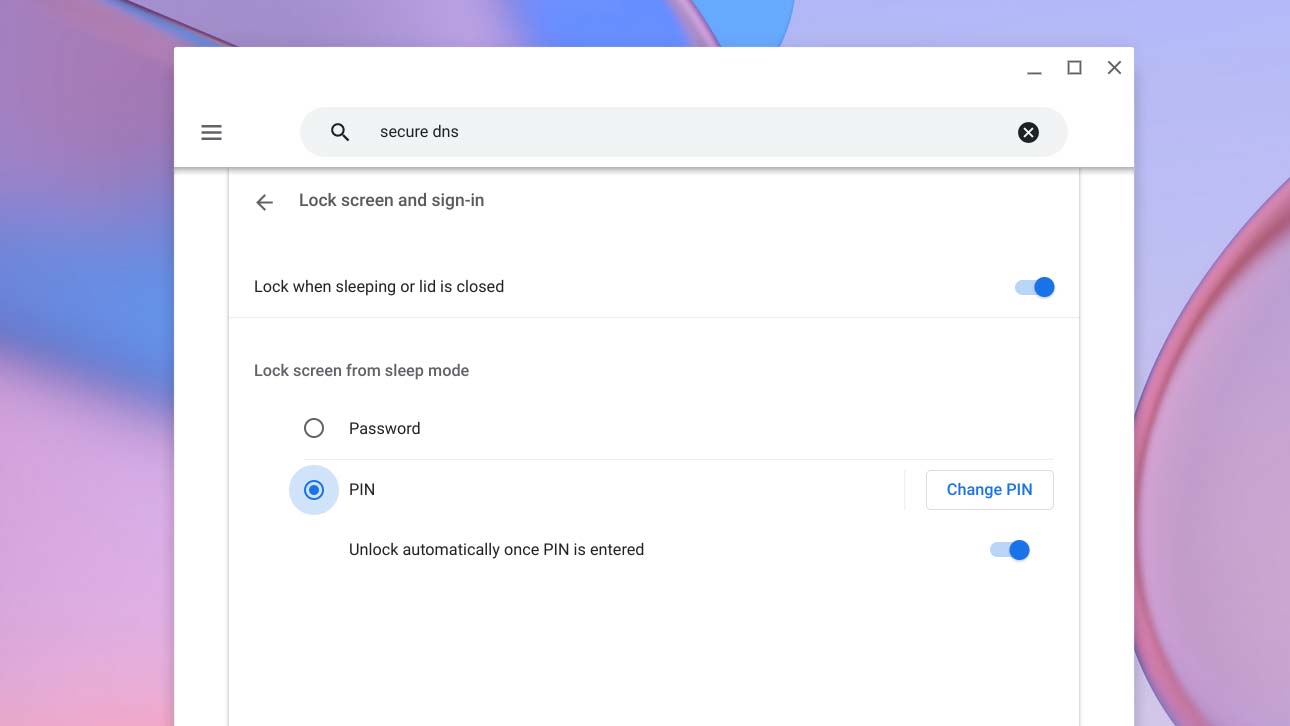
When you close your Chromebook’s lid or manually put it to sleep, it remains unlocked. While it’s convenient, it gives anyone the chance to wake up your Chromebook and misuse your session.
Sign up to receive The Snapshot, a free special dispatch from Laptop Mag, in your inbox.
You can choose to lock it every time, however, if you prioritize security over convenience. Go to Settings > Security & Privacy > Lock screen and sign in and enable the “Lock when sleeping or lid is closed” option.
Upgrade Google Chrome’s security
ChromeOS users unsurprisingly spend most of their time on the Chrome browser. So naturally, that’s where their security is at the highest risk. Luckily, Google offers a bunch of straightforward tools you can opt into for a more secure browsing experience.
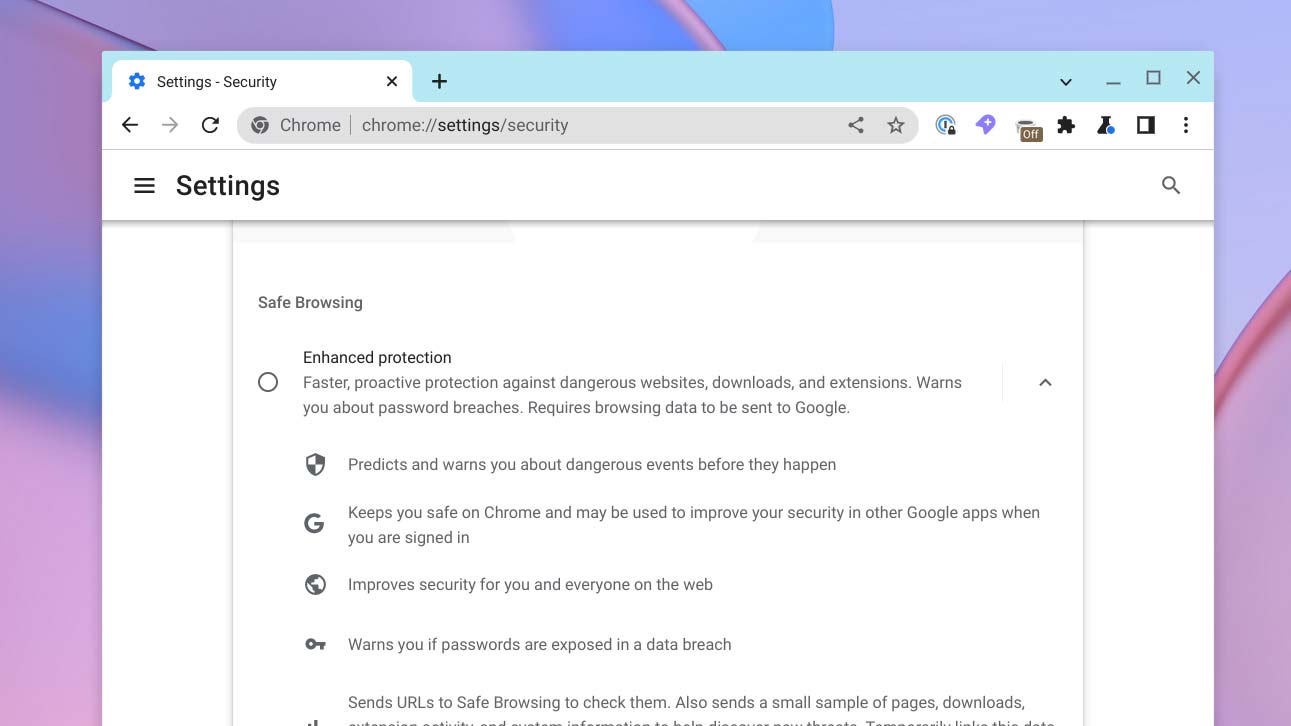
Visit Google Chrome > Settings > Privacy and Security and switch to “Enhanced protection.” When you activate this, Chrome more proactively protects you from potentially malicious websites, extensions, and downloads. To accomplish this, Google sends some of your browsing data to its servers but says it anonymizes it and deletes it after a month.
On the Privacy and Security page, another setting you must turn on is “Always use secure connections,” which automatically encrypts all your communication with an online service even if their website doesn’t have the highest security standard.
Review apps’ and extensions’ permissions
Rogue apps have the ability to hijack your Chromebook and even force you to pay a ransom to get it back. The only thing you can do to keep yourself safe from such a ransomware attack is to ensure you have only granted critical permissions to the Android apps and websites you trust.
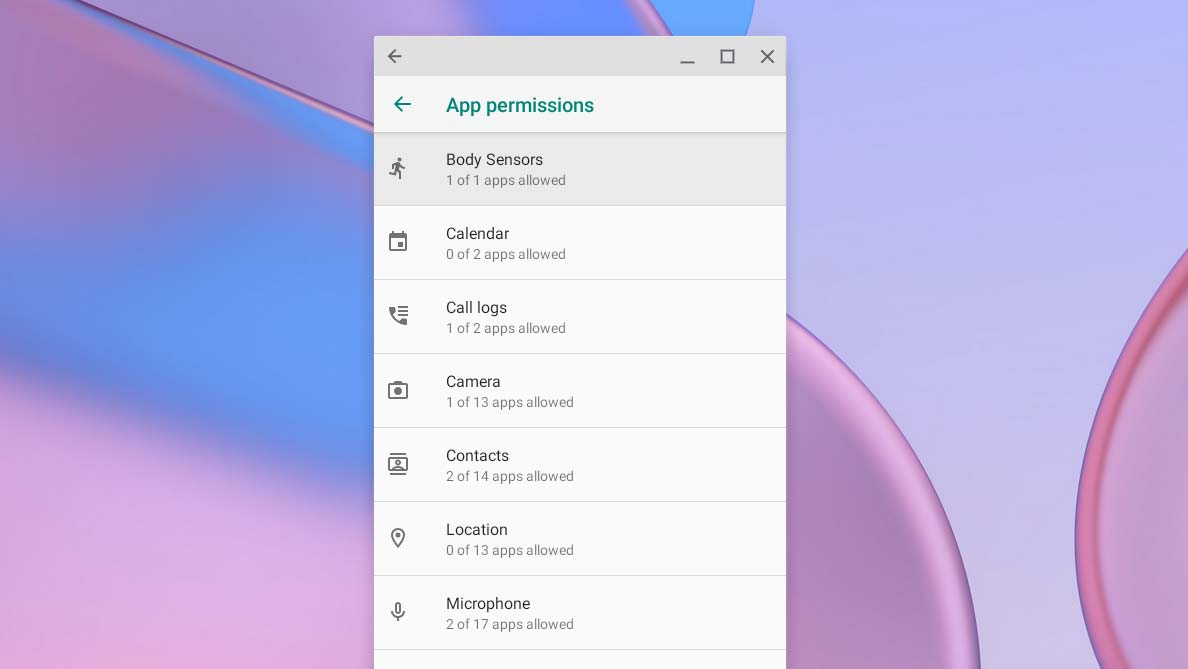
Head over to Settings > Apps > Google Play Store > Manage Android preferences > Apps & Notifications > App permissions. Here, you’ll find a list of all the available data permissions and which apps have access to them. You can instantly revoke an app’s permission by disabling the toggle next to it.
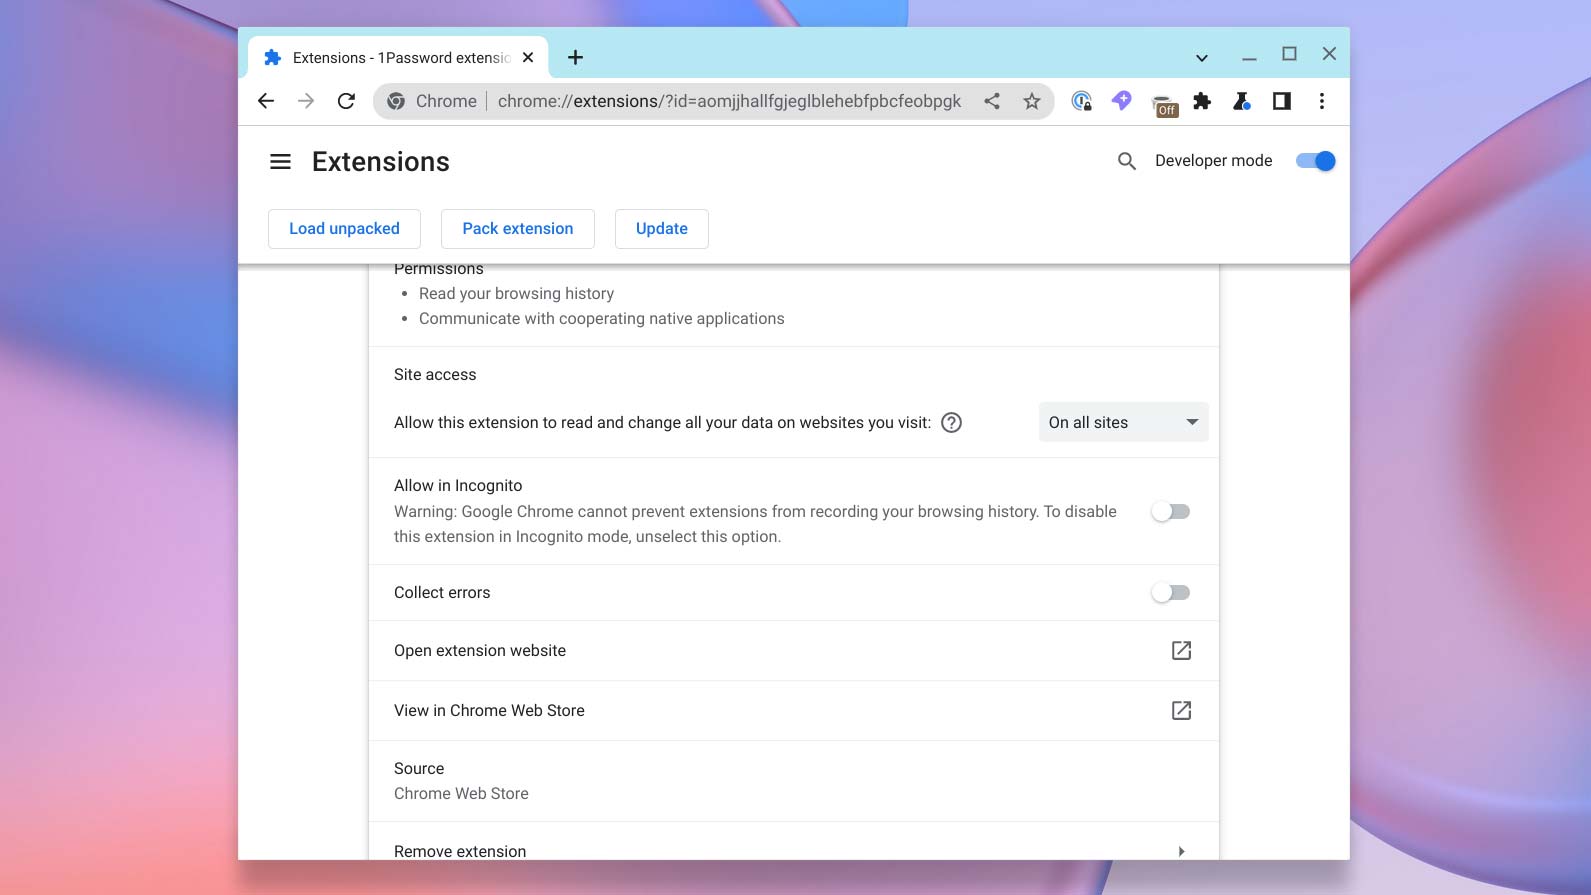
For extensions, you’ll have to launch Google Chrome and under the three-dot menu at the top right corner, navigate to More tools > Extensions. Chrome doesn’t have a central dashboard for permissions, unlike Android. You’ll have to click each extension to check which permissions they’re allowed to use.
Install anti-virus software
Chromebooks are generally fairly secure out of the box. But as Google adds more features to them like Linux and Android apps, it has become vital to have additional layers of security. That’s especially urgent for protection against rogue Android apps, which, more often than not, are found to secretly pack viruses. Many antivirus makers, therefore, have optimized their apps for Chromebooks to help you weed out malware in one click.
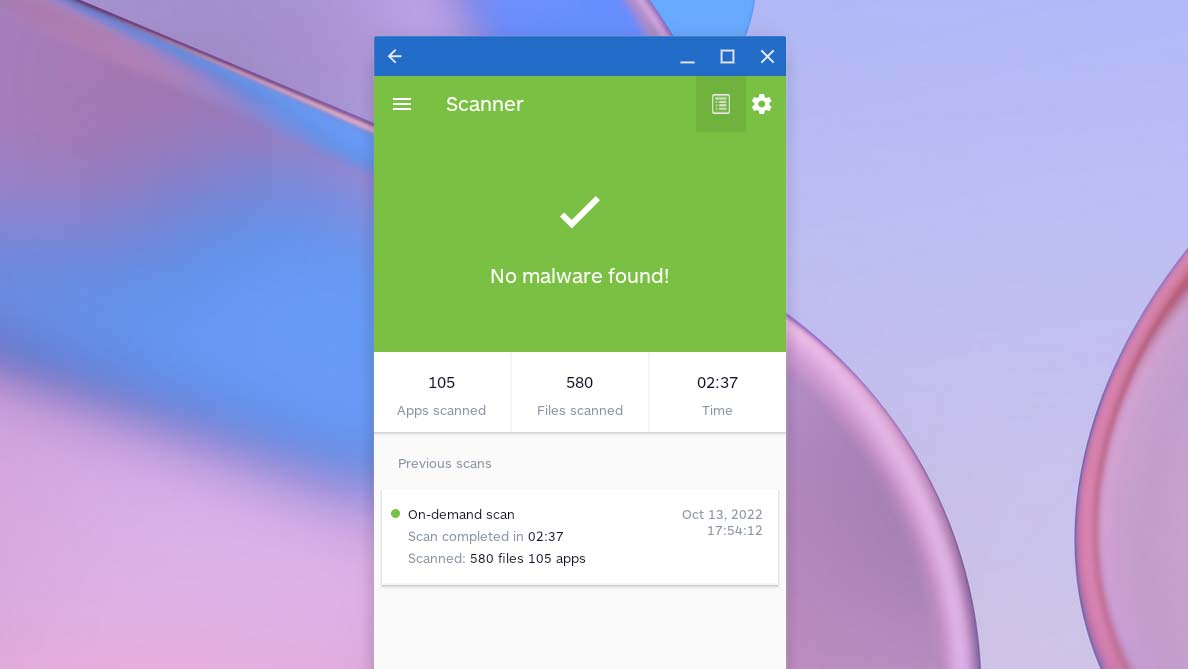
Malwarebytes is one such antivirus program. Its Chromebook-compatible app keeps an eye out for any malicious apps and whether the apps you have installed have hidden viruses or are secretly surveilling your activities. It also lets you quickly run a permission audit on your apps so that you don’t have to manually go through the list from settings.
Shubham Agarwal is a freelance technology journalist from Ahmedabad, India. His work has previously appeared in Business Insider, Fast Company, HuffPost, and more. You can reach out to him on Twitter.
