How to Set up Content Restrictions for Children in Windows 10
Sign up to receive The Snapshot, a free special dispatch from Laptop Mag, in your inbox.
You are now subscribed
Your newsletter sign-up was successful
After setting up a child’s account, Microsoft gives you a fairly comprehensive management page that allows you to determine what’s appropriate for children of all ages. From here, you can block certain websites or apps, as well as adding other services that are always allowed.
It’s fairly cut and dry to navigate your way through it, but here are the settings you may want to take a look at.
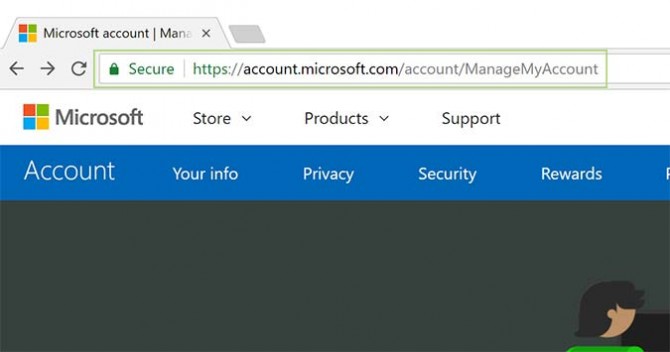
1. Open a web browser and visit your Microsoft account management page, found here.
2. Click the Sign in with Microsoft button and sign in to your account with the email address and password associated with your Microsoft account.
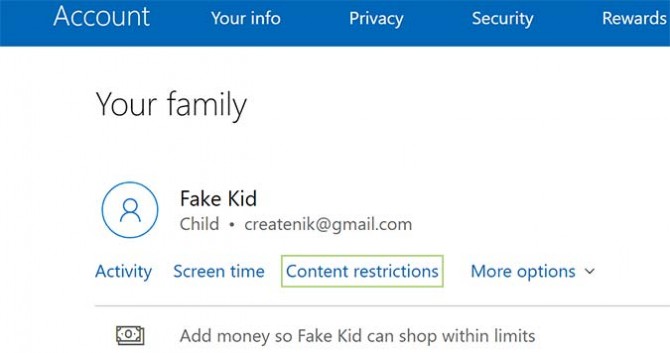
3. Below the child’s name, click Content restrictions.
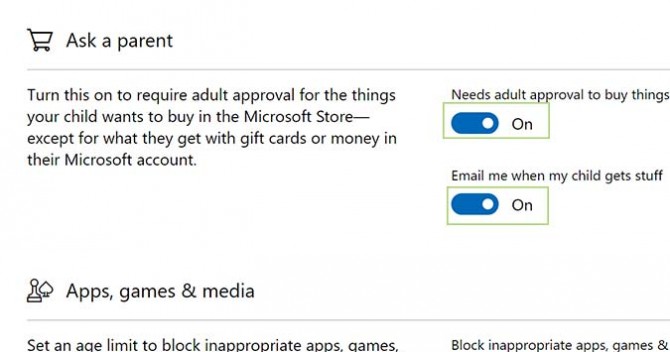
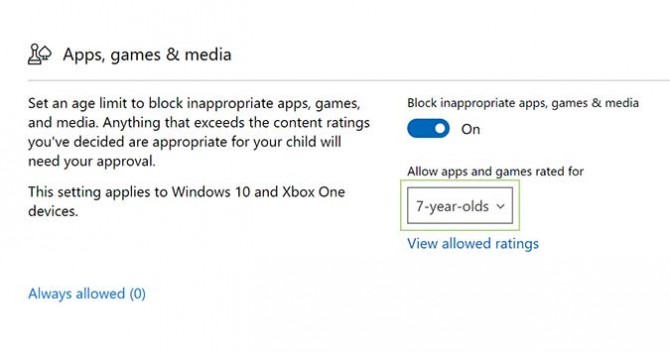
4. In the Ask a parent and Apps, games & media selections, toggle settings on or off where appropriate.
5. Below Apps, games & media, select apps and games appropriate for anywhere between three and 20-year-olds (or turn off all restrictions) by choosing it from the drop-down menu.
Sign up to receive The Snapshot, a free special dispatch from Laptop Mag, in your inbox.
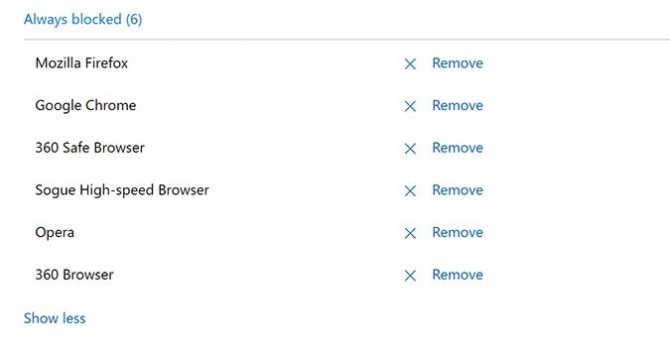
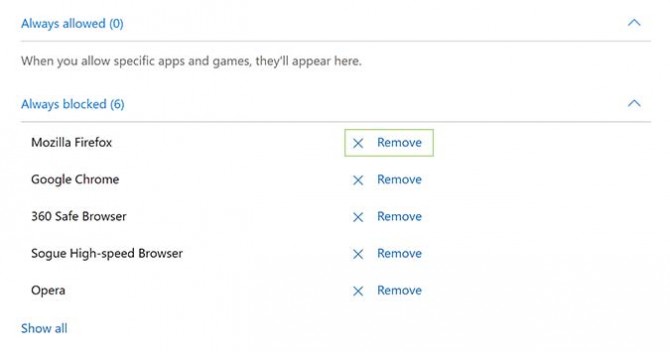
6. In the next two sections -- Always allowed and Always blocked -- remove apps and services by clicking the X Remove link.
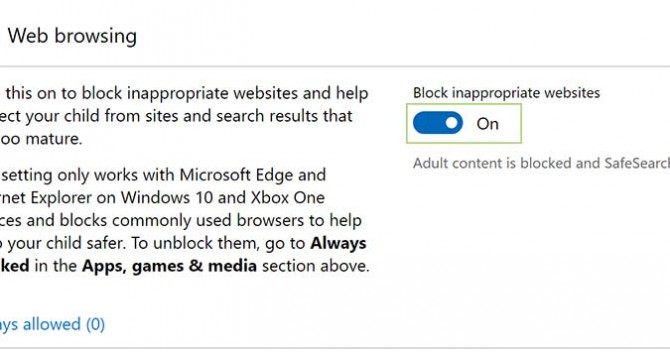
7. In Web browsing, toggle On or Off the default blocking of inappropriate websites.
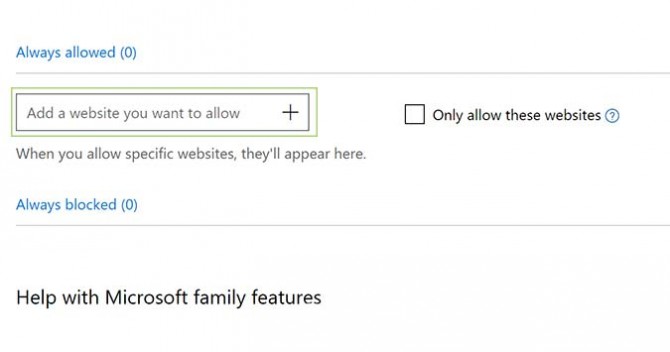
8. And finally, in the Always allowed section, add websites you’d like to allow your children to view and then click the X button. Optionally, you can click the box next to it if you only want to allow these websites.
Bryan covers everything you need to know about Windows, social media, and the internet at large for Laptop Mag. Thanks to his extensive knowledge of operating systems and some of the most popular software out there, Bryan has written hundreds of helpful guides, including tips related to Windows 11 drivers, upgrading to a newer version of the OS, editing in Microsoft Photos, or rearranging pages in Google Docs.
