How to Crop the Background Out of an Image in Paint 3D
Removing a background from a photo used to mean firing up Photoshop and playing around with masks, selections, and all sorts of tools with a steep learning curve. In Microsoft’s Paint 3D, however, removing a background from an image relies on advanced machine learning techniques that make an educated guess, and do most of the hard work for you. Here’s how it’s done.
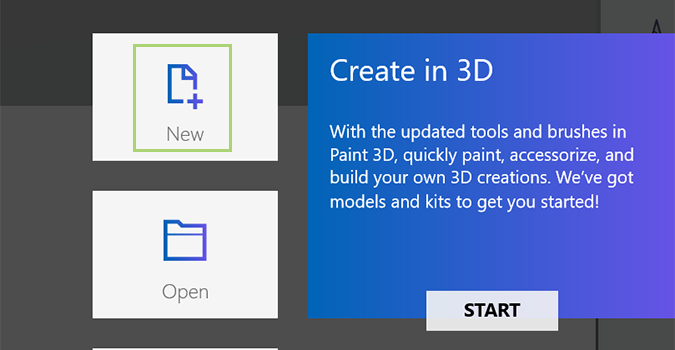
1. Open Paint 3D and click New to create a new document.
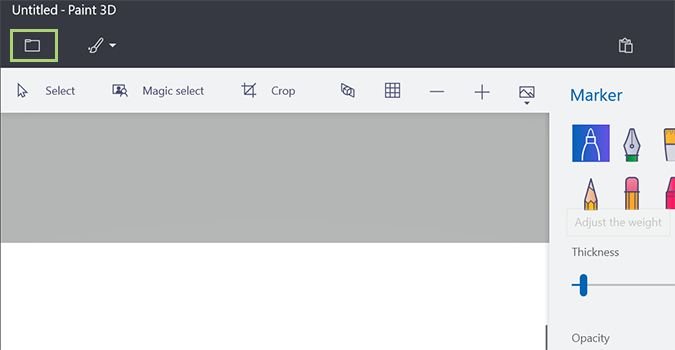
2. Click the folder icon in the upper left corner to bring up the settings menu.
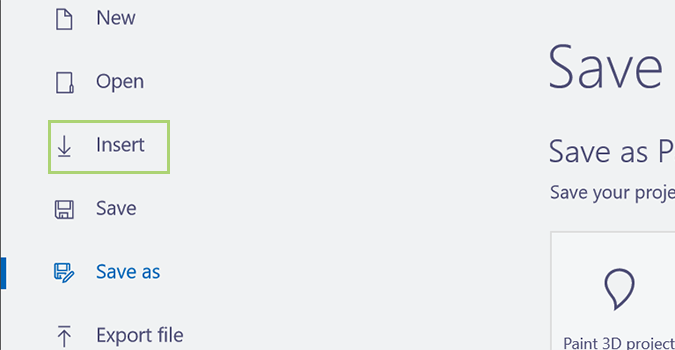
3. Choose Insert.
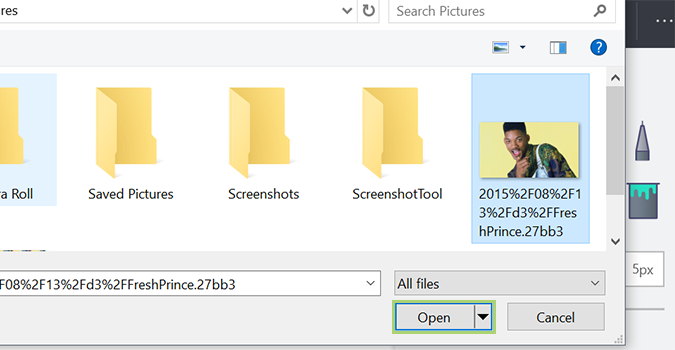
4. Select an image and click Open to place it on the canvas.
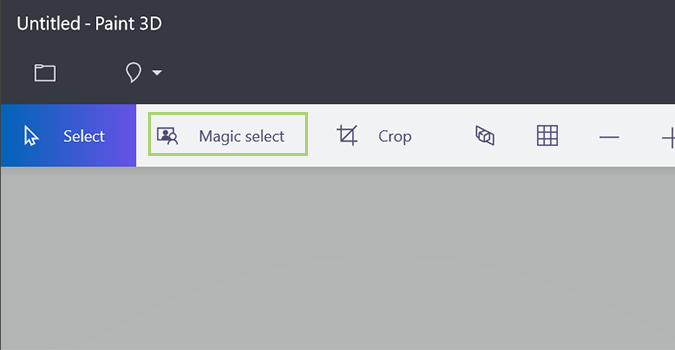
5. Click Magic Select to enable the tool you’ll use to remove the background.
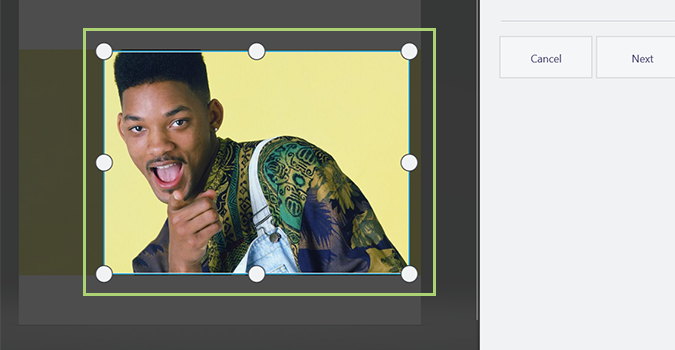
6. Drag the corners or sides of the image until it removes most of the background while still featuring the subject you’d like to keep.
Sign up to receive The Snapshot, a free special dispatch from Laptop Mag, in your inbox.
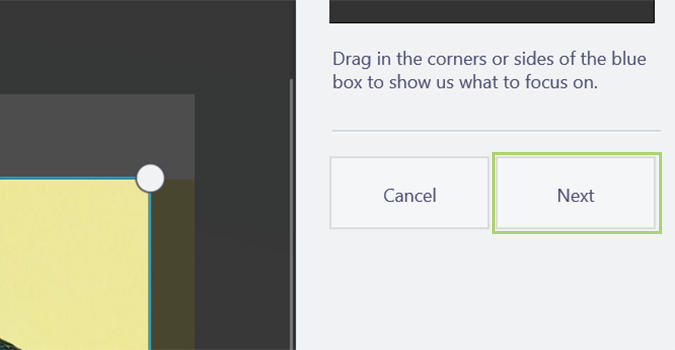
7. Click the Next button to remove the background.
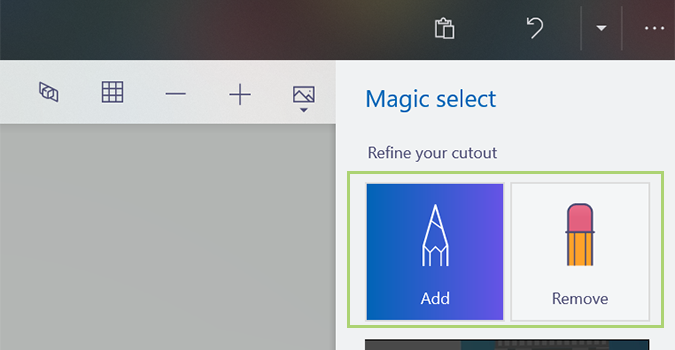
8. Use the add and remove buttons at the top to draw on additional areas needing removed (or stuff that needs to be added back), if necessary. Often times, this does the trick, and there’s no additional drawing needed, but some images are complex, and require a little massaging to get a good finished product.
9. Click the Done button.
Bryan covers everything you need to know about Windows, social media, and the internet at large for Laptop Mag. Thanks to his extensive knowledge of operating systems and some of the most popular software out there, Bryan has written hundreds of helpful guides, including tips related to Windows 11 drivers, upgrading to a newer version of the OS, editing in Microsoft Photos, or rearranging pages in Google Docs.

