How to Make a Screen Recording on a Mac
Sign up to receive The Snapshot, a free special dispatch from Laptop Mag, in your inbox.
You are now subscribed
Your newsletter sign-up was successful
One of the best ways to teach someone how to do something is by showing them, which is where macOS's screen recording comes in. For example, I have used this process to demonstrate how random number drawings performed on my MacBook are truly random.
Before you decide to record, think about if your video could benefit from narration. If so, a USB mic or a headset with in-line mic may be worth plugging into your machine. Here's how to make a screen recording on a Mac.
MORE: Which MacBook Should You Buy? MacBook vs. Air vs. Pro
1. Click Space + Command, and then type "quicktime player."
2. Select QuickTime Player.
3. Click File.
4. Select New Screen Recording.
Sign up to receive The Snapshot, a free special dispatch from Laptop Mag, in your inbox.
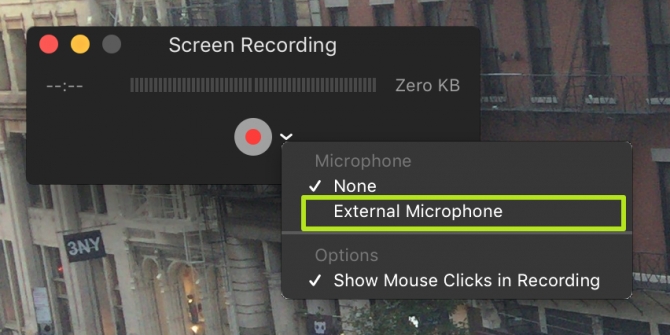
5. Click the down-pointing arrow next to the record button.
6. Select an audio source if you want to narrate the video. If you want your video to be sound-free, select None.
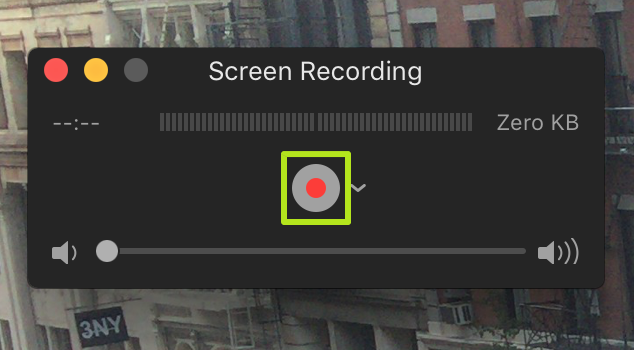
7. Click the record button.
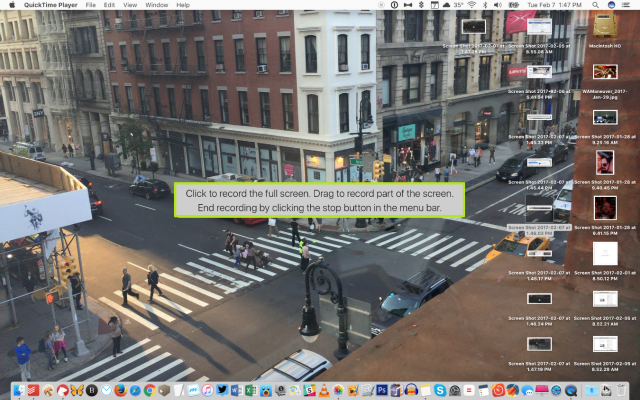
8. To start recording the whole screen, click anywhere on the screen. To record only a portion, click and drag your cursor to draw a box.
9. To stop recording, click the Stop button in the menu bar.
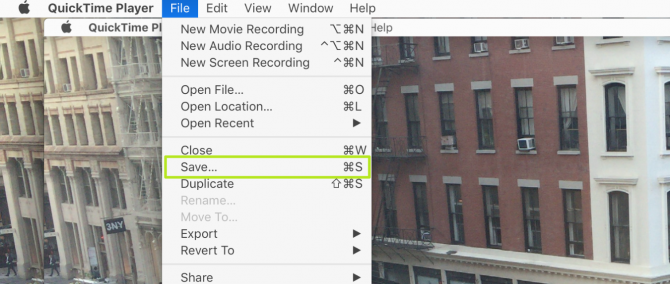
10. To save, first click File.
11. Then select Save.
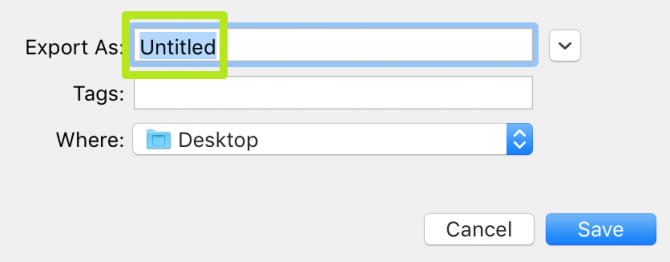
12. Name your recording.
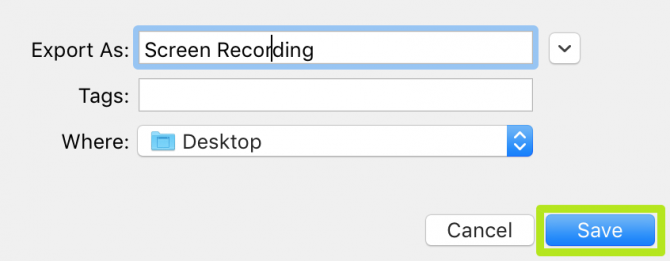
13. Click Save.
You've created a screen recording!
macOS High Sierra Tips
- How to Download and Install macOS High Sierra
- How to Use Picture-in-Picture on a Mac
- How to Use Siri on Your Mac
- How to Use Optimized Storage in macOS Sierra
- How to Use Memories in the Photos App on Mac
- How to Use Messages in macOS Sierra
- How to Use Apple Pay in macOS Sierra
- How to Unlock a MacBook with Your Apple Watch
Henry was a contributing writer at Laptop Mag. He penned hundreds of articles, including helpful how-tos for Windows, Mac, and Gmail. Henry has also written about some of the best Chromebooks, and he has reviewed many Apple devices, including various MacBook Air laptops. He is now a managing editor at our sister site Tom's Guide, covering streaming media, laptops, and all things Apple.
