How To Use Instagram
Even if you’re not an active Instagram user, your Facebook feed is surely flooded with images from the photo-sharing and editing service. The free app, which debuted on iOS before launching for Android last April, lets you shoot or upload images with the ability to edit and add filters as well. Whether you’re a photo aficionado or are simply seeking a social network with more photos and less chatter, here’s a step by step guide on how to get started with Instagram.
Create an Account
After downloading the free Instagram app from the iOS or Android app store, you’ll be prompted to create an account. Instagram accounts are public by default, but you can change this to private to restrict your photo stream to users that you approve.
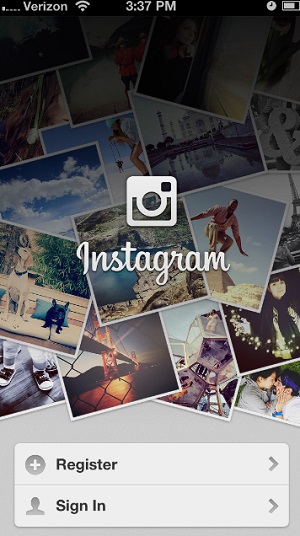
1. Click the “Register” button at the bottom of the screen.
2. Create a username and password and fill in personal information from your profile. You can choose to port your personal details from Facebook or manually enter your email address and full name. The app asks for a phone number as well, but that field is optional.
Find Your Friends
1. Select the “Find Facebook Friends” option to tell the app to automatically search for people you know. You can choose to follow individual friends by pressing the “Follow” button next to their name or tap the button on the bottom of the screen to follow all of them at once. If you’d rather get started with uploading images, you can hit the “Next” button at the top to skip this step altogether.
2. Hit the "Find Friends from Contacts" button to jump start the same process for your phone book. After this step, Instagram provides its own suggestions of accounts to follow, but if you’re not a fan of these you can just hit the “Done” button in the upper right corner to return to your profile.
Capture and Upload Images
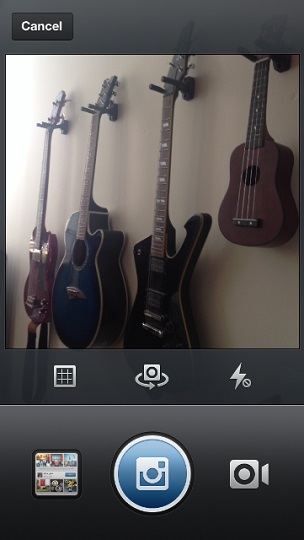
1. Press the camera button in the center of the toolbar on the bottom of the screen to launch Instagram's camera. Just like the standard camera app on your phone, simply tap the camera icon under the viewfinder to snap a photo.
Sign up to receive The Snapshot, a free special dispatch from Laptop Mag, in your inbox.
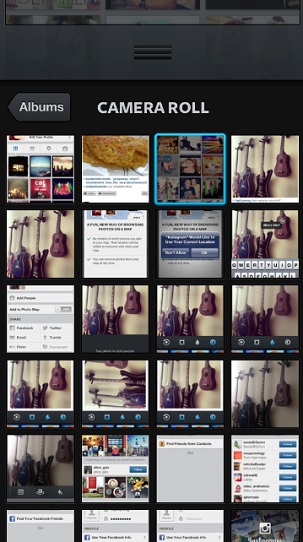
2. Tap the icon to the left of the camera to upload images from your phone's camera roll. This is a thumbnail preview of the images in your photo library, and tapping the icon will launch your gallery.
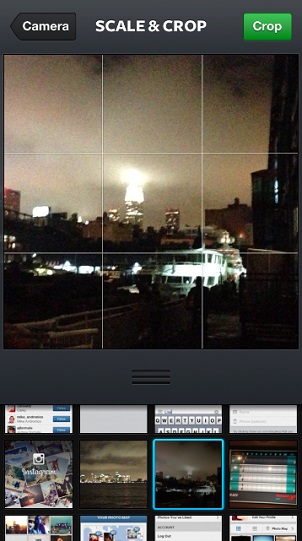
3. Drag the image from your camera roll around the viewfinder to scale and crop to your liking. Hit the Crop button when you're satisfied with your selection.
Add Filters and Borders
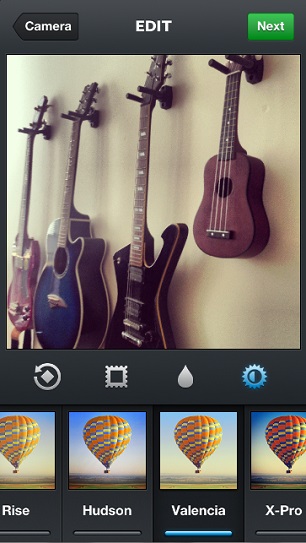
1. Choose a filter from Instagram's scrollable menu of options. If you want to leave the photo as is, select the Normal filter at the beginning of the menu.
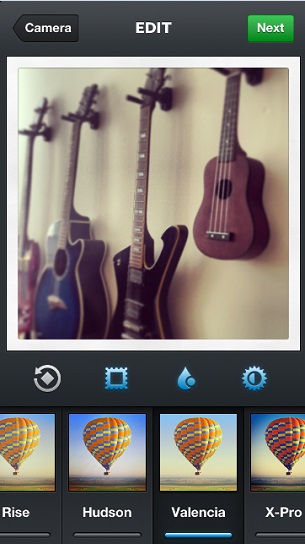
2. Browse the selection of icons just above the filter menu to choose a border or effect. The first symbol, which looks like a diamond with a circle around it, rotates your photo while the second icon resembling a postage stamp adds a border to your image.
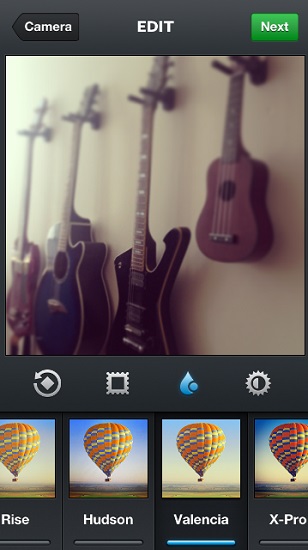
3. Select the the third teardrop-shaped icon to drag a focus point anywhere on the image to make that section appear sharper than the rest. You can also pinch-to-zoom to make this area larger or smaller.
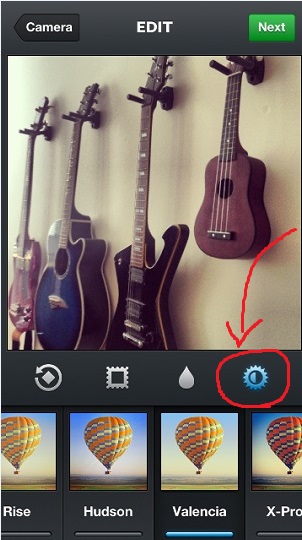
4. Press the last button that looks like a half-colored circle to even out the shadows in your image.
Captions and Sharing
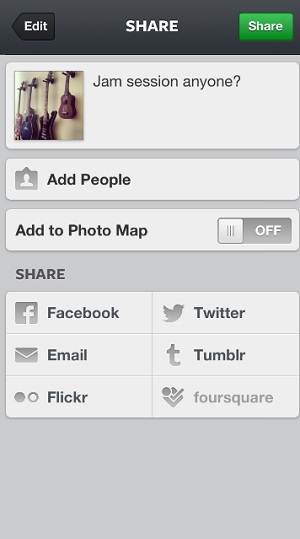
1. Add a caption to your image by typing text in the box next to the photo. You can tag specific friends in this description by typing the “@” symbol followed by his or her username. Similar to Twitter and Facebook, you can also add hashtags to posts by typing the # symbol before a word or phrase, which enables the post to appear in search results pertaining to that phrase.
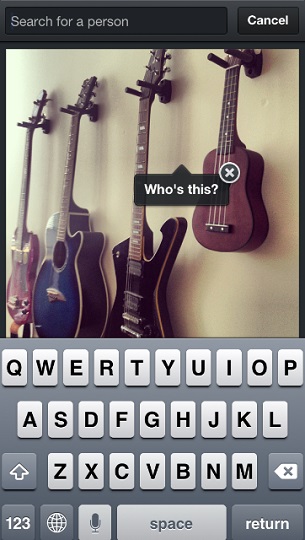
2. Tap the "Add People" button to tag your friends in the image, just like you would on Facebook. This pulls up a full-screen view of your image with the option to tap areas of the photo and add your friends' names.
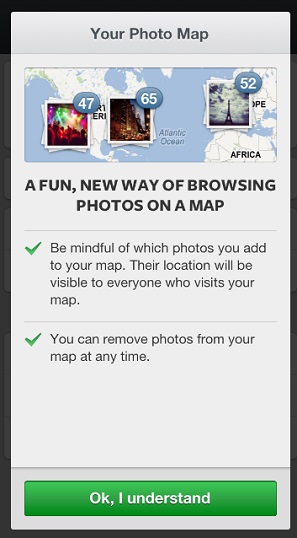
3. Switch the “Add to Photo Map” feature on to tag images on a map based on your location, similar to the way Facebook displays tagged status updates and images from your timeline on a map.
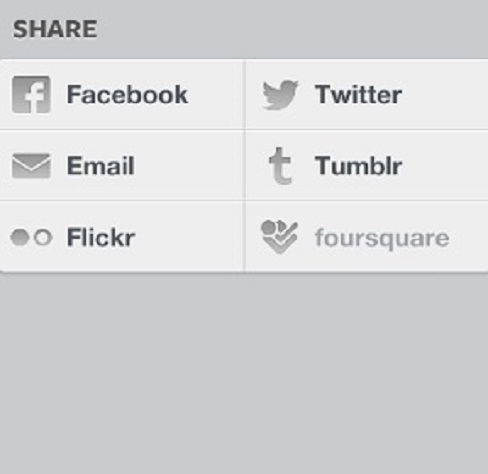
4. Tap the buttons on the bottom of the screen corresponding to your preferred social networks to link your Instagram profile with those accounts. Options include Twitter, Facebook, Flickr and foursquare. Hit the Share button when you're finished.
Newsfeed
1. Browse through your newsfeed by scrolling up and down, and hit the Refresh button at the top of the screen to load the newest images.If you see a photo that grabs your attention, you can Like it by tapping the button underneath the image. Similarly, you can add a comment by pressing the Comment link next to the Like button.
2. Hit the button with three dots on the far right of the screen to report an image as inappropriate, share the photo on Twitter or copy its URL to share on the Web.
Search and Notifications
1. Tap the Explore button in between the Home and Camera icon to perform searches based on usernames and hashtags. Under this search bar, Instagram also compiles images it thinks you would be interested in based on their popularity.
2. Press the button in between the camera icon and profile symbol to launch your Notifications page, which simply lists your interactions and updates. For example, this includes anytime a user Likes or Comments on any of your photos, whenever a new user begins following you, or when your Facebook friends join Instagram.
Edit and Manage Your Profile
1. Tap the last tab in the toolbar on the far right to view and edit your Instagram profile. This displays your entire photo stream and Photo Map and lets you make changes to your personal information. The top of the screen shows your follower count, including how many accounts you’re following and how many images you’ve posted.
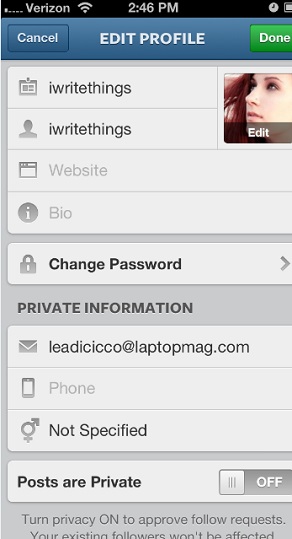
2. Tap the “Edit Your Profile” button to change your username, add your website or a short bio about yourself, and edit personal information such as your password, email address or gender. At the bottom of this menu, you can also switch your photos to private if you don’t want them to be publicly available.


