How To: Install Android 2.2 Froyo On the Motorola Droid
Sign up to receive The Snapshot, a free special dispatch from Laptop Mag, in your inbox.
You are now subscribed
Your newsletter sign-up was successful
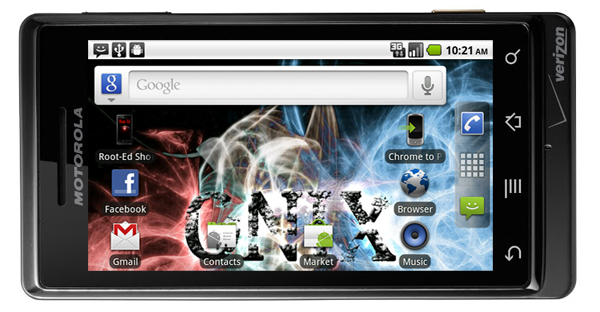
We shared our experience with Android 2.2 (Froyo) on the the Nexus One not too long ago, and heralded its speed superiority over Android 2.1. Unfortunately, if you have a Motorola Droid (and many other phones), you're still anxiously waiting for your carrier to issue an update. But the good news is, if you're willing to hack your phone, you can have Froyo on a Droid today.
After Google granted the development community access to Froyo’s official source code (during the announcement of the Droid X), rooted Froyo ROMs have become widely available. Today we’re going to show you how to root Android 2.1 on the Motorola Droid, and place a custom 2.2 Froyo ROM with Flash 10.1 (beta 3) in its place- Verizon faithful rejoice!
Before you proceed, a word of caution. The process is very risky- and could result in you bricking the device (ouch), rendering it unusable- so tread carefully. Our installation process was a breeze however, thanks to the insightful team over at Droid-Life.com. Their method is precise, and pretty much fail-proof if you follow the directions as instructed.
There are numerous rooted Froyo ROMs out there, but we decided to to go with Onix 2.0 Beta, a basic but stable one, with an official release coming soon. We’ll also have a part two to this guide, which will showcase the hottest Froyo ROMs we’ve tested, so developers feel free to leave us a link to your ROM in the comments section, and we’ll give it a run. In the meantime, here’s everything you’ll need to make Froyo on the Droid a reality:
Checklist
- Motorola Droid (US phone, not the international Motorola Milestone version) running stock Android 2.1, non-rooted
- PC running Windows XP, Vista, or Windows 7 (32-bit and 64-bit supported)
- The latest Motorola Droid drivers (currently at version 4.5) click here
- The RSD Lite flashing software click here
- The SPRecovery SBF image file click here
- A rooted Android 2.2 Froyo ROM of your choice (we’re using Onix 2.0 Beta which you can find here )
- Flash 10.1 (beta 3) .apk file click here
- Android Mate application (once Froyo is installed, download it from the Android Market)
- *optional* Droid X wallpapers (they look neat) click here
Installation Process
Part 1
Sign up to receive The Snapshot, a free special dispatch from Laptop Mag, in your inbox.
1. Install the latest Motorola Droid driver. Make sure you install the appropriate 32-bit or 64-bit Motorola Droid driver (click here) that corresponds with your operating system. Failure to do so will result in the flashing software not being able to recognize your device.
2. Download the SBF image file. Save the SPRecovery SBF image file (click here) to a place on your hard disk other than your desktop. Do not rename the file or tamper with the file extension.
3. Install RSD Lite 4.6. Download the RSD Lite flashing software (click here) and follow the directions to install it to your PC.
4. Connect the Droid. Connect the Droid to the USB port on the PC. Once the Droid is recognized, power it off, but do not disconnect it from the computer.
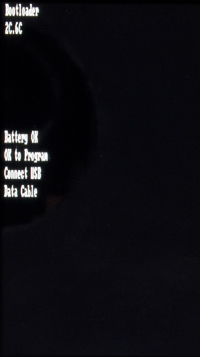
5. Run RSD Lite. Run the RSD Lite 4.6 software on your PC. Once running, slide out the Droid keyboard, holding the phone in the landscape position. Hold up on the d-pad, then press the power button for five seconds. A black screen will appear with white letters indicating the Bootloader interface.
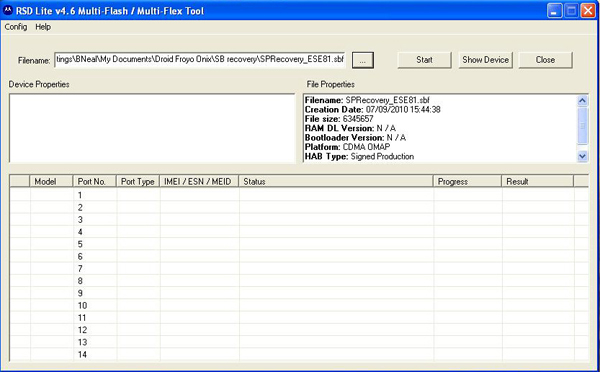
6. Perform the flashing process. Back in RSD Lite, click on the ... box (near the filename box), and locate the SPRcovery SBF file you saved earlier. Double click the file to open it in RSD Lite. Once loaded, click "start", which will begin the flashing process- it should take no more than 30 seconds to a minute.
- Double Check. Once the flashing process is completed, reboot the Droid, and reopen RSD Lite. There should be a 100% "completed" status indication, which indicates that the flashing was successful. On our XP testbed, RSD Lite showed the 100%, but it indicated an "in progress" status. Should this happen to you, reboot the Droid once more for safe measure, and open RSD Lite again. If the status says 100%, but "in progress" (as ours did), you should be fine and now have SPRecovery on the Droid. You can now close RSD Lite, and disconnect the phone from the computer.
Part 2
From this point, you can install a custom Android 2.2 Froyo ROM. We're using Onix2.0 Beta and will walk you through the process. Follow these next steps:
- Backup. Backup any files you want to restore now. The next couple of steps will wipe the Droid clean, and perform a fresh install.
- Download Onix. Download the Onix 2.0 Beta ROM (click here), and rename the file to update.zip. If you enable the option to view the file extension in Windows, you will see the sholes_onix_beta files name, followed by the .zip extension. You only need to change the first part. The file will be renamed as update.zip, not update.zip.zip.
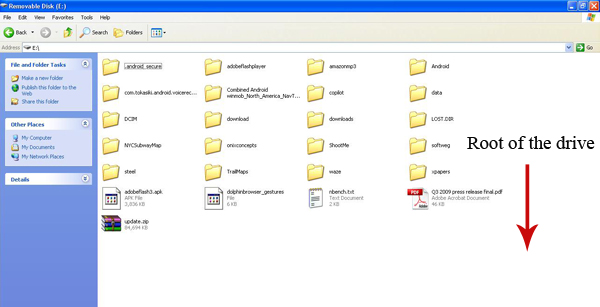
- Root the ROM file. Place the update.zip ROM on the root of your sdcard. The root is the main directory of a drive, and not located in any folder.
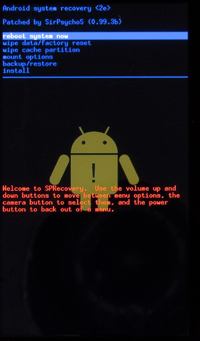
1. Reboot the Droid. Reboot the Droid into recovery mode by holding the power and “x” button simultaneously.
2. Finish the installation from recovery mode. From the menu options, select “Wipe data/factory reset”. Next, select “Wipe cache partition”, then choose “Install”. Select “Allow update.zip installation”, then choose “Install /sdcard/update.zip (deprecated)”. This will install the Android 2.2 ROM onto the device. Allow the installation process to complete.
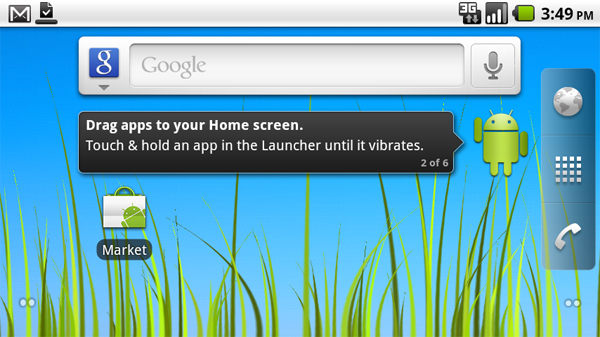
3. Reboot. Reboot the Droid, and shortly the Onix logo followed by the familiar Android start-up phase will appear. You now officially have android 2.2 on the Droid! From there, you will perform the usual process of adding your Google account to get to the home screen.
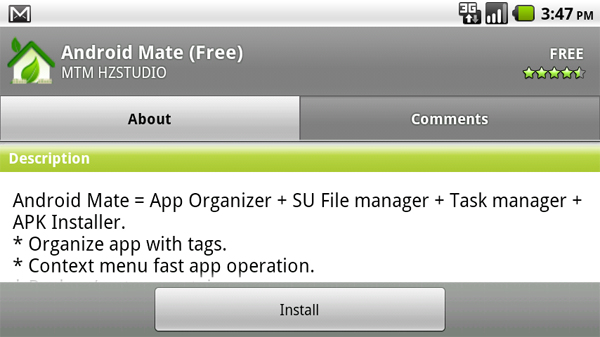
4. Download Android Mate. Before you can install Flash, download the Android Mate application from the Android Market.
5. Download Flash. Download the Flask .apk file. (click here)
6. Connect the Droid. Connect the Droid to the computer, and enable the USB file transfer mode. Place the Flash .apk file on the root of the microSD card.
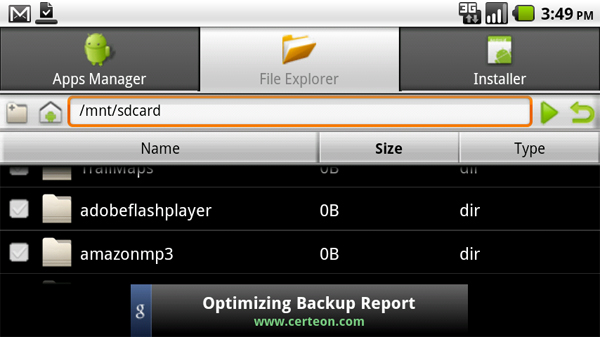
7. Launch Android Mate. Open Droid Mate, then locate and launch the "adobeflash3.apk" file. This will install Flash 10.1 (beta 3) on the Droid!
8. Install additional wallpapers. *optional* These Droid wallpapers are the same from the upcoming Motorola Droid X. While not necessary to install, they're hot. you can download the pack by clicking here.
And that's it! You should have Android 2.2 fully functional on the Droid. Check back for part two of this feature, as we will be showcasing some of the hottest Froyo ROMS available. Please feel free to submit your ROM in our comments section, and we will give it a go.
*Special thanks to Droid-Life.com and Onix Concepts
