How to Add Text to an Evernote Web Clip
Sign up to receive The Snapshot, a free special dispatch from Laptop Mag, in your inbox.
You are now subscribed
Your newsletter sign-up was successful
As powerful as Evernote is, it’s far from perfect. Simple features, such as inputting text are often not-at-all intuitive to new users. Take the Web Clipper, for example. While easy to use, it’s lacking a dedicated area to add or edit text to a clipping; or so it seems.
Evernote actually has two ways to add text to web clippings, but they aren’t the most intuitive or easy to find. Let's have a look at how each of them works.
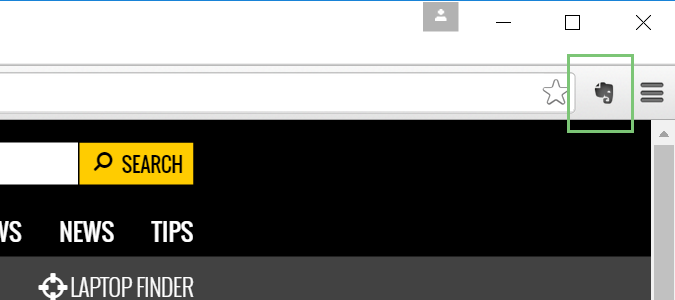
1. Open your browser and click on the Evernote Web Clipper.
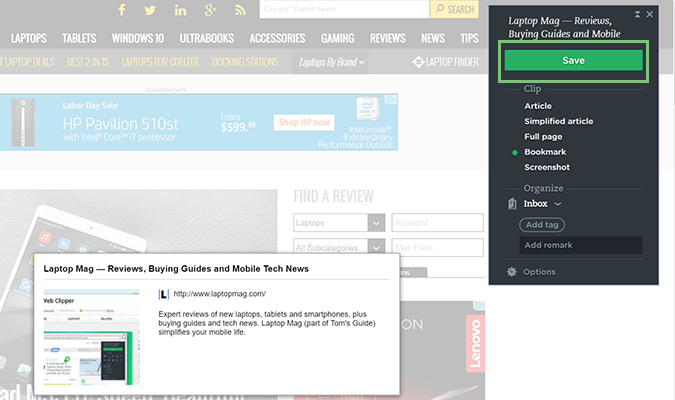
2. Select Bookmark.
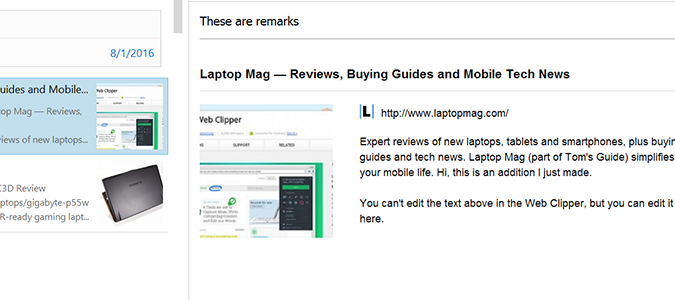
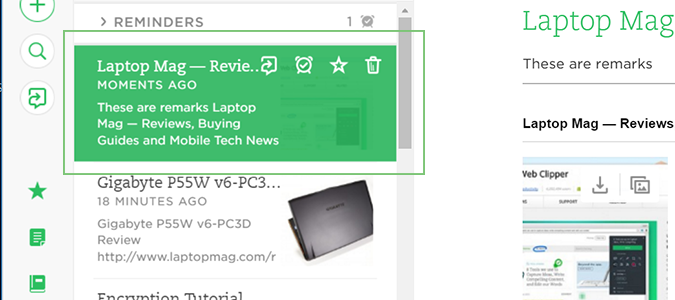
You can’t add text from here directly, nor is it possible from any of the other options (Screenshot, Simplified Article, etc.), but you can add “remarks” which show up as addendums to the note. It’s not perfect, but it’s the best you can do from the clipper itself.
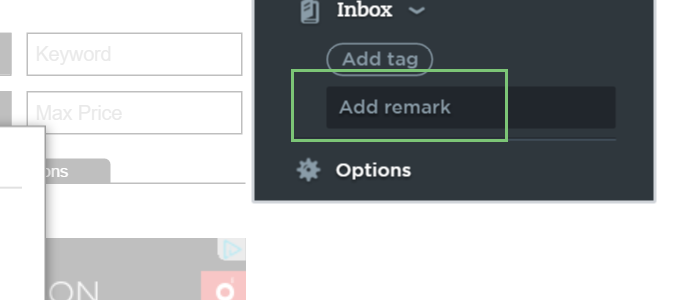
3. Click Add Remarks and type in your text.
4. Click Save to send the note to Evernote.
Sign up to receive The Snapshot, a free special dispatch from Laptop Mag, in your inbox.
Next, we’ll go over how to add text within an existing note or web clip.
5. Open Evernote’s web or desktop client and sign-in, if necessary.
6. Click the note you’d like to edit.
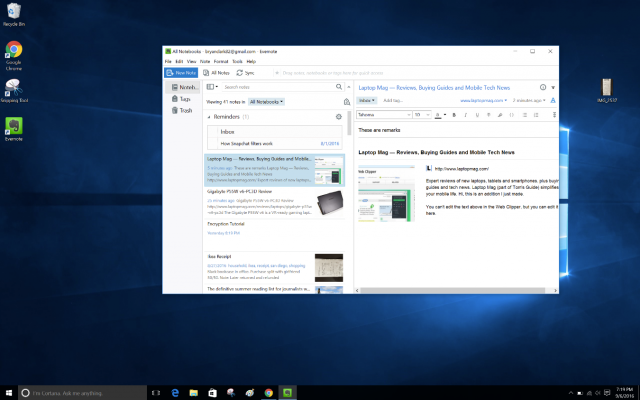
7. Move the cursor to the text area within the note and begin editing or adding text.
Note the difference between remarks and edits, as the former appears in a separate section of the note. The latter, however, allows you to edit text from the clip itself.
8. Add your text and click the sync button to store your changes if you’re on the desktop client.
The web version automatically syncs any changes.
- How to Import and Organize Your Receipts in Evernote
- How to Transfer Notes from Evernote to OneNote
- How to Automatically Archive Your Instagram Photos with Evernote
Bryan covers everything you need to know about Windows, social media, and the internet at large for Laptop Mag. Thanks to his extensive knowledge of operating systems and some of the most popular software out there, Bryan has written hundreds of helpful guides, including tips related to Windows 11 drivers, upgrading to a newer version of the OS, editing in Microsoft Photos, or rearranging pages in Google Docs.
