How to Change Your Router's Wireless Channel
All wireless signals operate within one of 11 frequency zones, and when too many nearby routers are running on the same frequency, it could slow down the network and prevent you from doing the things you want to do online. Often, routers operate on a single channel by default, though some newer routers automatically scan and change channels on the fly. Manually changing your channel to one not being used by other parties will speed up your network and keep you happily streaming away.
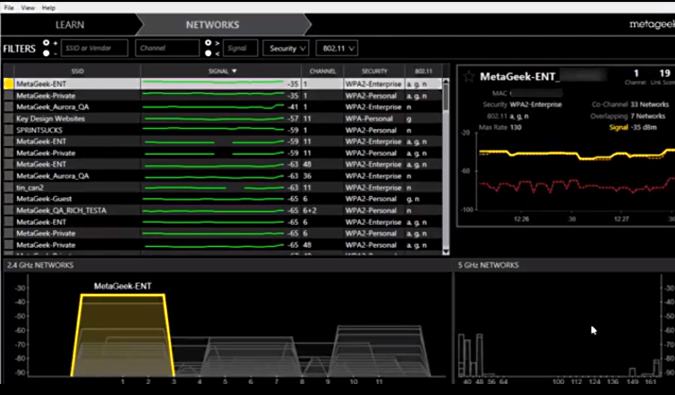
1. Download and install inSSIDer from MetaGeek. This is one of the most widely used network diagnostics tool for troubleshooting connection issues. This free tool will analyze all networks within the range of your router, giving you the MAC address, signal strength, encryption type and what channel that network is using. With this information, you’ll be able to tell which channel is the least used in your neighborhood.
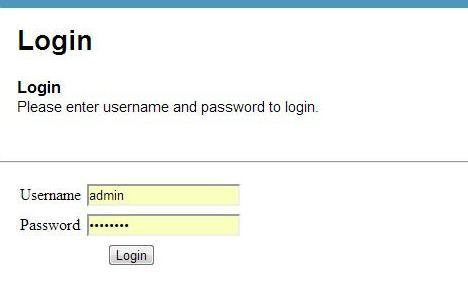
2. Log into your account. Open your browser and enter the manufacturer’s default IP address, typically located on the underside of your router or in the user manual or a custom one that you set. Using your username and password, log into your router settings page.
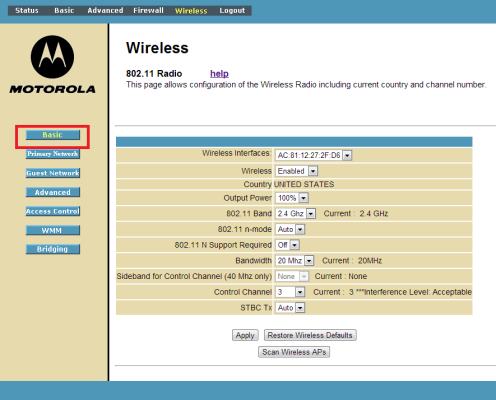
3. Open the Wireless tab to edit your wireless settings. Once there, go to the “Basic” (or equivalent) tab if you’re not already on the correct page. The Channel (or Control Channel) settings will likely be on the main wireless network tab.
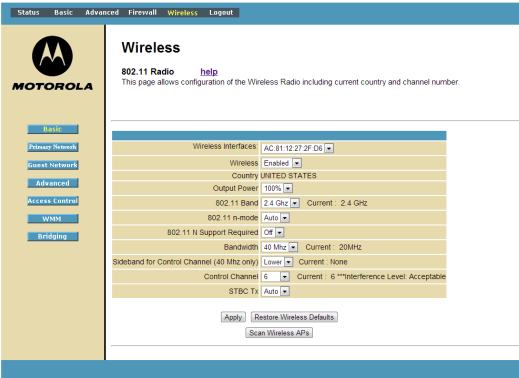
4. Change the Channel/Control Channel by selecting the channel identified as the least used in Step 1 in the drop-down menu.
5. Click Apply.
6. Re-check often because several modems can now automatically set their channels, be sure to run inSSIDer on a weekly basis to ensure you always are running on the optimal channel for your wireless needs.
Sign up to receive The Snapshot, a free special dispatch from Laptop Mag, in your inbox.


