Dragon’s Dogma 2: 10 useful tips to get started
Show that dragon who’s Arisen with these 10 tips and tricks
Sign up to receive The Snapshot, a free special dispatch from Laptop Mag, in your inbox.
You are now subscribed
Your newsletter sign-up was successful
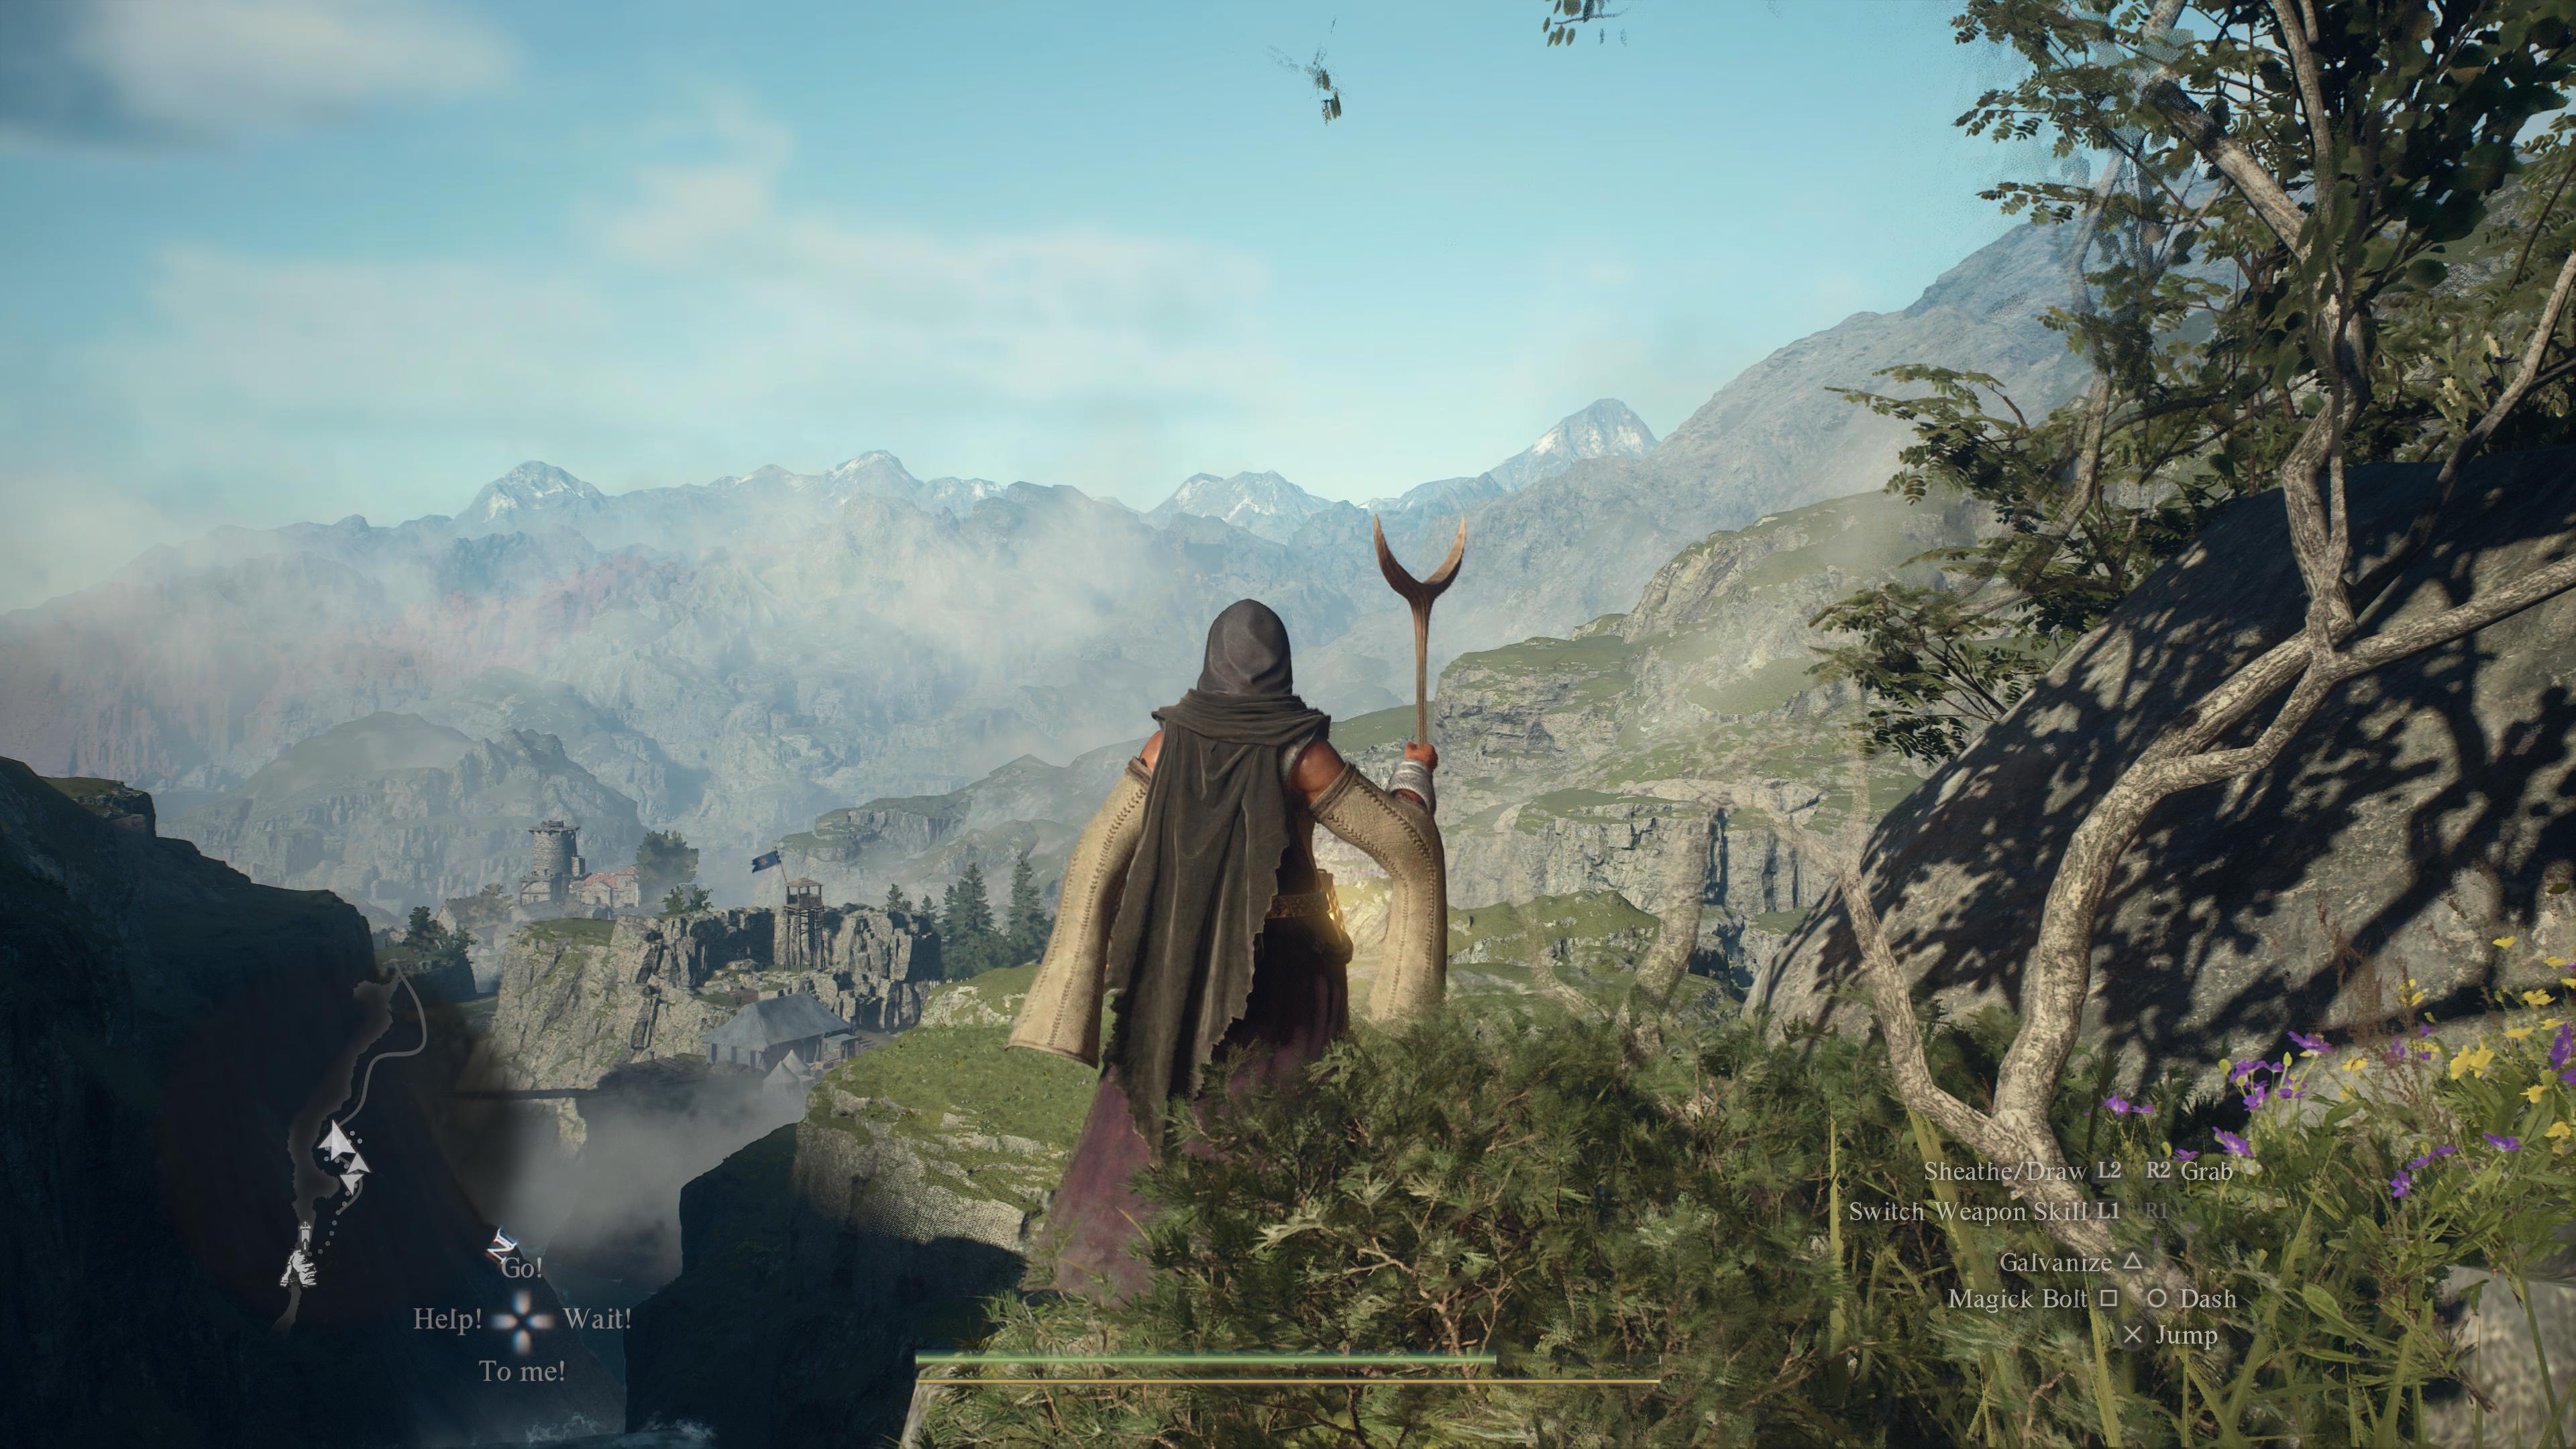
Dragon’s Dogma 2, the latest and greatest open-world fantasy RPG, is finally out. If you haven’t played the original Dragon’s Dogma, you’ll be in for one hell of a trip when an ogre drop-kicks you off a cliff. This game is tough.
Don’t be discouraged, however. It isn’t souls-like-hard, but it’s still challenging. I’ve written up 10 tips and tricks for you to keep in mind as you’re heading into the lands plagued by the dogma of dragons. I tried to steer clear from basic mechanical tips that you can figure out on your own and instead focus on the nitty and gritty details.
Here are 10 tips to help you survive Dragon’s Dogma 2.
Article continues belowIt's dangerous to go alone
At the risk of stating the obvious, do not venture into ogre-infested woods all by your lonesome. There's a reason one of the first things you do after making your character is create a Pawn. You need them as much as they need you. Your Pawn will also level with you, so you can customize their vocations the way you wish. You can also give them better gear as well.
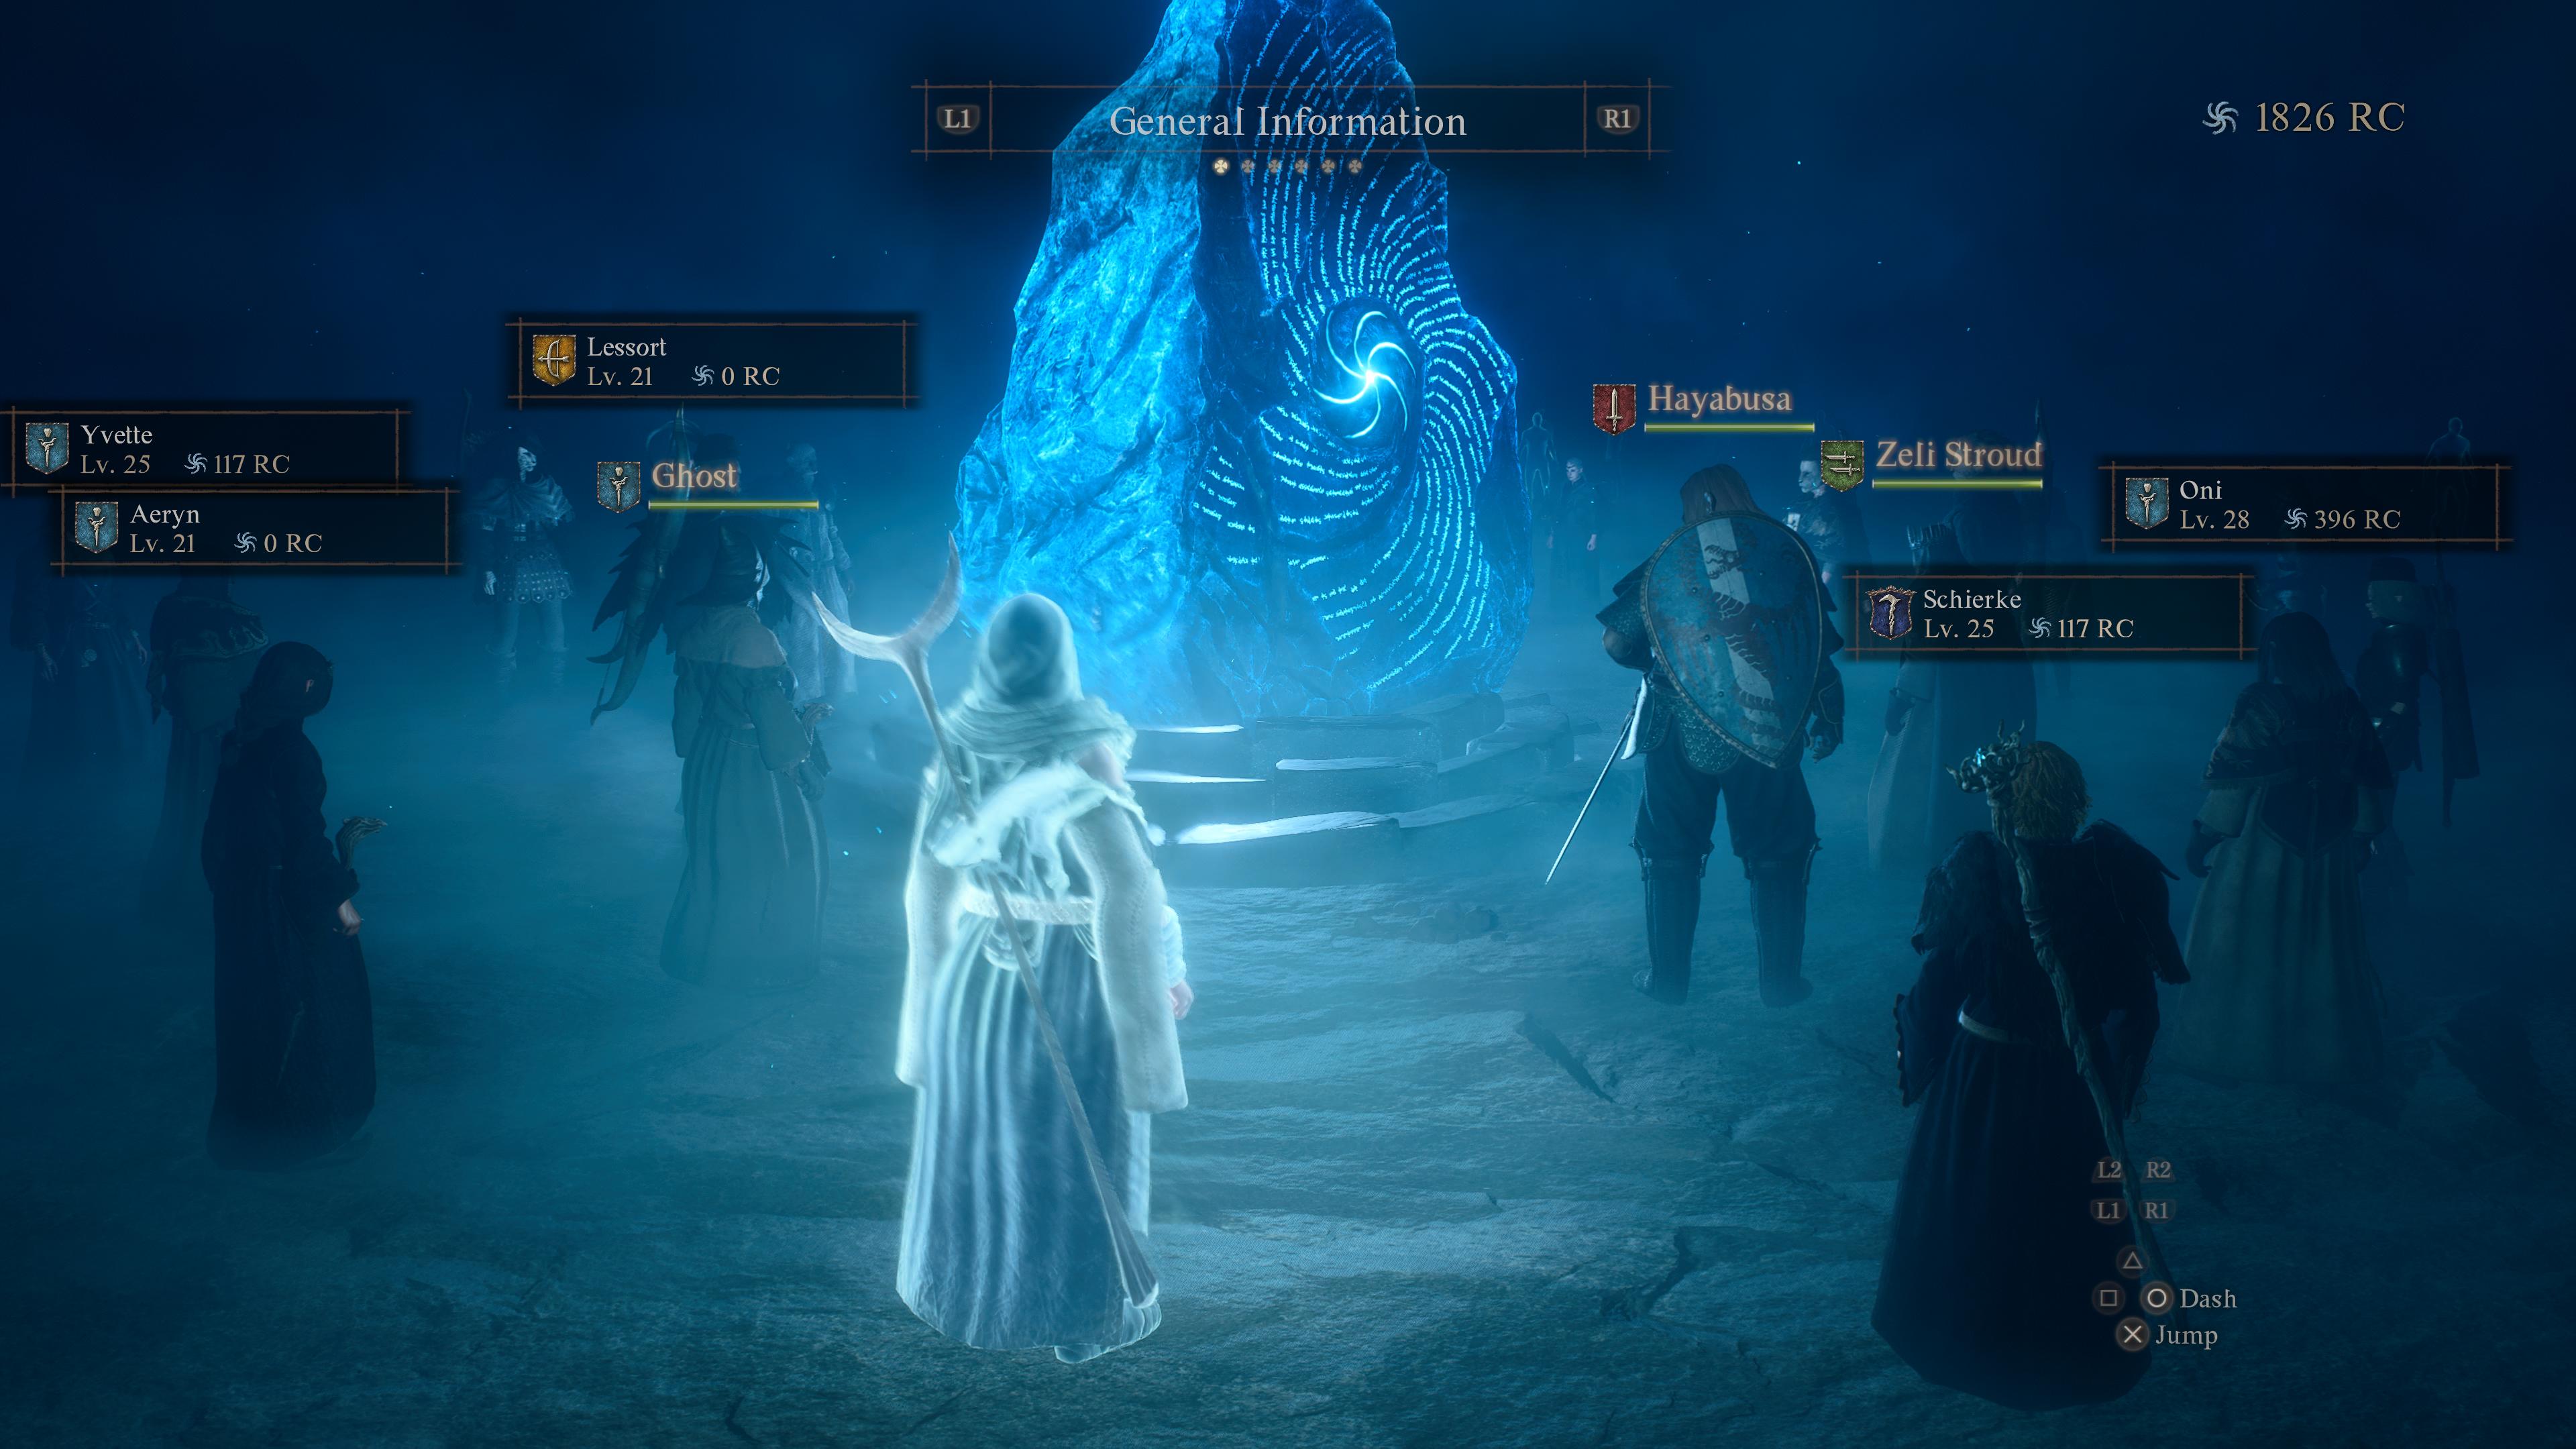
You should also consider taking more Pawns from other Arisen. Conscripting Pawns that are at your level or lower don't cost anything. It's incredibly valuable to have a rounded out party to deal with the dangers to come. When I was using the Fighter vocation, I did not have access to any fire magick, so I could not kill the slimes that trapped me in a cave, but my Pawn Thief with fire daggers destroyed them.
Dragon's Dogma 2 is not designed to be soloed. Take a Pawn. If you want a greater challenge, stick with only your own Pawn at the very least, so they can level up with you.
Play this vocation first
Unlike the original Dragon's Dogma, you're highly encouraged to swap between vocations in Dragon's Dogma 2, and you should! Each vocation has a set of passives (Augments) you unlock as you level up, and the best part about those passives is that you can equip them to any vocation you like. Therefore, playing with all the vocations is totally worth it. You can see the passives on each vocation beforehand so you get an idea of what you should work on first.
Sign up to receive The Snapshot, a free special dispatch from Laptop Mag, in your inbox.
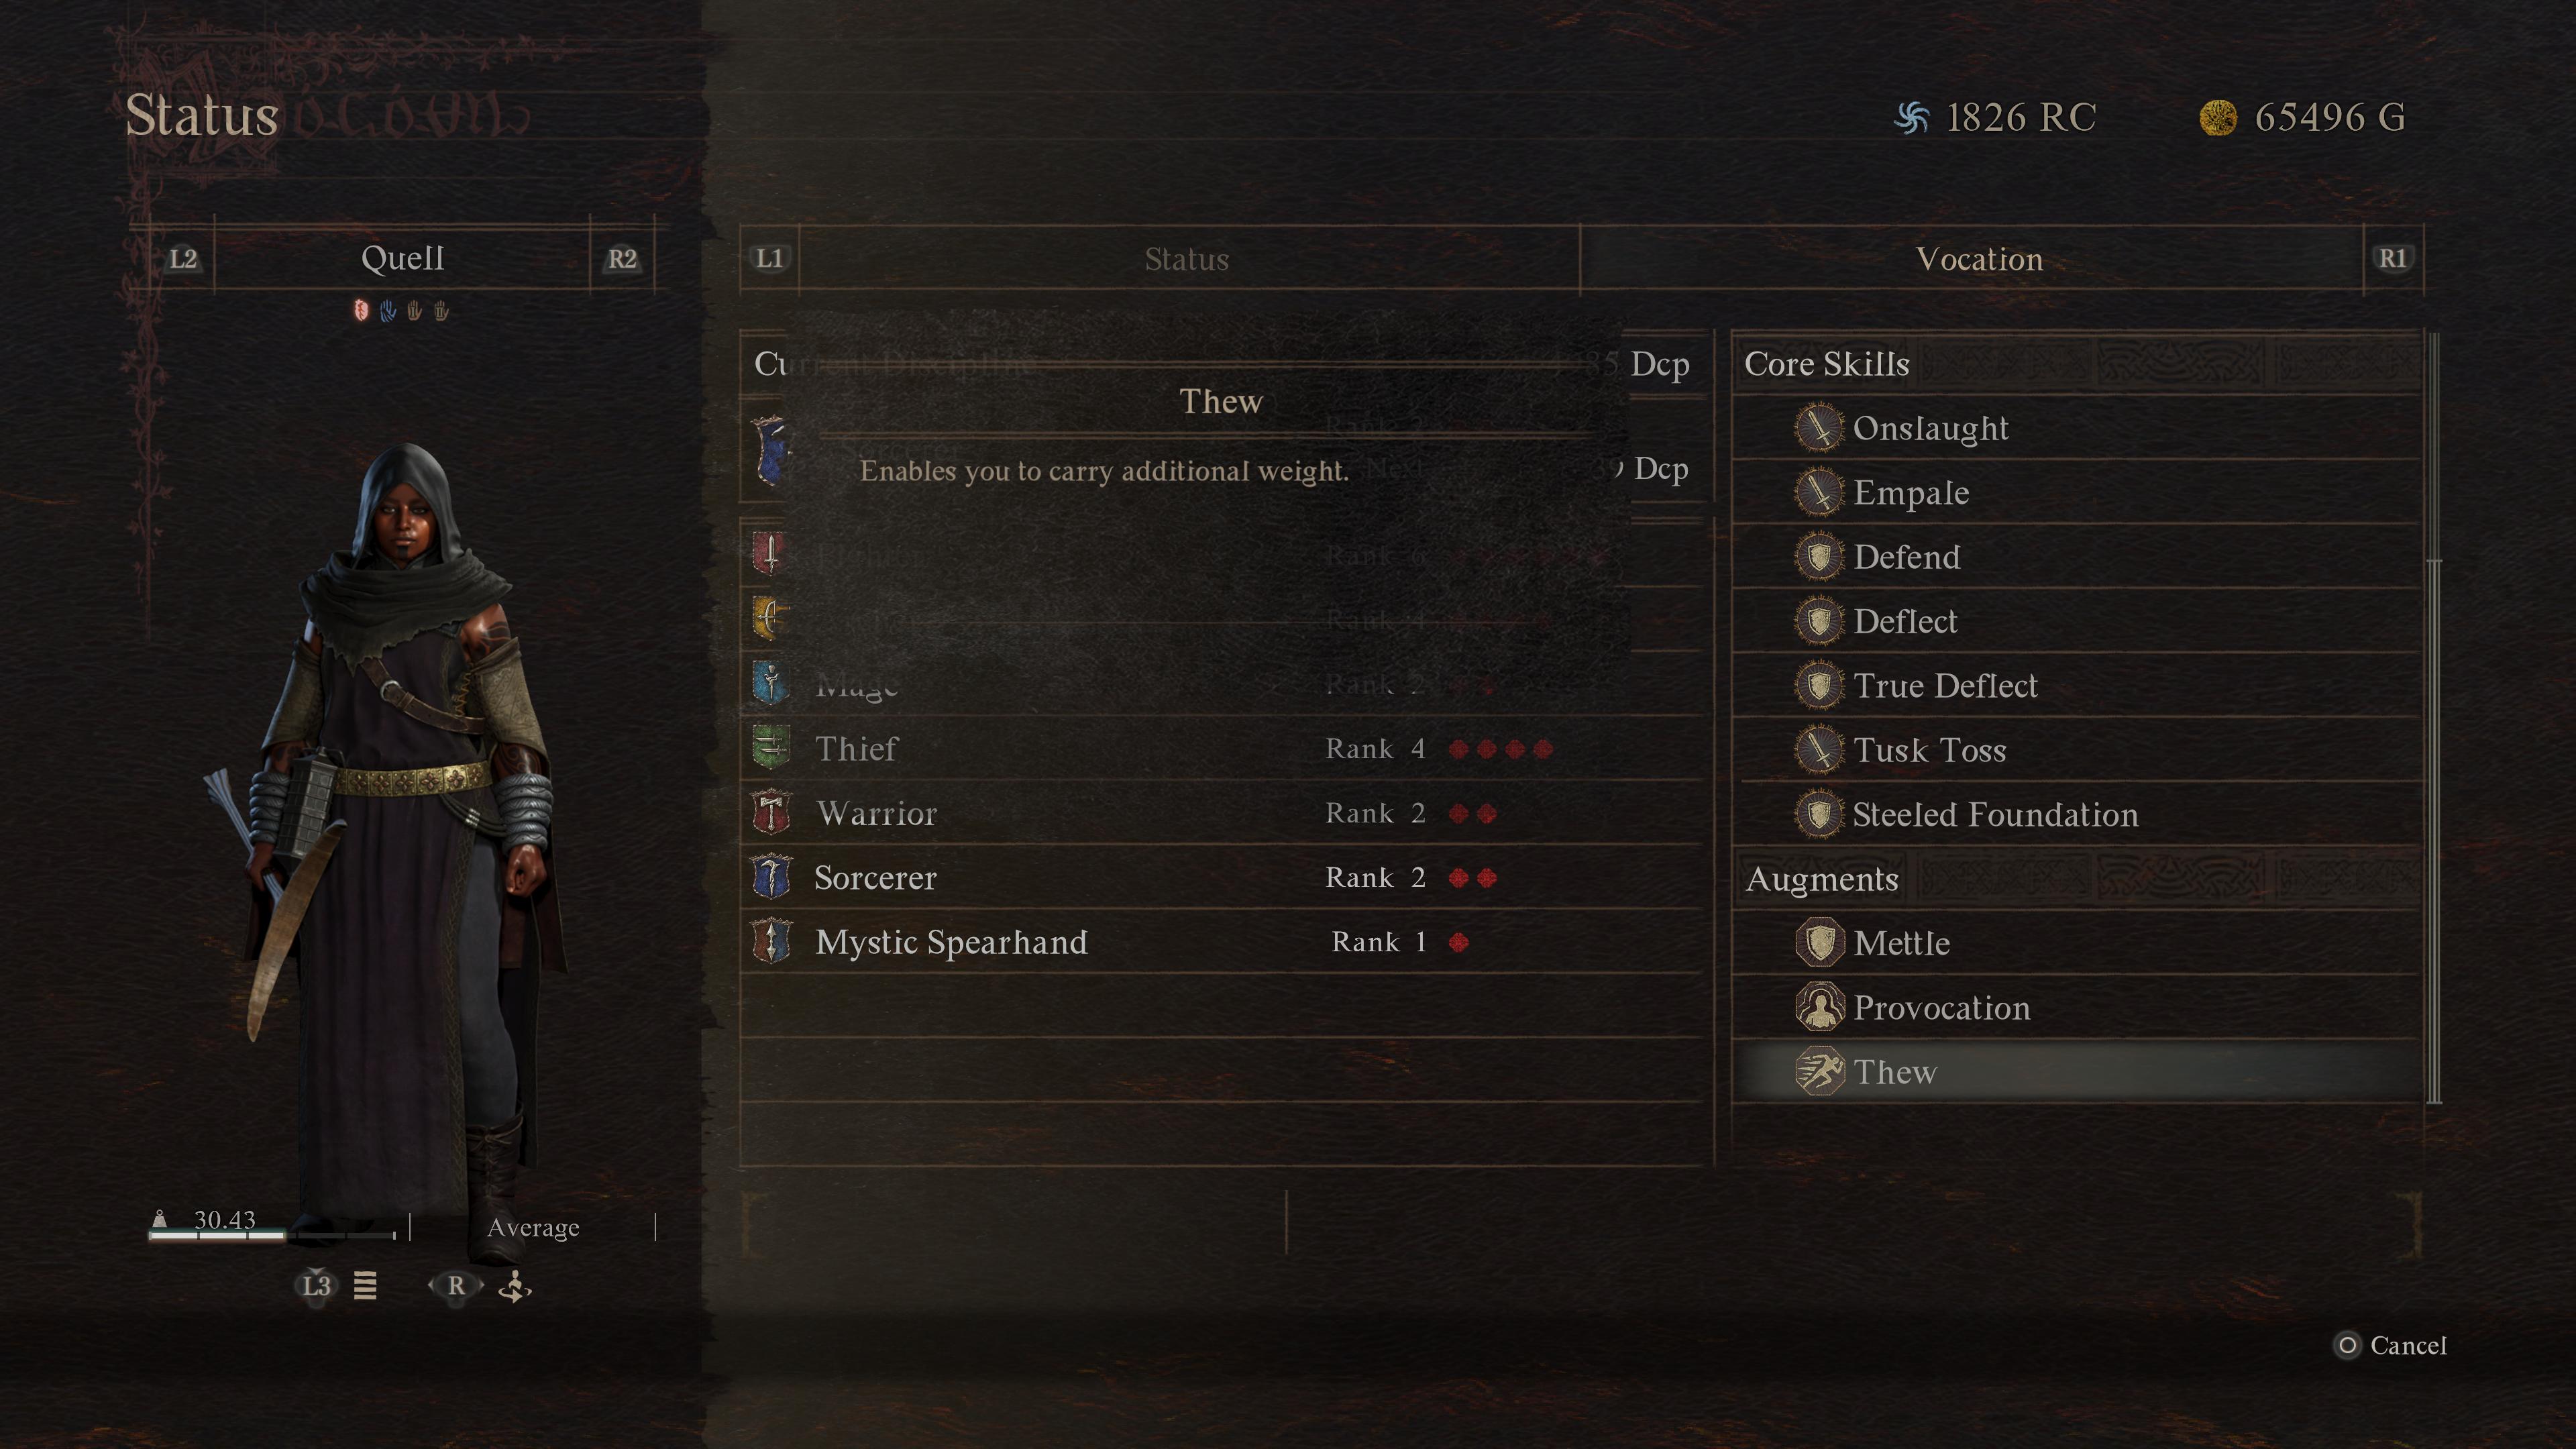
I do, however, highly recommend playing the Fighter first. At level 6, you unlock the Thew passive. This will increase the total weight that you can carry without being encumbered. If you've played the game for more than 10 minutes, you know how easily you can get slowed down by a few camping kits. If you do this for your Pawn as well, you’ll be carrying the world with no problem.
Manage Pawn inventory
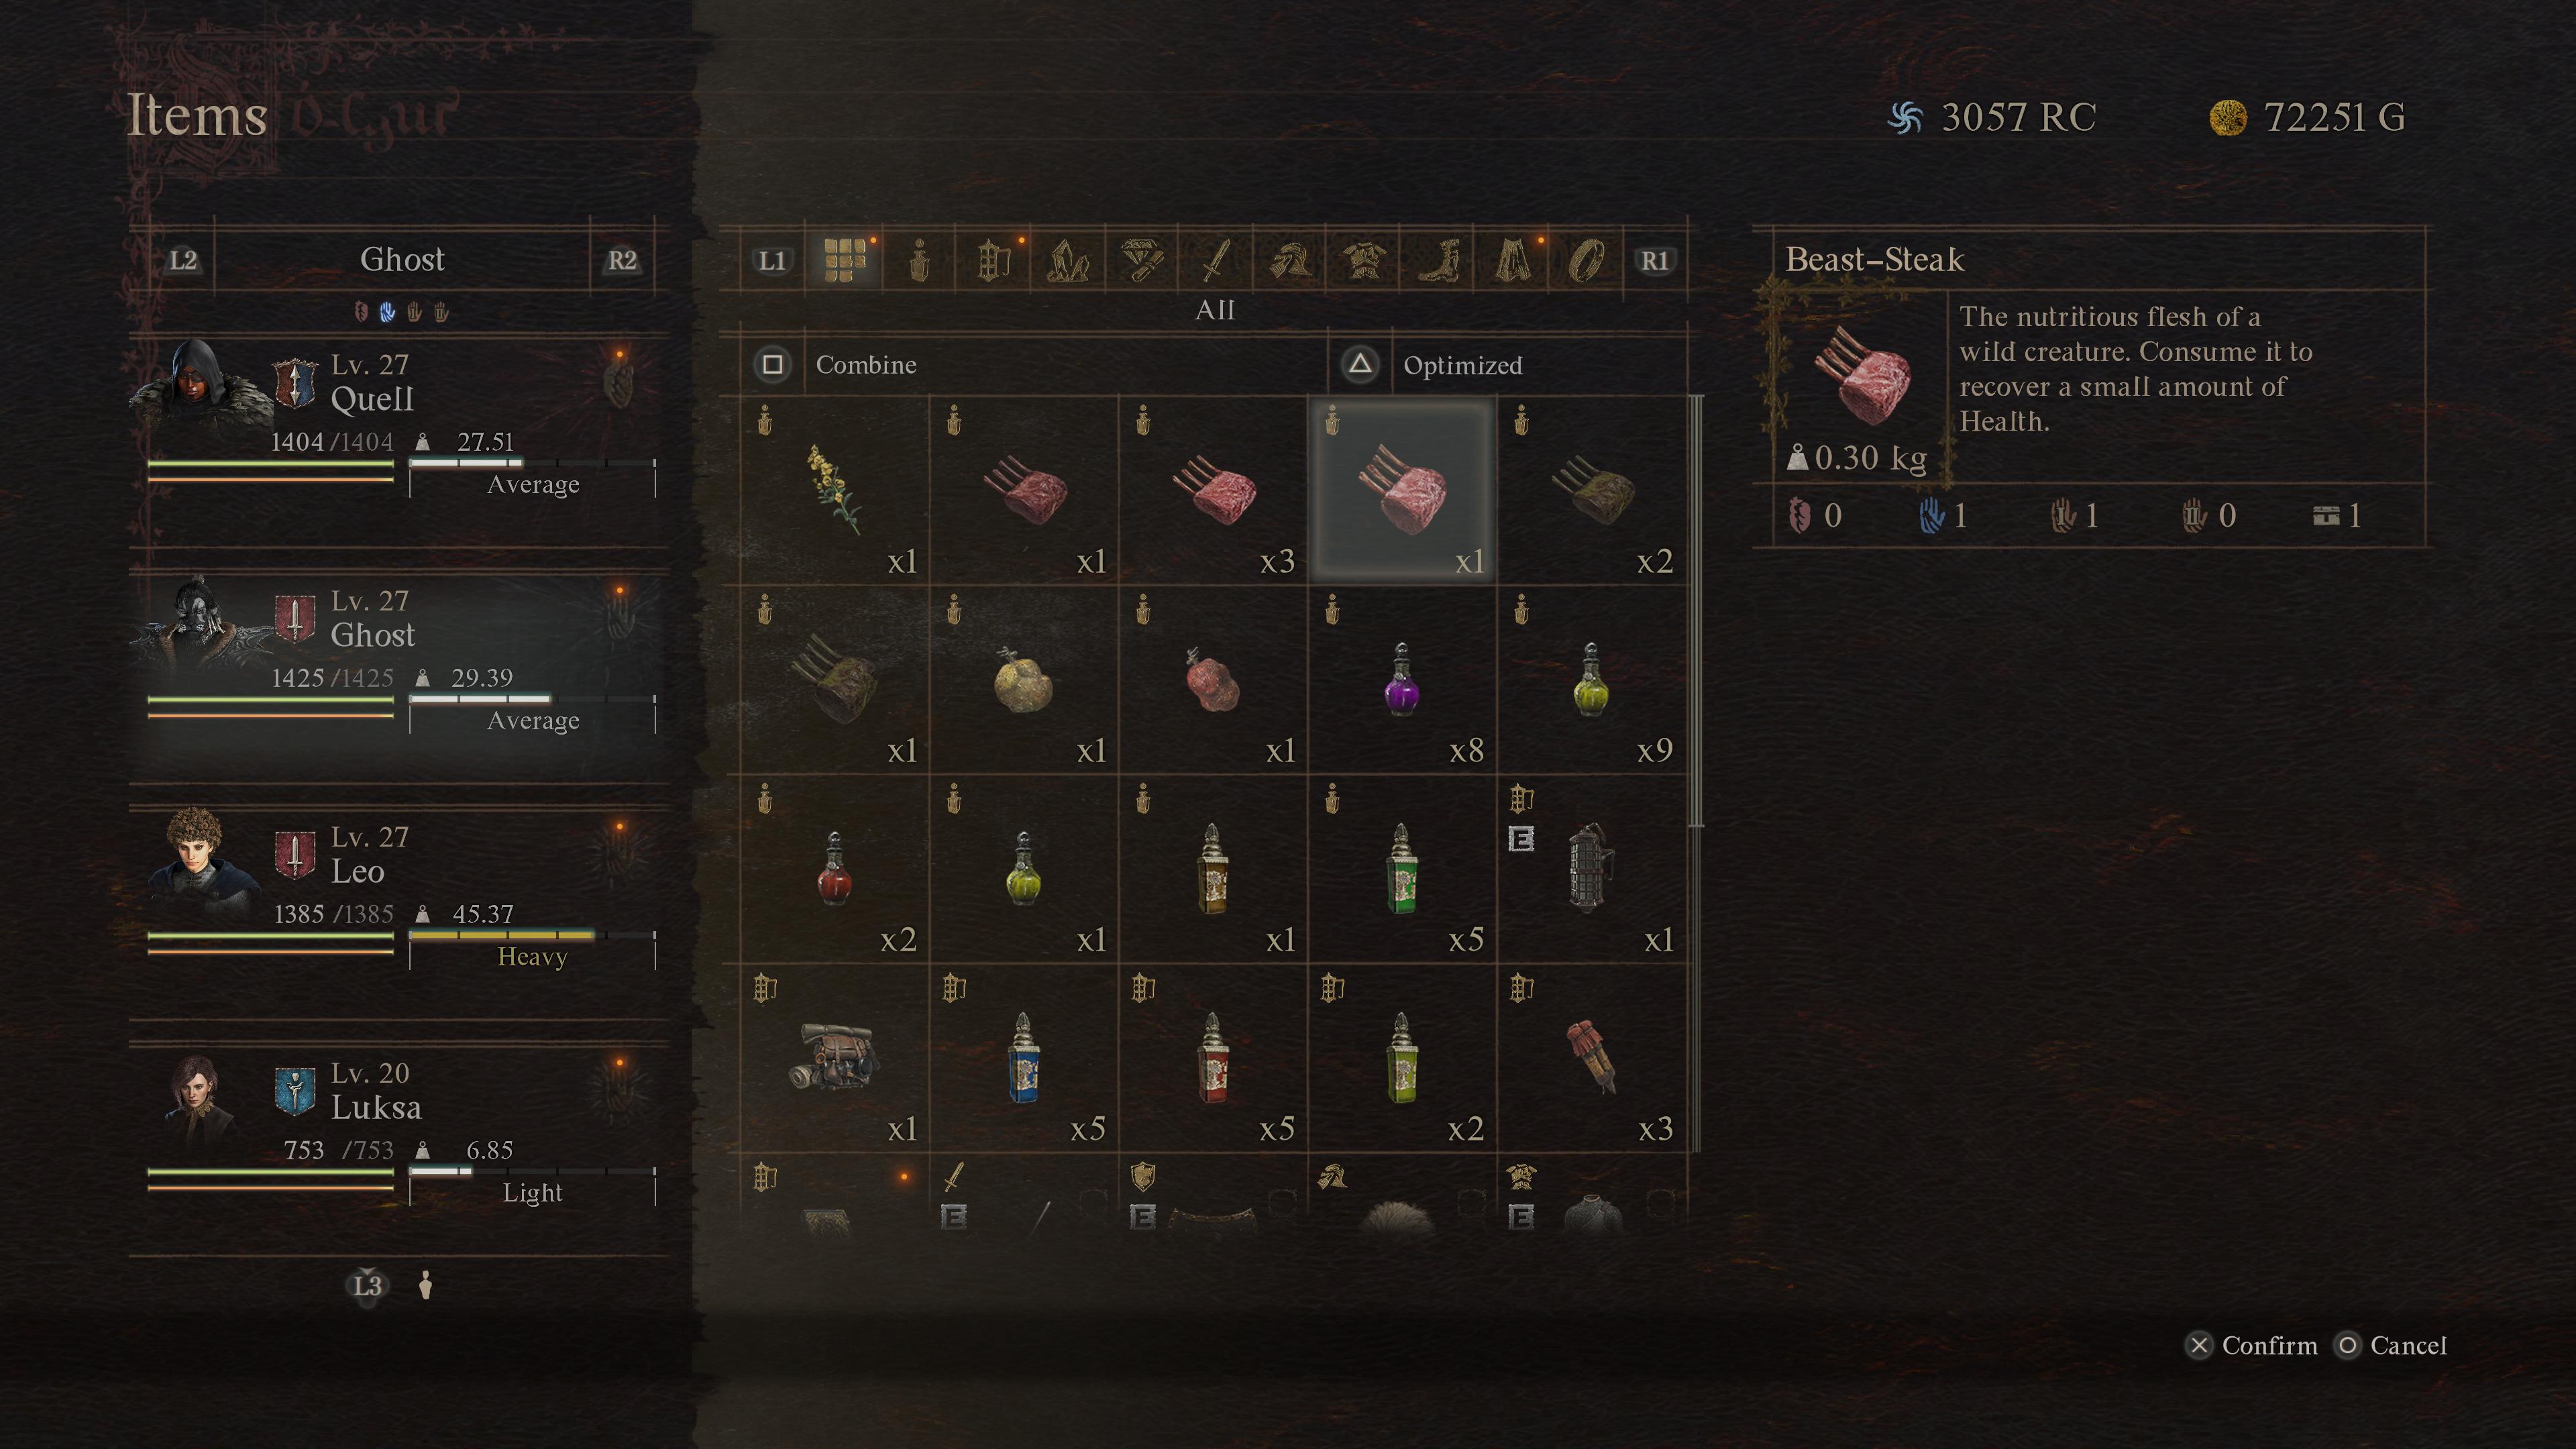
Speaking of carrying the world, another benefit of taking more Pawns is more carry weight. However, there’s a risk involved. Whenever you decide to take on a new Pawn when your party is full, it’ll ask you if you want to dismiss another Pawn. You can do so easily, but they will leave with your loot. This is an incredibly frustrating feature that I hope is patched at some point, but right now you need to remove vital loot from their inventory.
This isn’t just a feature for dismissal, either. If your Pawns die, as they so often do without me noticing (I swear it’s like the world swallows them up), all the loot they carry disappears. Even if you saved them as a favorite and resummon them through a rift, they will not return with that loot.
So what I do is have the additional Pawns carry camping supplies, whereas my personal Pawn carries all my important loot (if they die, they resummon with all loot intact). Since camping supplies aren’t too valuable and also heavy as all hell, it works out.
Stealth is a thing
There’s no real stealth mechanic (even though there should be), but you can stealth your way around restricted areas with ease thanks to the Thief vocation.
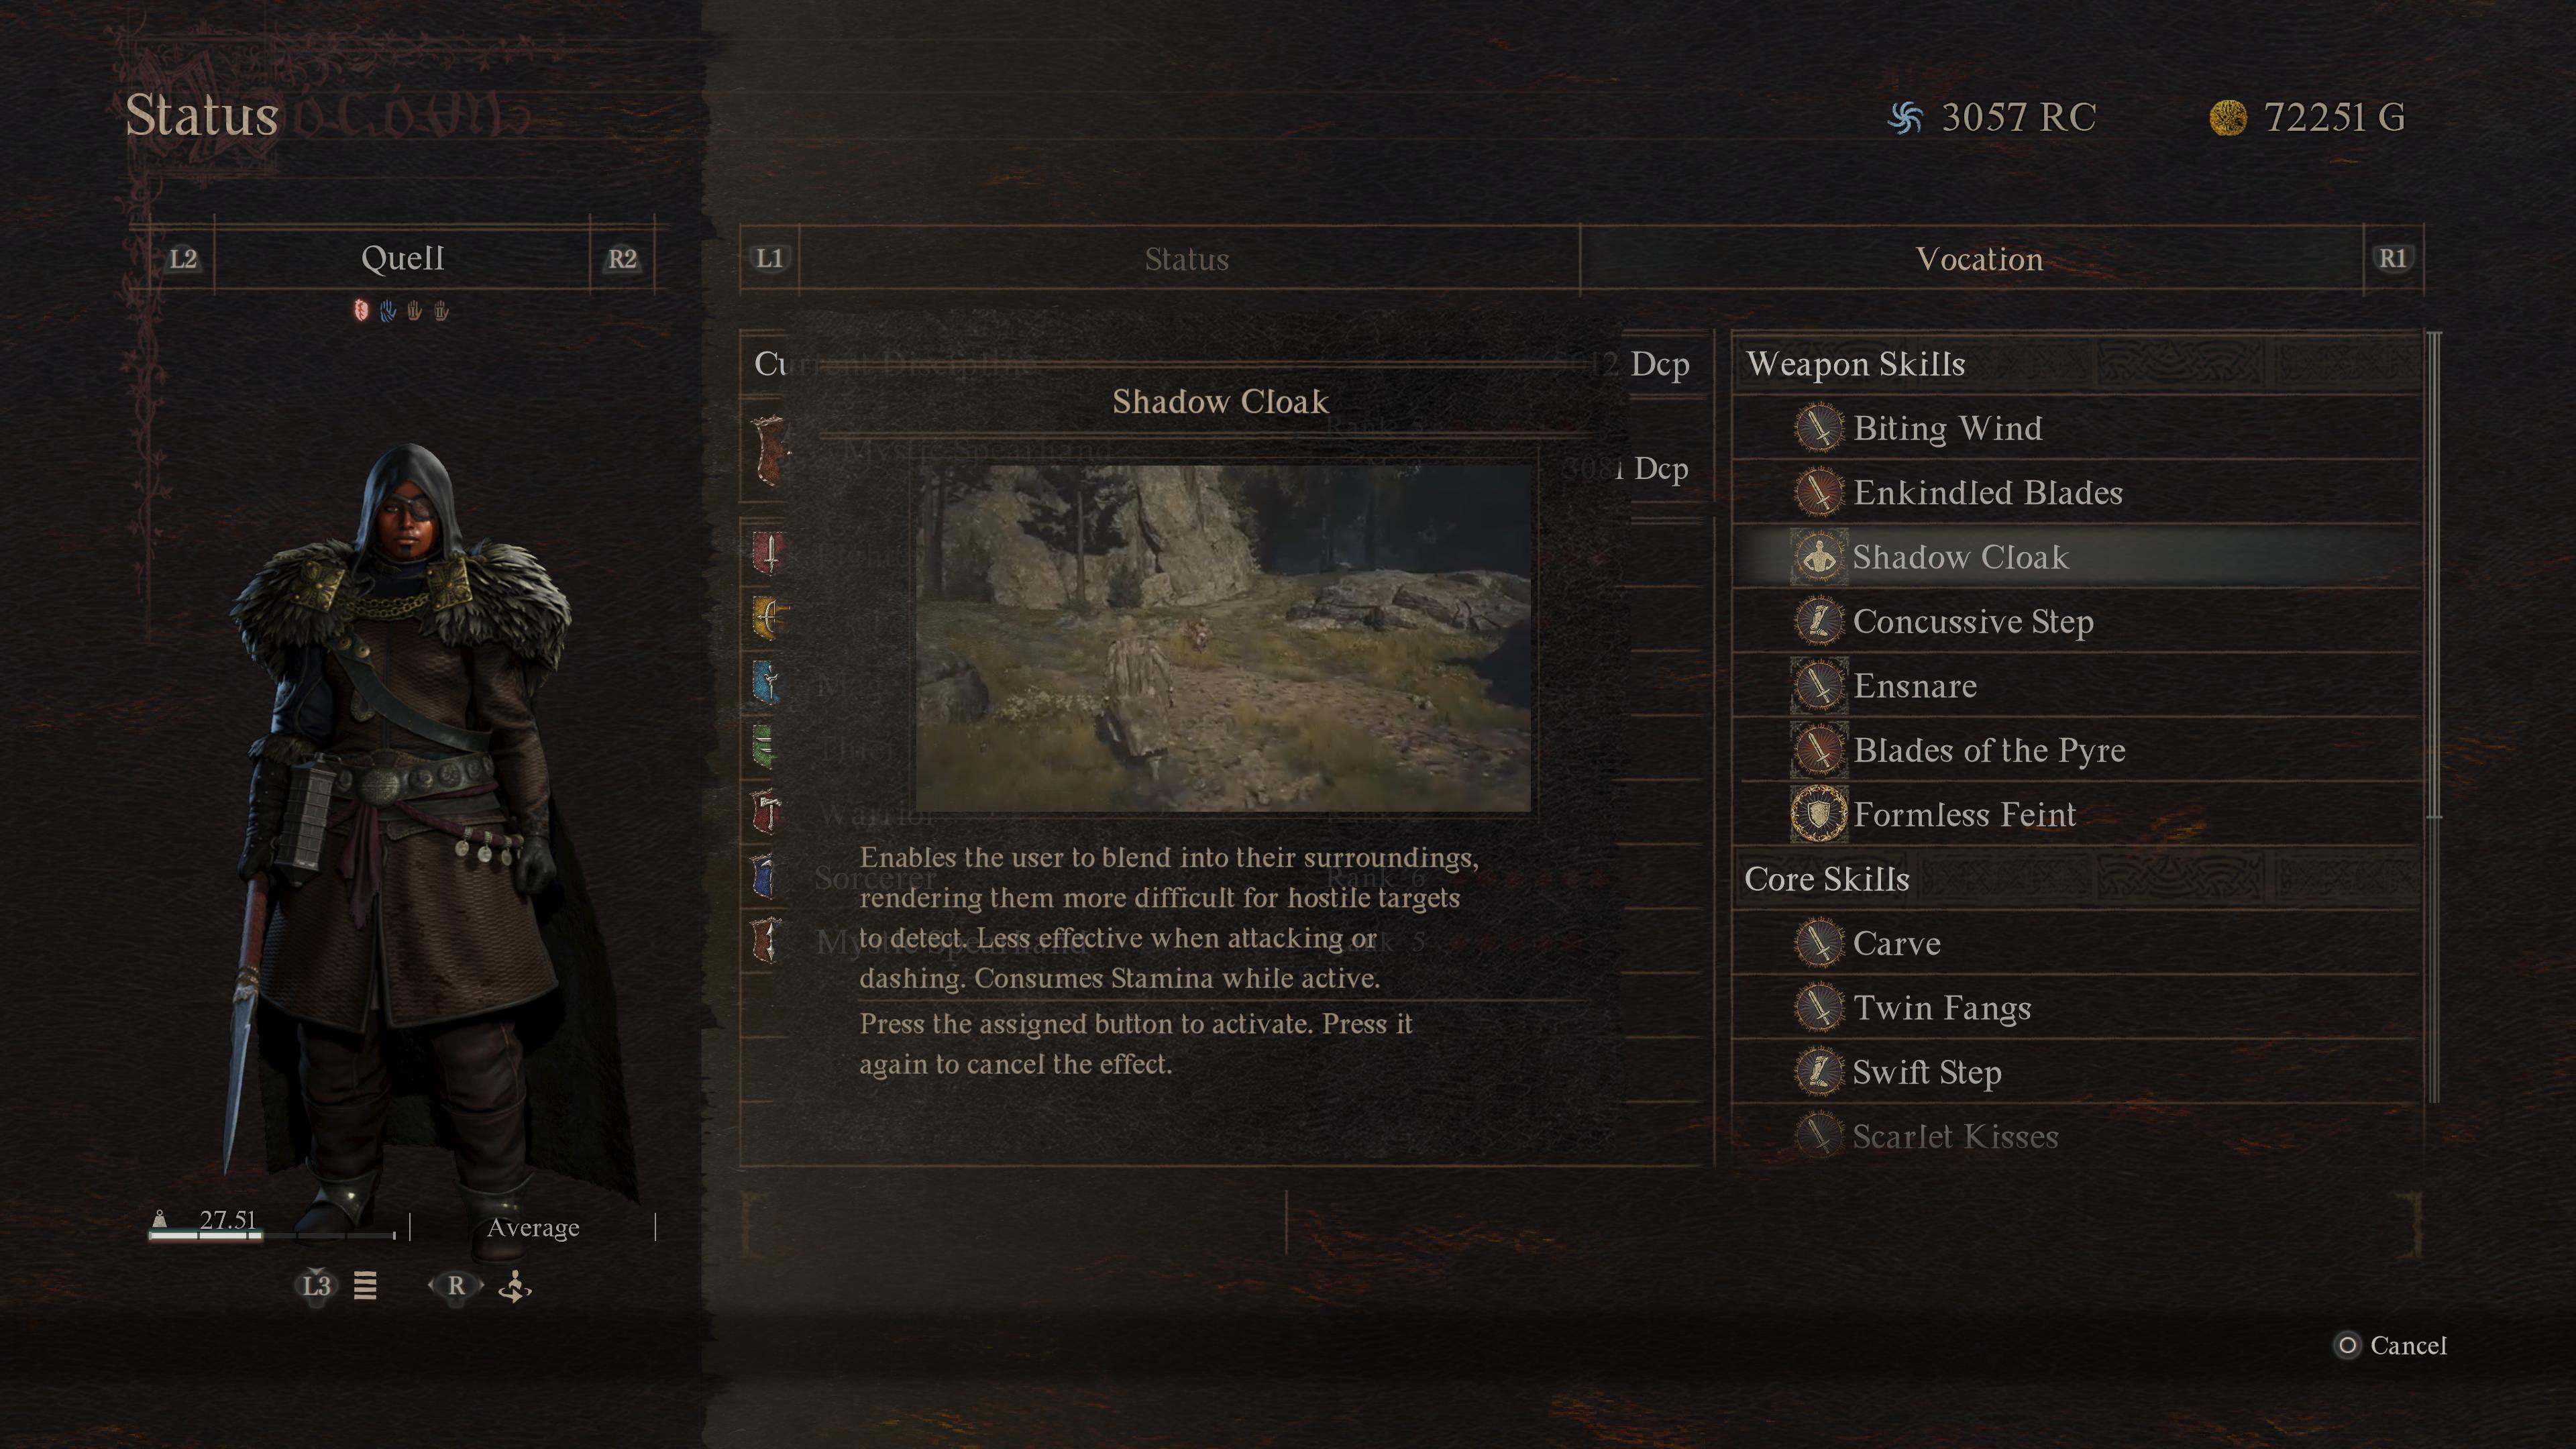
The Thief gets a skill called Shadow Cloak, which renders them nearly invisible to other NPCs. It consumes stamina when it's active, but the drain is so slow that you should be able to get in and out of whatever you need to do before it runs out. However, it does drain while you’re in conversation with NPCs. So be sure to fill up on your stamina before you start chatting to that magistrate.
Don't be stingy
Spend, spend, spend. You’re going to collect a ton of gold and monster parts. Do not be stingy about buying and upgrading gear. It might be a while before you get an upgrade for your weapons and armor. So don’t feel guilty about spending. And the first upgrade for equipment usually costs only gold. However, if you’re running low on monster parts, you can also buy them from certain vendors.
Rest often, whether you’re spending gold at an inn or using camping supplies, spend! (Resting also counts as a hard save, so keep that in mind.) You don’t have the inventory space to be hoarding all of the items you want. Use those potions when you need them, use those steaks to give you buffs, and combine all of your supplies when you can. The only time it’s advantageous to wait is if you’re trying to get ripe or aged materials — they can be combined into different items.
The only item you should be stingy about is Wakestones.
Wakestones
Be very judicious about how you use Wakestones. They’re not only used to revive you when you die but they also revive NPCs throughout the world. If an important NPC dies on your watch, you might want to have a Wakestone handy for such an occasion.
However, you might end up reviving dumb NPCs. I once made my way up a tower and found a dead NPC. I revived him and he didn’t even acknowledge it or thank me (I hope Capcom changes this). But then this man went to the top of the tower to attack some harpies, and he committed to that Samuel L. Jackson and Dwayne Johnson bit from The Other Guys — full-on plummeting to his death. Sigh. I succumbed to the cost-sunk fallacy and revived him again.
Be careful with your Wakestones!
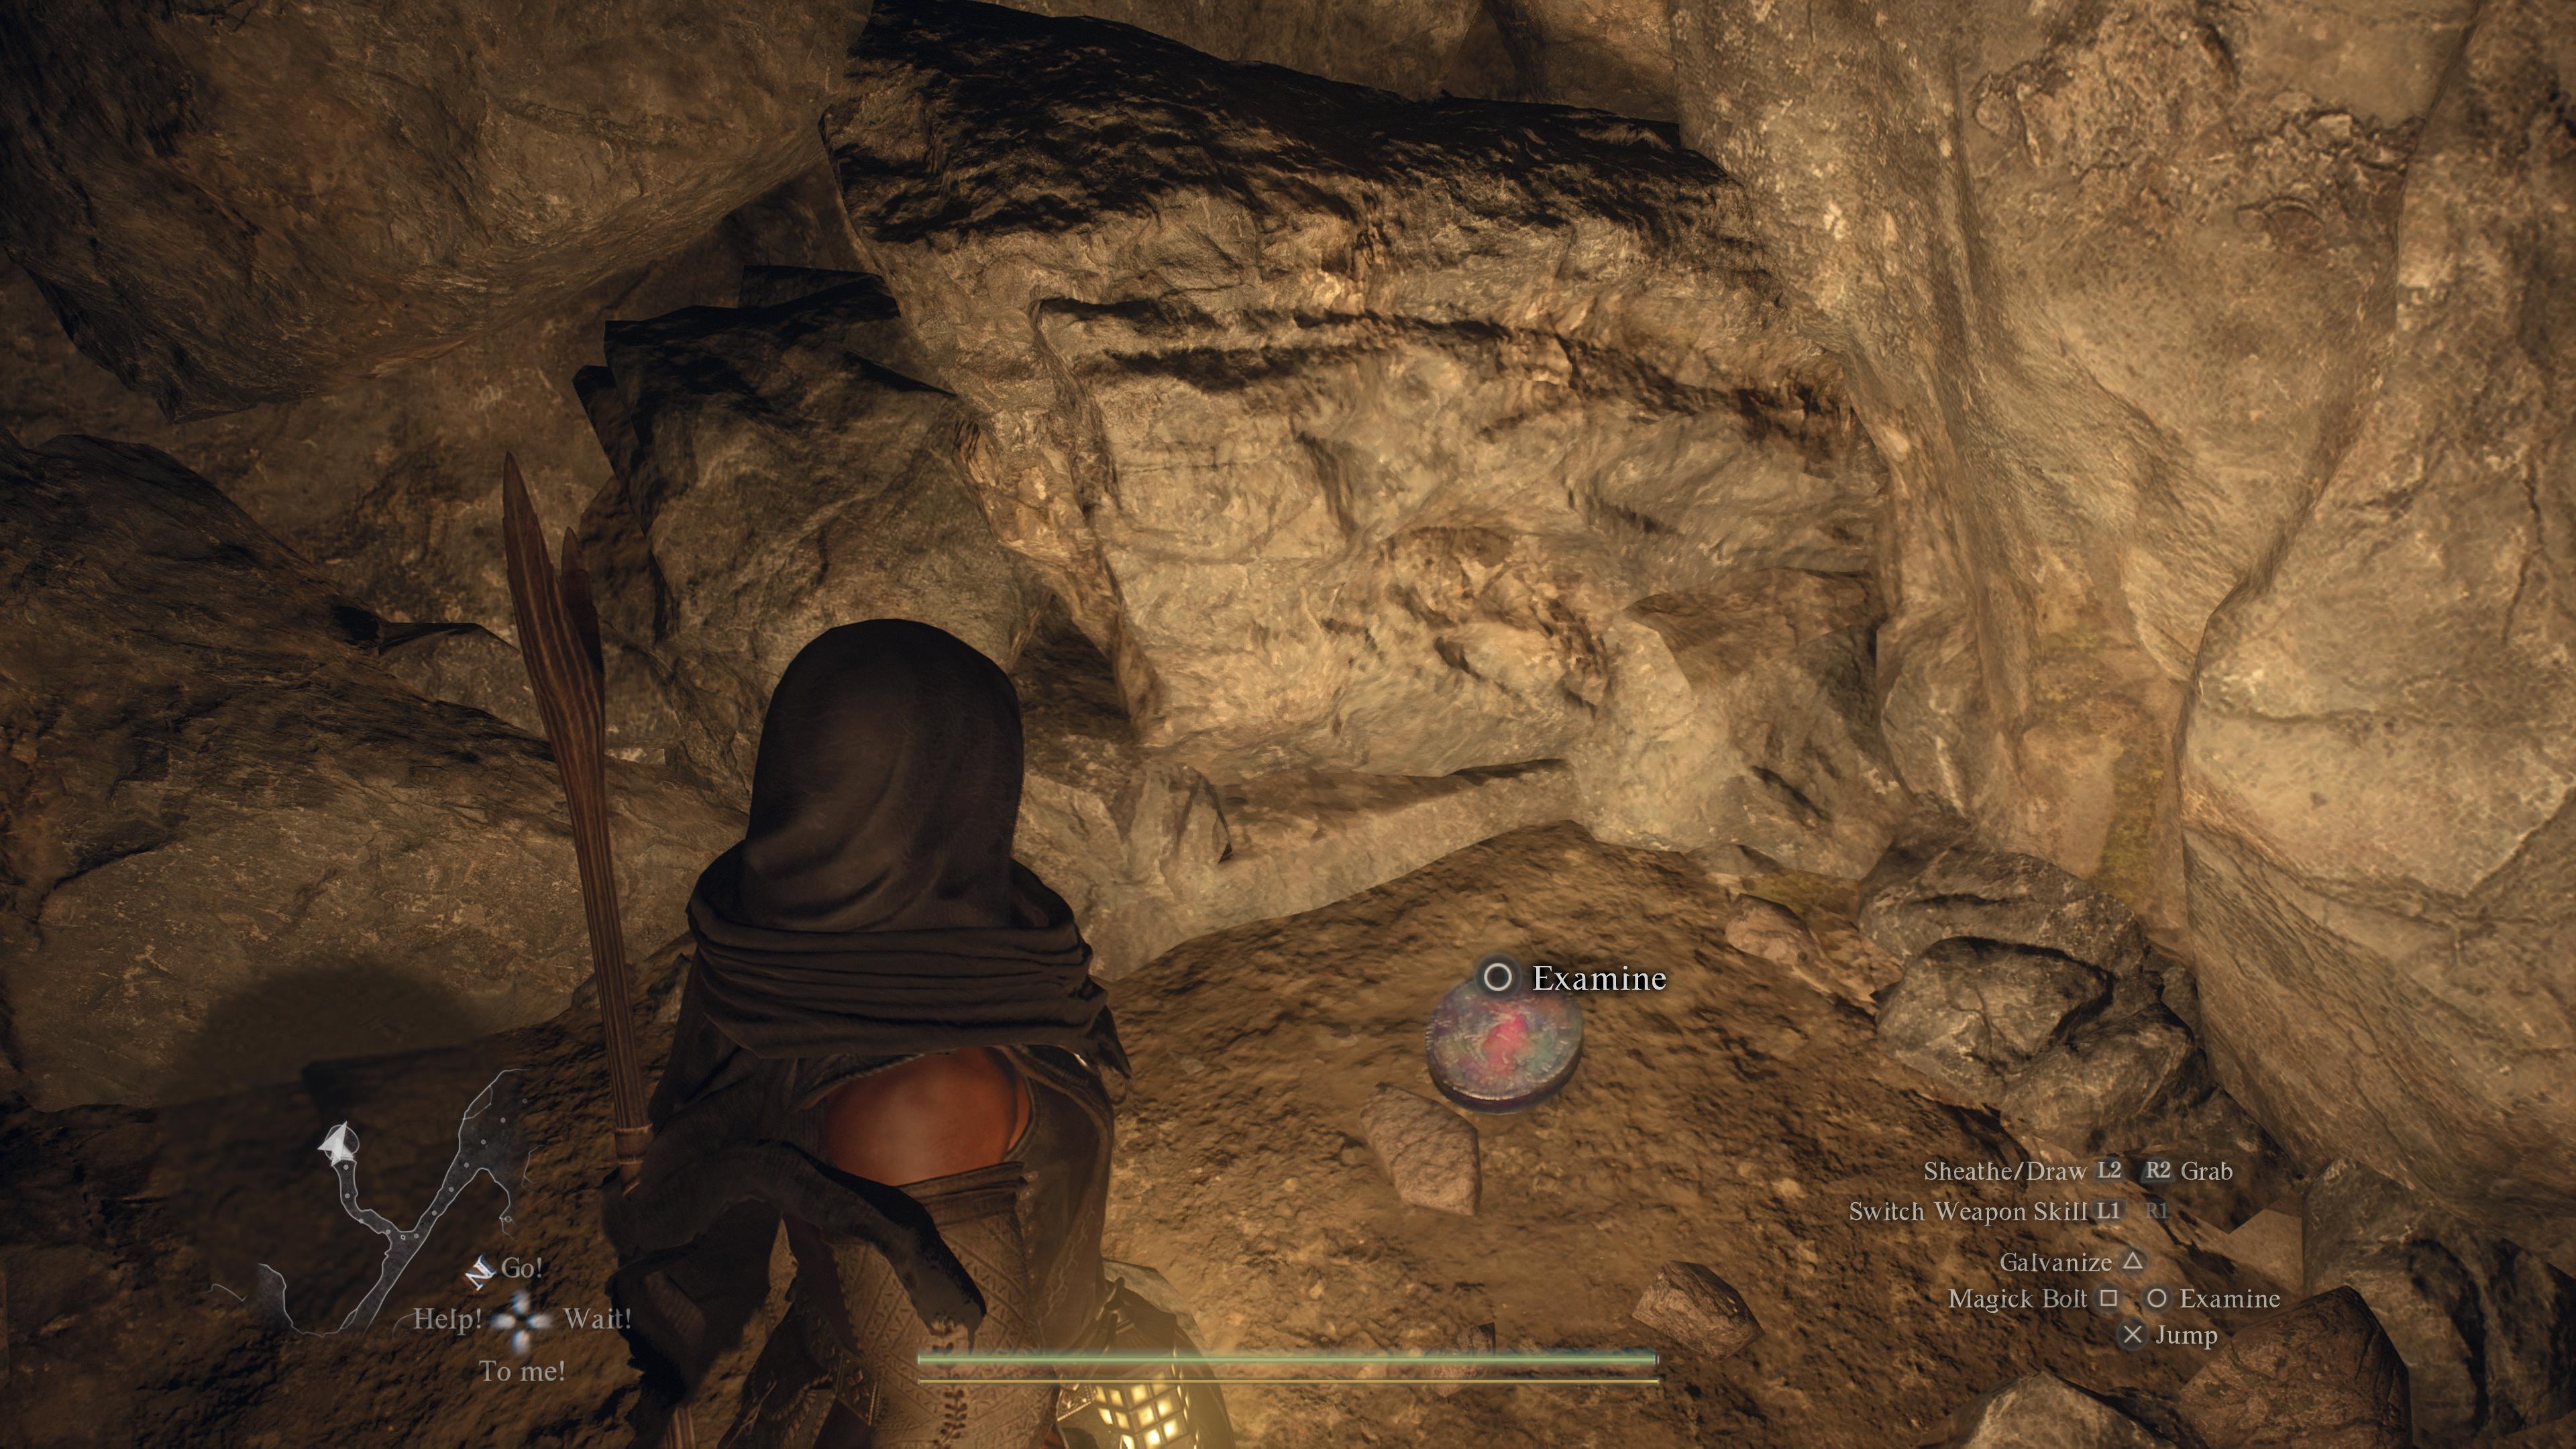
Seeker’s Tokens
You NEED these items. Do not sell them. Do not give them to Pawns. You need to hunt down every single piece on the map. Well, maybe not that extreme, but these are a valuable collector's item that you can turn in at your local vocation guild for rewards at certain thresholds. You’ll find Seeker’s Tokens in the oddest places, especially on cliffsides and at the top of ruined pillars. They’re also incredibly difficult to spot, as they blend into the environment. However, they do have a subtle aura — almost like a heat wave. Since they’re on high places, if you look up, you can usually spot this wave if it’s around.
The second threshold of Seeker’s Tokens rewards offer the Ring of Vehemence, which makes your attacks more likely to stagger and knock down foes. The third threshold is the Ring of Triumph, which increases maximum health, stamina, and carrying capacity. There are only 11 rewards in total (10 if you’re not counting the first, which is a Ferrystone — not that impressive). There are 220 Seeker’s Tokens, which is a lot considering the number of rewards. There are two weapons, exclusively for the Thief and Mage, as well as a number of gear pieces designed for each vocation. It’s not very plentiful, so I hope this reward system is expanded later, but for now, get collecting!
Golden Trove Beetles
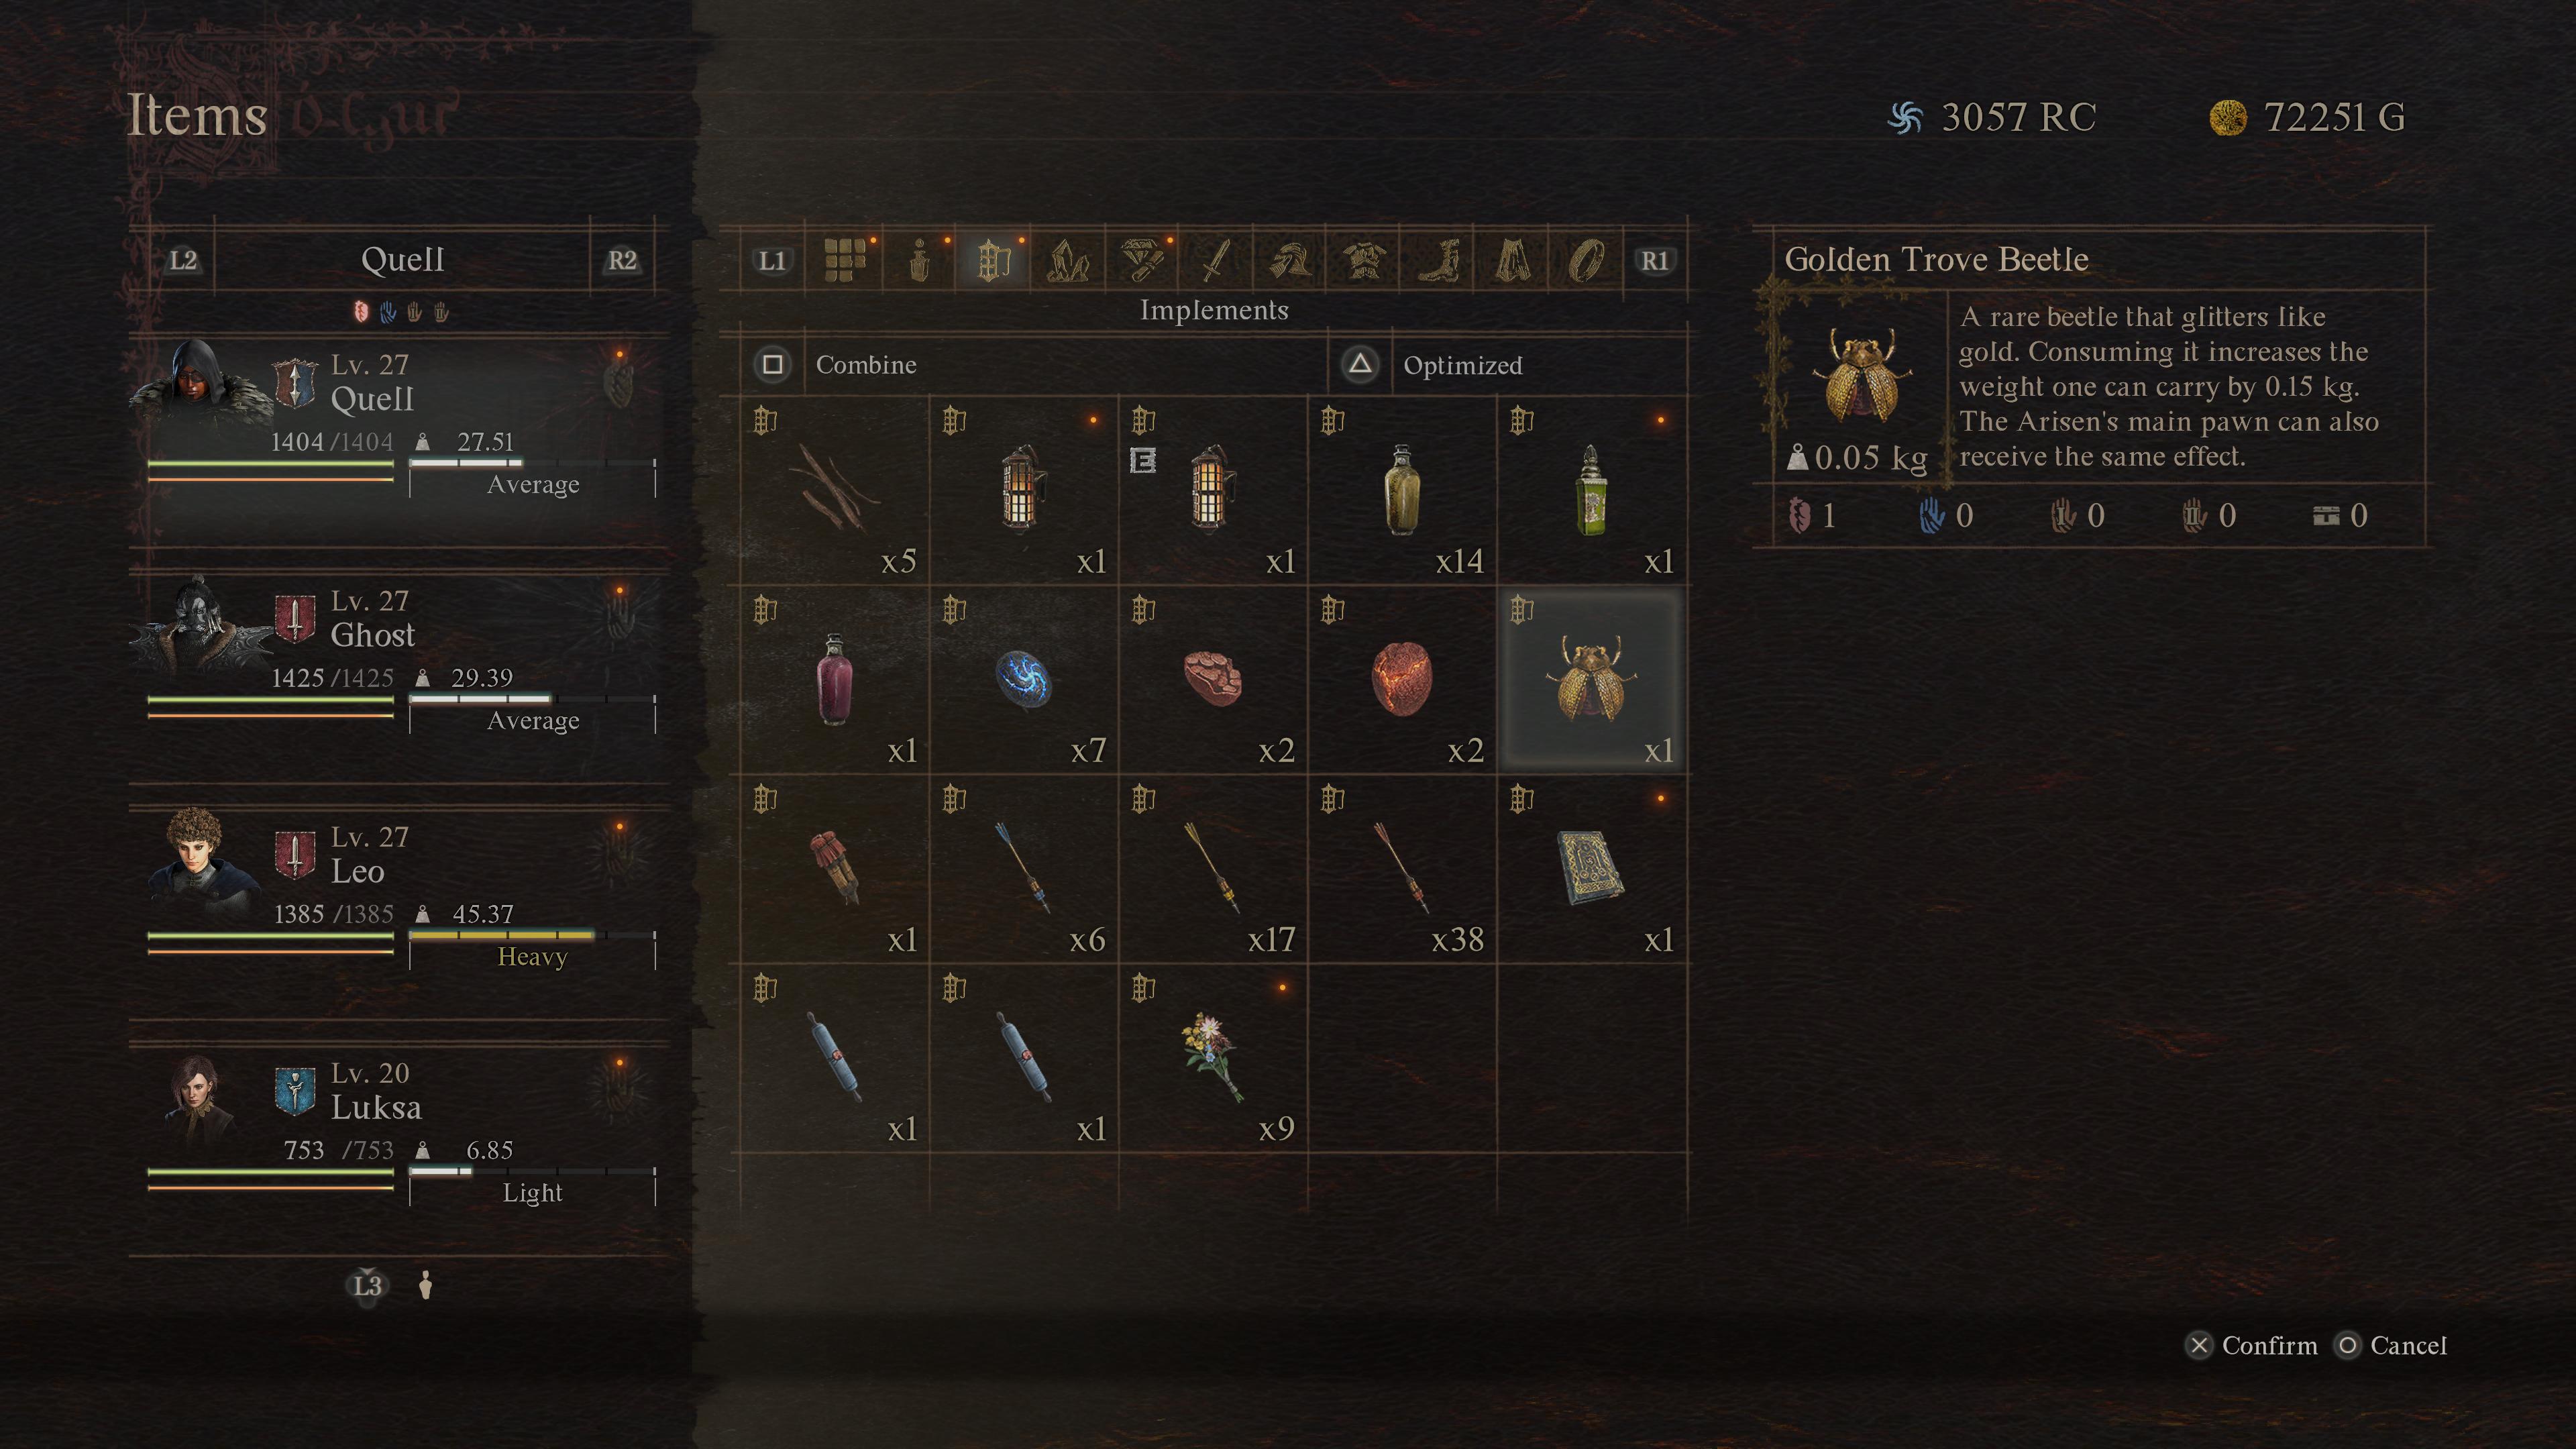
Another item you need to keep an eye out for is the Golden Trove Beetle. Using these items permanently increases your carry weight by 0.15 kg. It doesn’t sound like much, but once you start collecting a bunch of beetles, it adds up. Additionally, that increase counts for your Pawn as well. So technically, your party gets a 0.30 kg bump to their carrying capacity. That’s a whole Beast-Steak!
You can spot Golden Trove Beetles on the trunk of trees, emanating a golden glow. They’re a little harder to spot during the day, but if you turn off your lantern at night, you can see them lighting up the countryside. Collect as many as you can, and use them as soon as you get them. It can make the difference between Heavy and Average weight classes.
Exploring gives you more than items
Dragon's Dogma 2 highly encourages exploration, and therefore I will be highly encouraging you to turn over every rock, stone, and boulder because there's always something valuable to find. I’ve mentioned Seeker’s Tokens and Golden Trove Beetles, but items aren’t the only thing you should keep an eye out for.
Chatting with certain NPCs along your travels and navigating through puzzling areas can reward you with unique skills and entirely new vocations. Dragon’s Dogma 2 does its best to naturally navigate you toward these areas, but you can totally miss the interactions themselves.
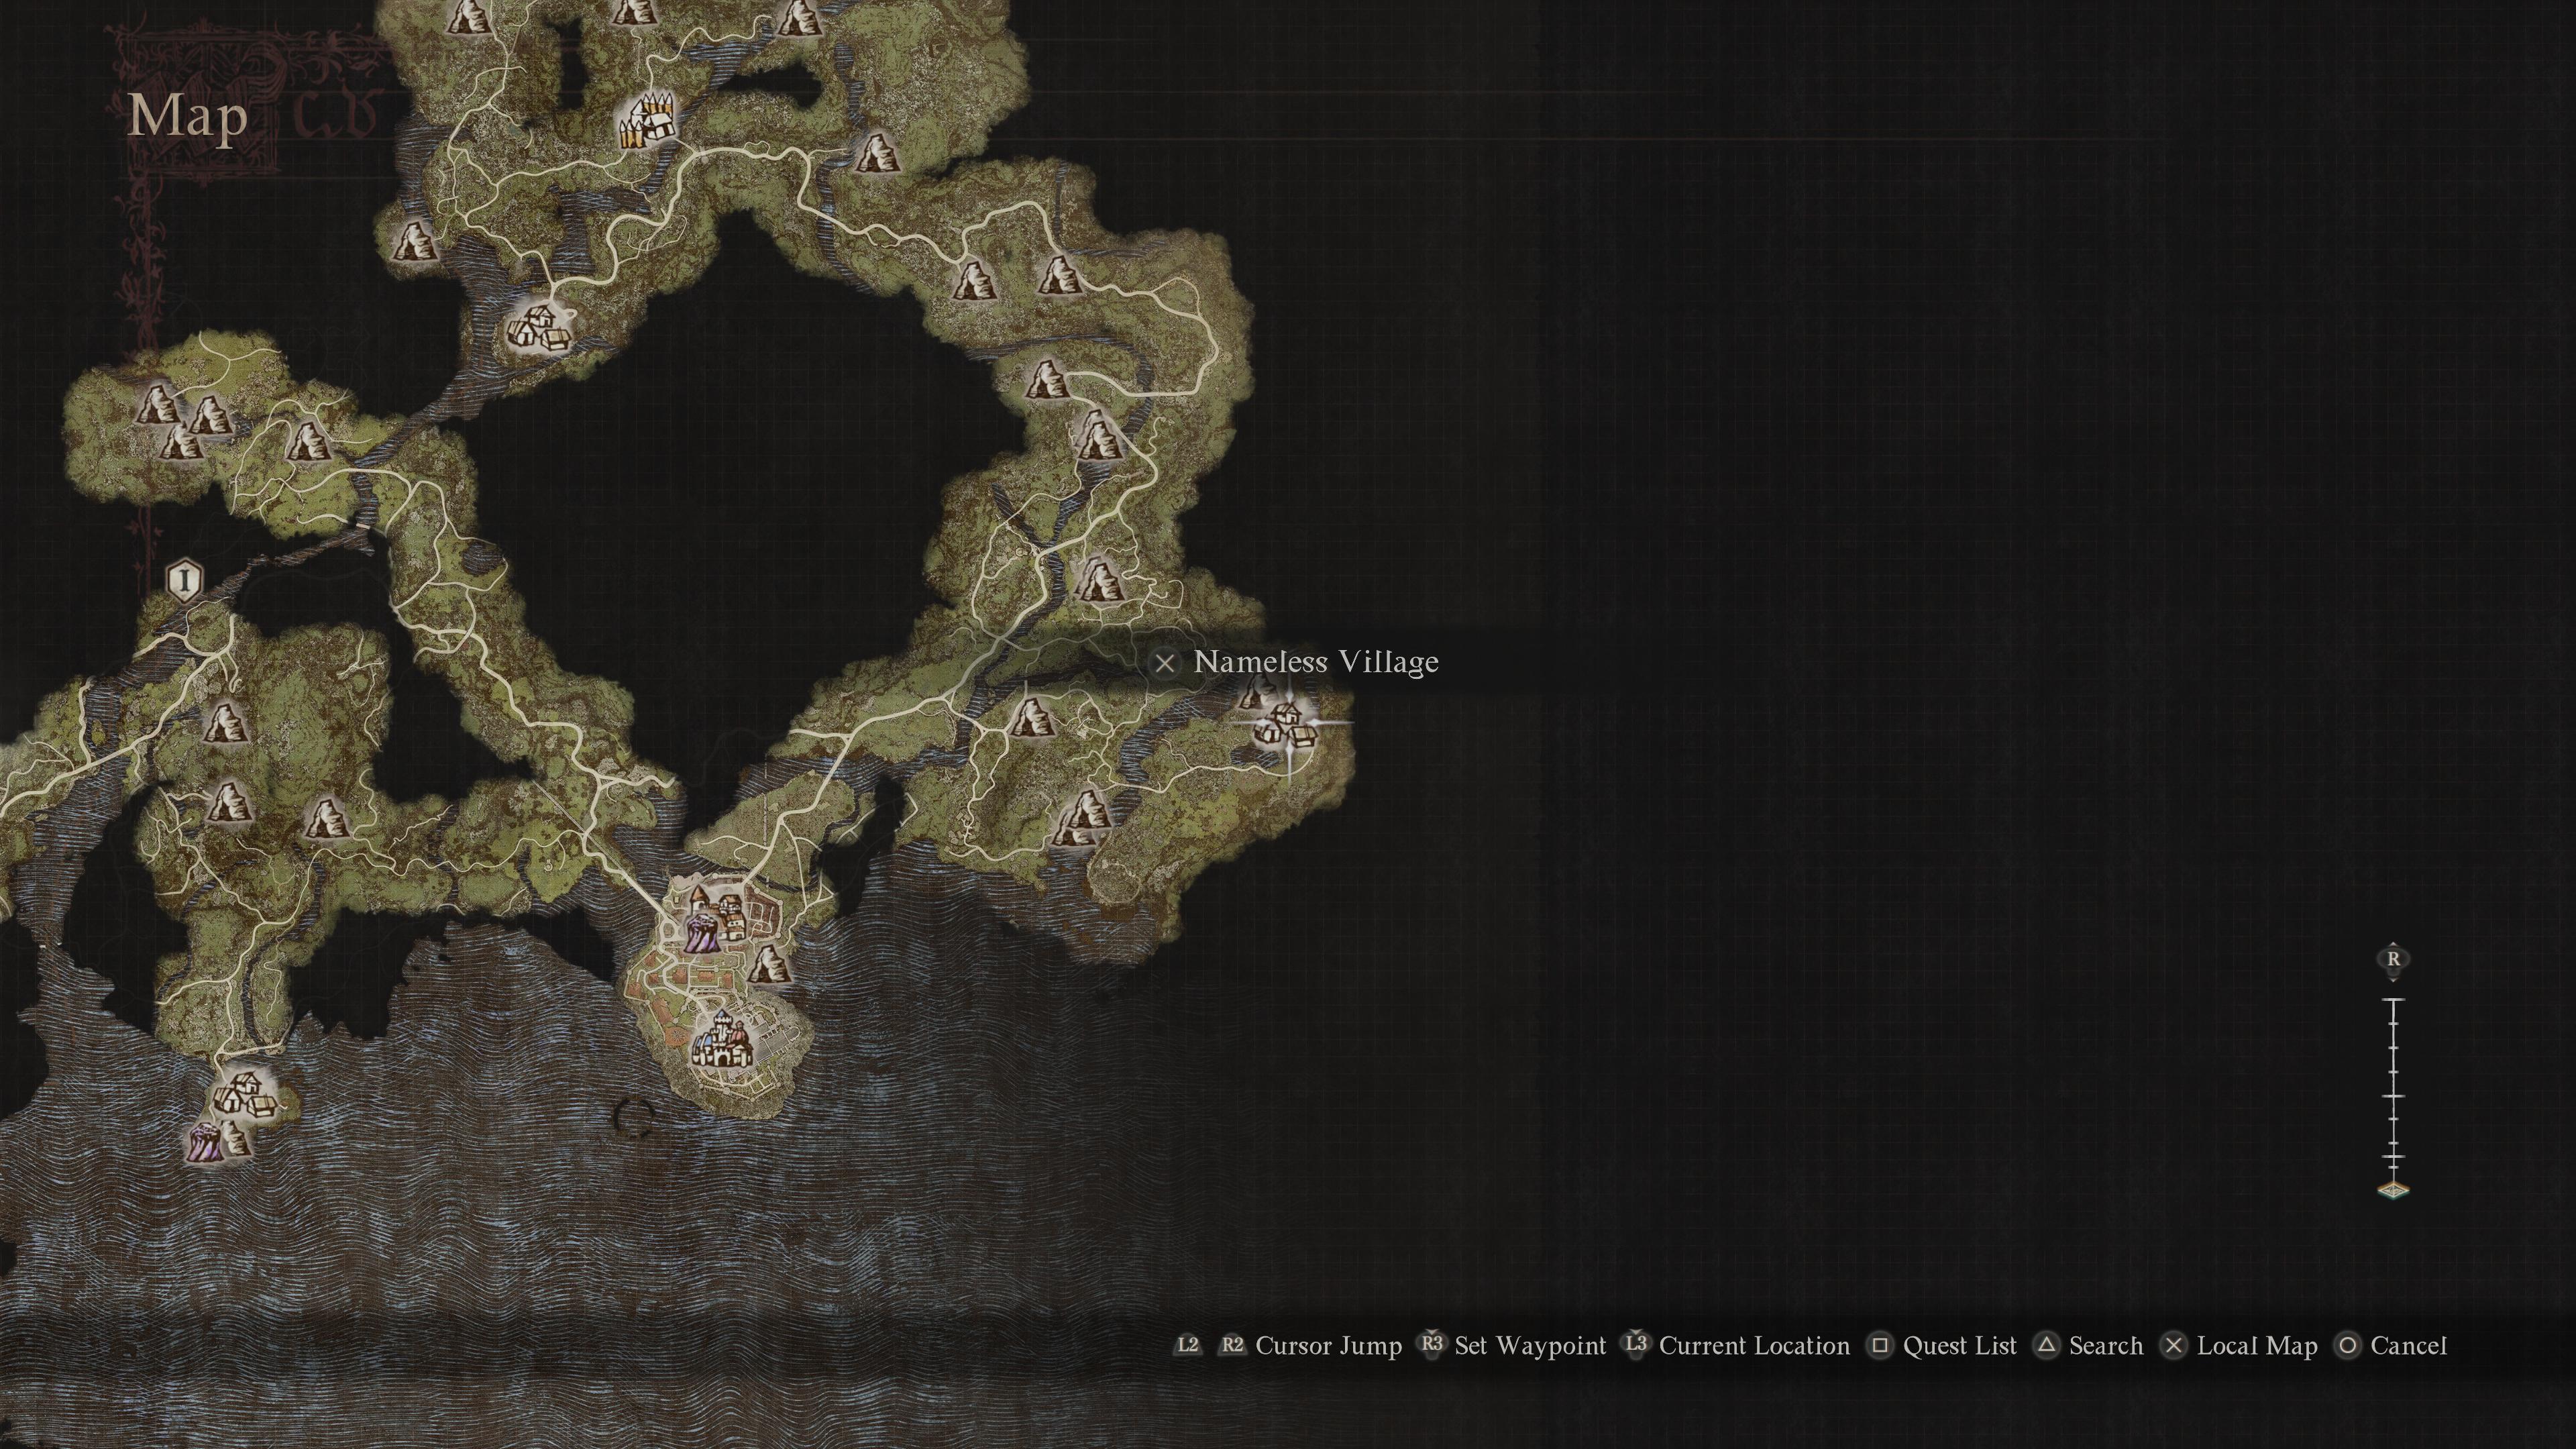
For example, if you head to the Nameless Village, they’ll give you a new skill for Thief, but that isn’t the real prize, you have to head around the leader’s building and down into a cave filled with platforming puzzles. At the end, you get an even better unique skill. Meanwhile, if you head back to Melve at some point, you’ll encounter a dragonslayer that’ll teach you the Mystic Spearhand vocation.
Jump greater heights and not fall to death
See a ledge you can’t quite make yet? Fallen to your death from a definitely manageable height? Well, certain vocations have traversal abilities and your allies can break your fall.
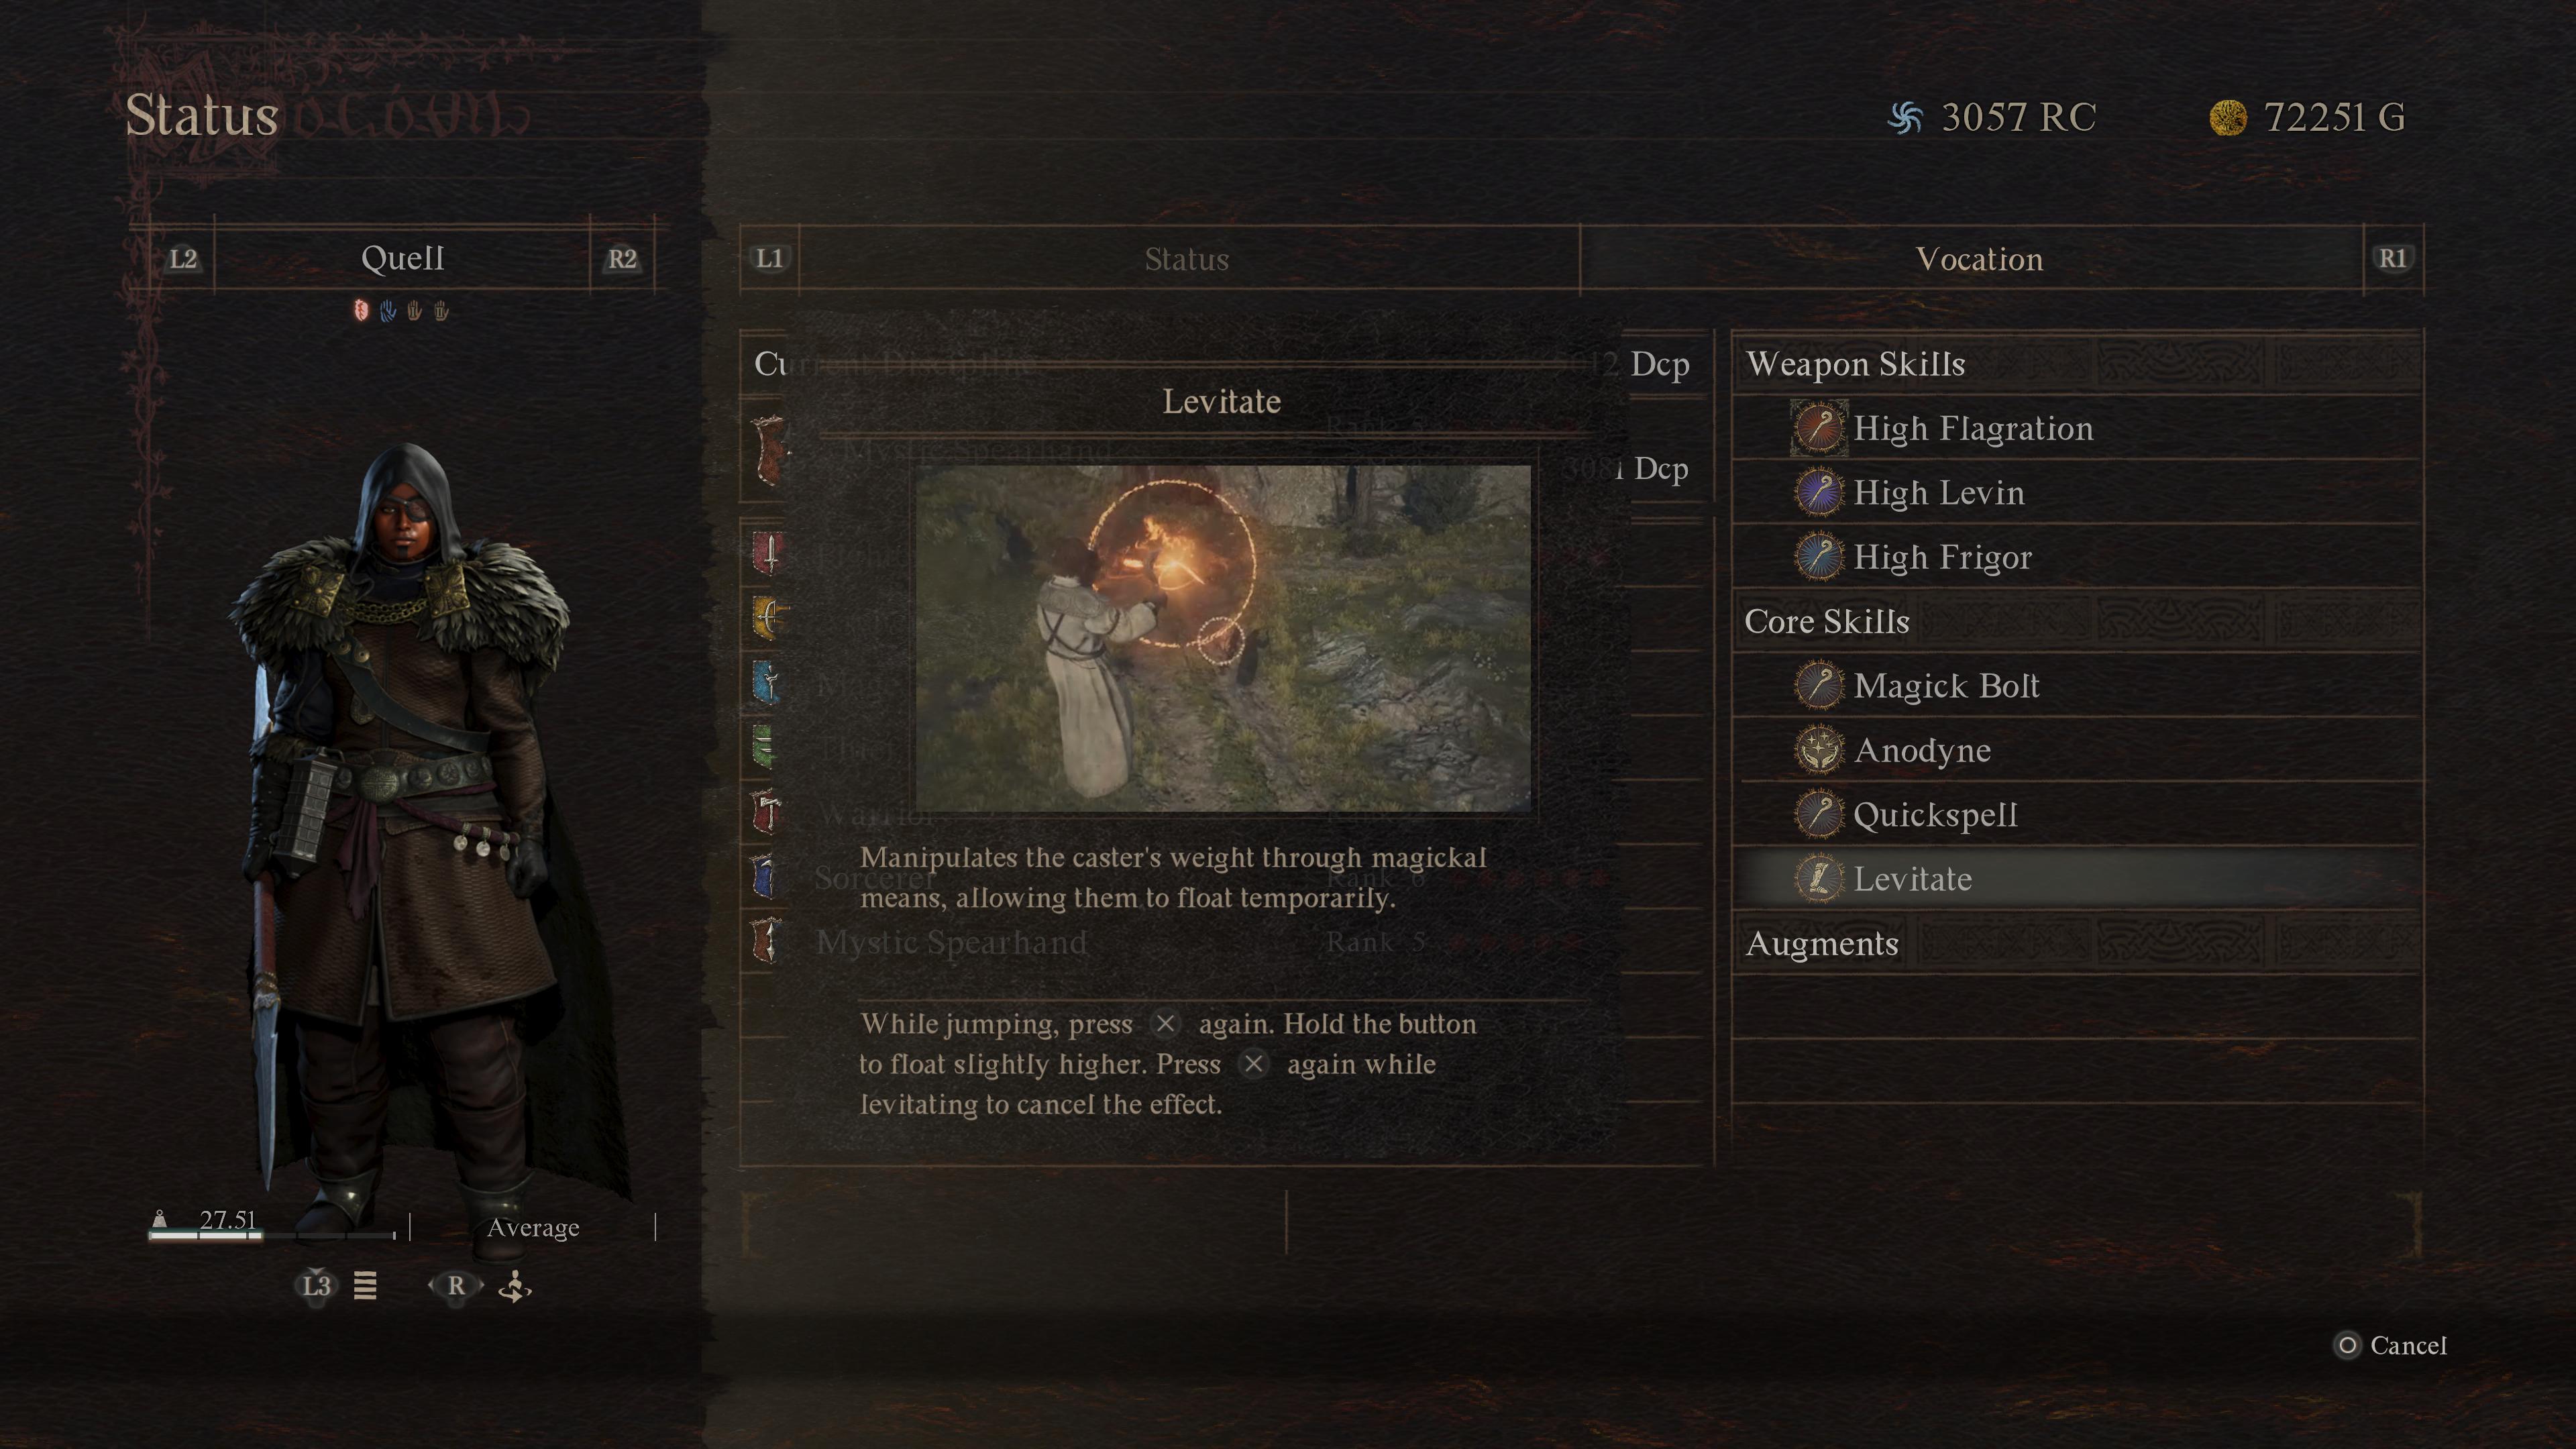
At a certain level, the Thief gets access to a wall jump, which lets you get up across tight spaces. The Mage and Sorcerer can levitate, which gains height and distance, taking you across gaps and up cliffs. The Mystic Spearhand can lunge with the Dragoun’s Foin attack, covering great distances horizontally (you can also gain a lot of height if you’re targeting an enemy).
When I said Pawns can break your fall, I meant it. It was a feature that I accidentally stumbled upon. Instead of taking the ladder down to my party, I decided to jump it, and my Pawn literally caught me in her arms. I was awed by the inclusion. You can get your party to wait in certain spots so you can go exploring upward and then drop down back to them without worrying about the inevitability of gravity. However, I’m unsure about what the height limit is (if there is one) before the game outright kills you.

Rami Tabari is the Reviews Editor for Laptop Mag. He reviews every shape and form of a laptop as well as all sorts of cool tech. You can find him sitting at his desk surrounded by a hoarder's dream of laptops, and when he navigates his way out to civilization, you can catch him watching really bad anime or playing some kind of painfully difficult game. He’s the best at every game and he just doesn’t lose. That’s why you’ll occasionally catch his byline attached to the latest Souls-like challenge.
