How to Upgrade From Windows 7 to Windows 8.1
If you're one of the millions of users who didn't want to upgrade your PC from Windows 7 to Windows 8, perhaps Windows 8.1 will change your mind about migrating. The new operating system offers improved multitasking with its split screen mode, a universal search that queries both the web and your hard drive and a slew of new apps such as Facebook and Food & Drink. Unfortunately, the upgrade from Windows 7 to 8.1 will not preserve your programs or settings, but fortunately it is an easy process if you follow these steps.
Before You Begin
While Windows 8.1 will retain some of your information after you upgrade, we wouldn't recommend you count on that. Make sure that you have backed up all personal files (documents, photos, videos, music) either to another hard drive or to the cloud. Windows 8.1 will not keep any of your Windows 7 desktop apps installed after the upgrade so make sure you have copies of all your installer files and associated product keys.
MORE: Best Laptops
How to Buy a Windows 8.1 Upgrade
If you don't already have a Windows 8.1 upgrade disc or file, you'll need to purchase one from either Microsoft or a third party. Here's how to buy a Windows 8.1 upgrade as a direct digital download.
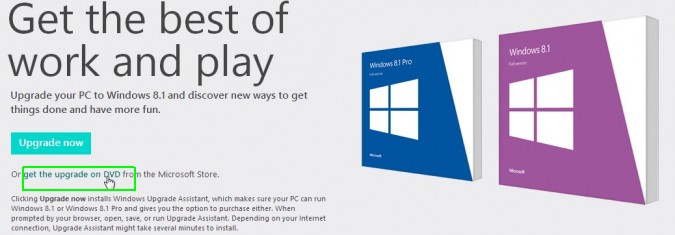
1. Navigate to the Windows store, select Buy Windows and "get the upgrade on DVD."
2. Select the appropriate version of Windows.
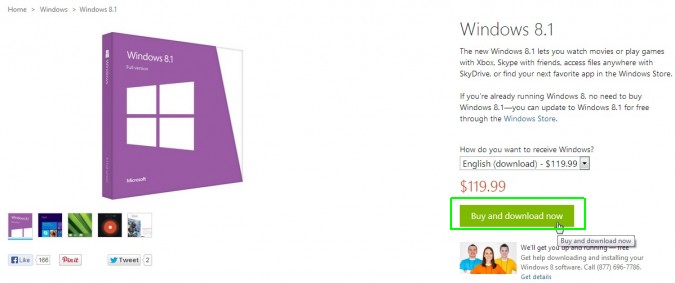
3. Click "Buy and download now."
Sign up to receive The Snapshot, a free special dispatch from Laptop Mag, in your inbox.
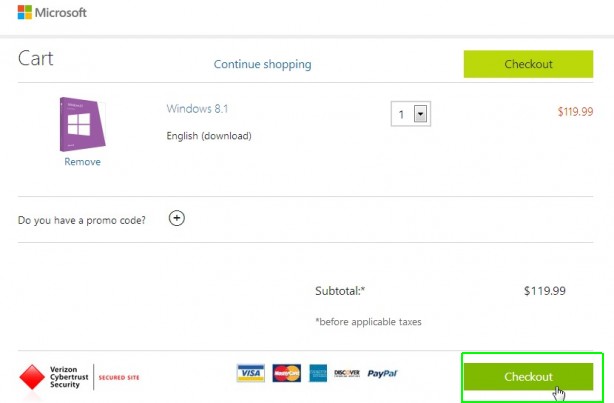
4. Click Checkout
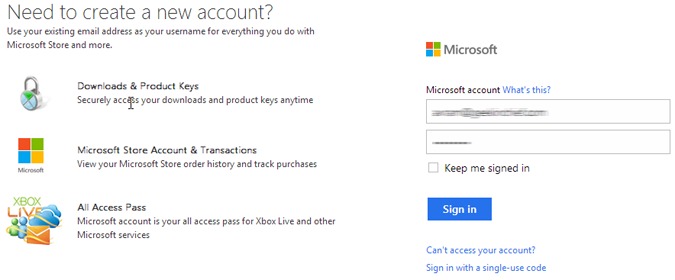
5. Sign in to your Microsoft account. If you don't have one, register on that page.
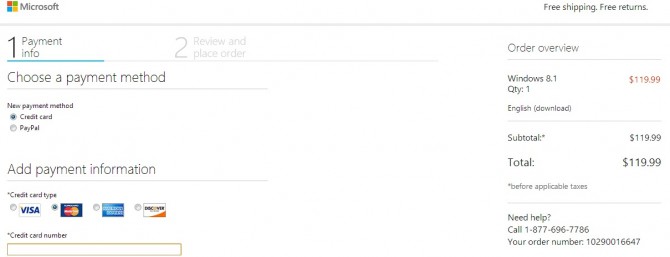
6. Enter payment information. After processing your credit card number, Microsoft will take you to a thank you page.
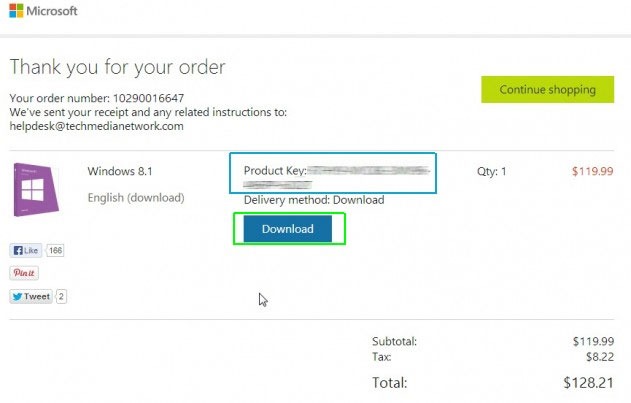
7. Write down or copy / paste the Product key somewhere safe and click Download.
A file named WindowsSetupBox.exe downloads to your PC.
MORE: Top 8 Windows Tablet-Laptop Hybrids
How to Install Windows 8.1 on top of Windows 7
Start by opening the WindowsSetupBox.exe you downloaded. Or, if you have a USB Flash drive or DVD Windows 8.1 installer, you'll want to launch setup.exe in the root of that drive.
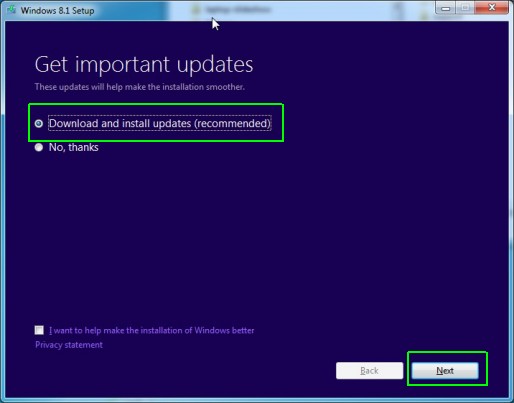
1. Select "Download and install updates" then click Next if you are installing from a DVD or USB drive. If you're installing from a download, you won't be offered this option.
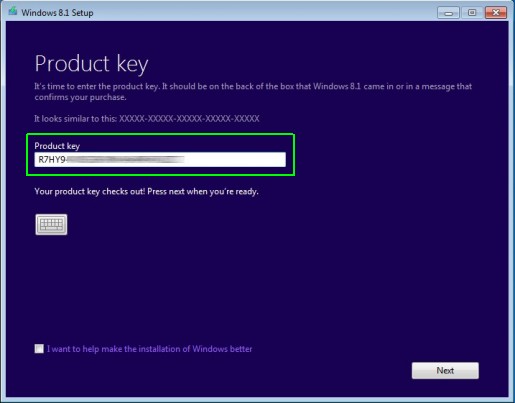
2. Enter your product key and click Next.
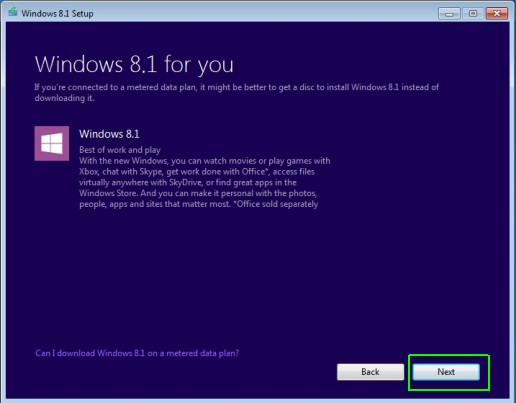
3. Click Next to begin the download, if you are not installing from a USB or DVD. If you are installing from an external disk, you will not be prompted to download or decide whether to install now or not.
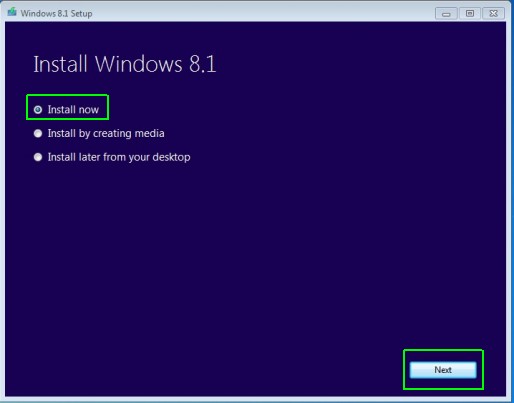
When finished downloading, select Install Now and click Next. You won't have this option if installing off a DVD or Flash drive.
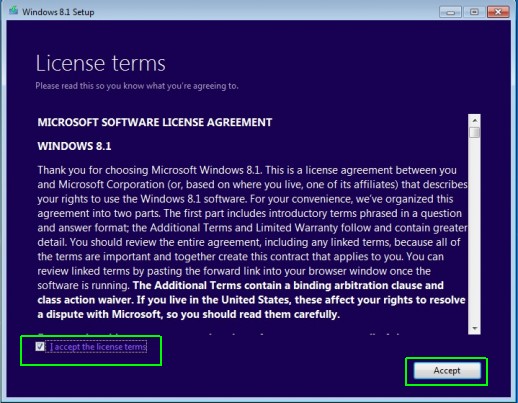
4. Agree to the license terms.
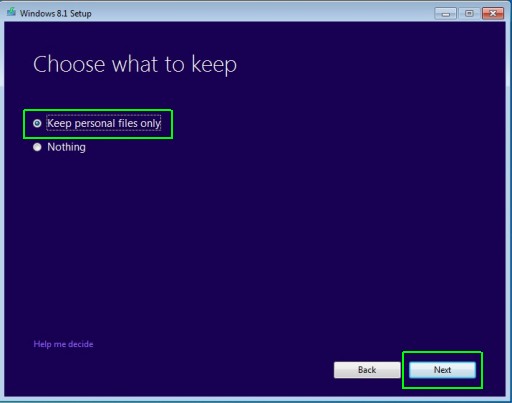
5. Select "Keep personal files only" and click Next. This will allow Windows 8.1 to retain your data files from the Desktop and from your Documents, Music, Pictures and Videos libraries.
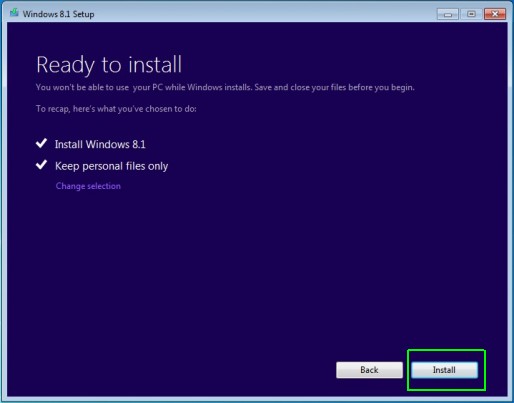
6. Click Install.
Windows will take several minutes to install and may reboot a couple of times.
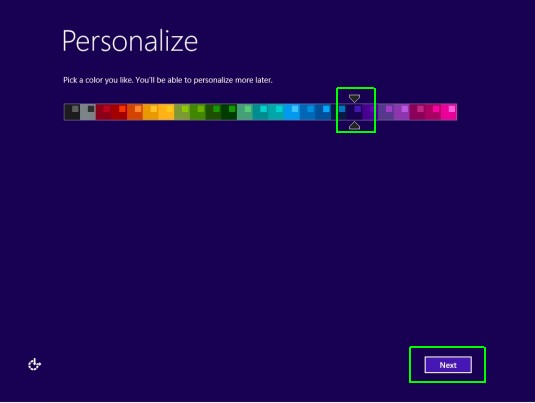
7. Select a background color for your Start Screen and click Next.
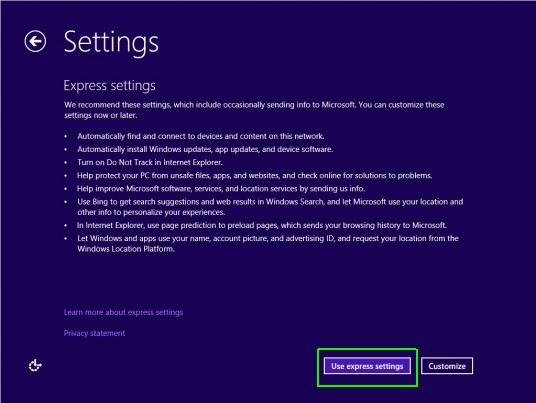
8. Click Use Express Settings for the fastest way to get started.
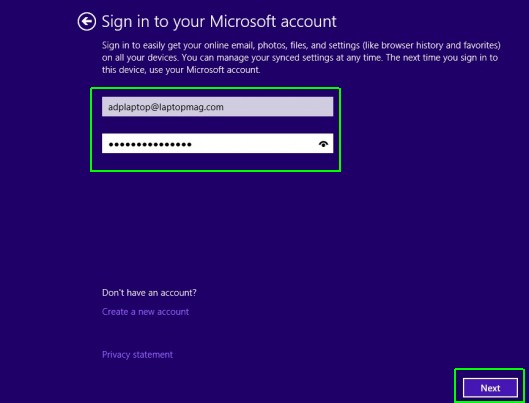
9. Enter your Microsoft username and password then click Next.If you don't have a Microsoft account, you can set one up on that page by clicking "Create a new account."
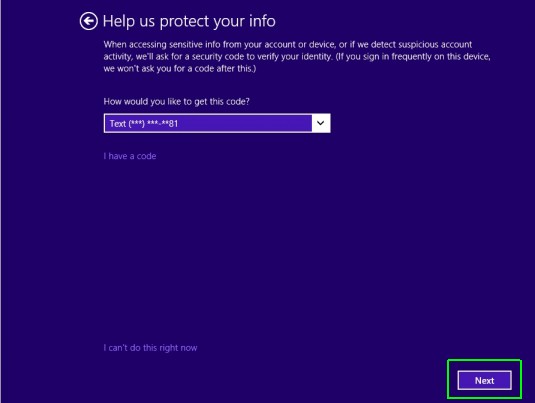
10. Click Next to allow Windows to send a confirmation code to your phone via SMS.
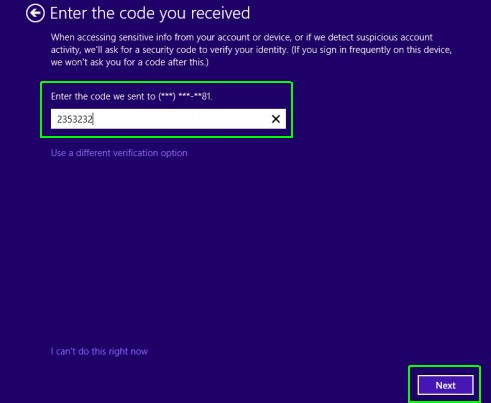
11. Enter the security code you recevied via SMS and click Next.
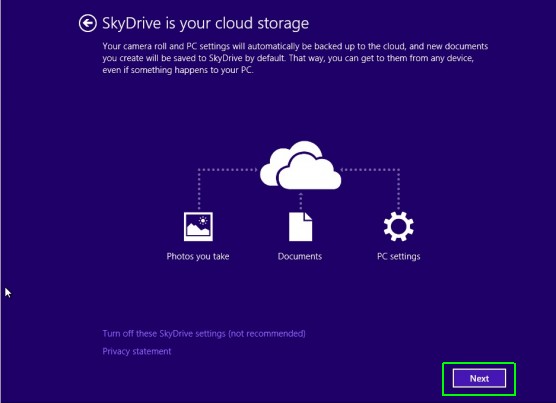
12. Click Next on the screen that says "SkyDrive is your cloud storage."
The installer will then make you wait a few minutes while it installs all the preloaded apps and finishes configuring Windows.
After a few minutes, you'll see the Start Screen and be ready to go.

