How to Remove Duplicate Files on Windows
As laptop storage continues to decrease, it’s a good idea to start weeding your system of unneeded duplicate files. And you’ll probably be surprised to find quite a few of them. Windows isn’t the most efficient at organizing, storing, or even deleting files, so it typically leads to quite a few duplicates the first time you try to find them.
Today we’re going to use a free program that’s pre-installed on all Windows computers called CCleaner to get rid of these duplicate files.
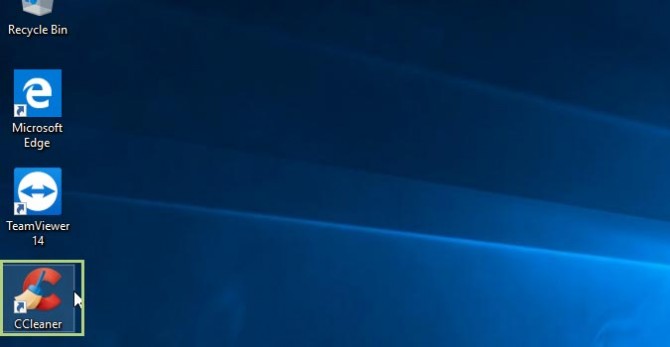
1. Open CCleaner by double clicking the icon on your desktop (or wherever it’s stored on your particular machine.
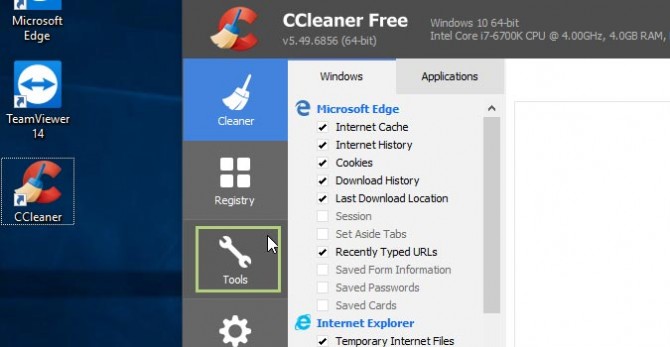
2. Click on the Tools icon within CCleaner.
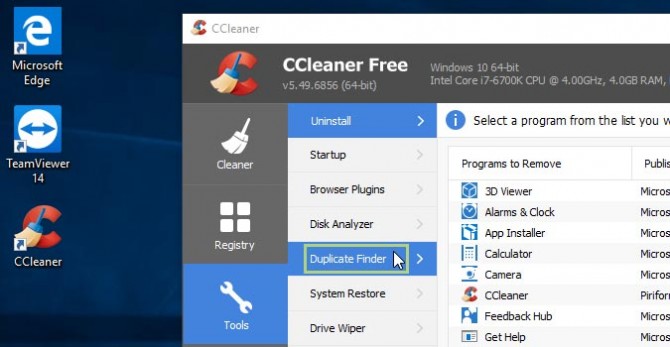
3. Click Duplicate Finder.
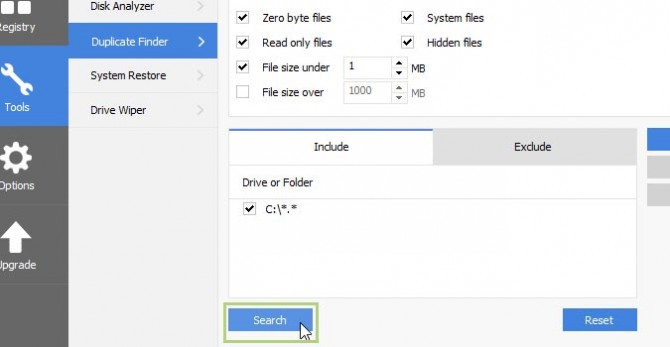
4. Click the Search button to begin the search for duplicate files.
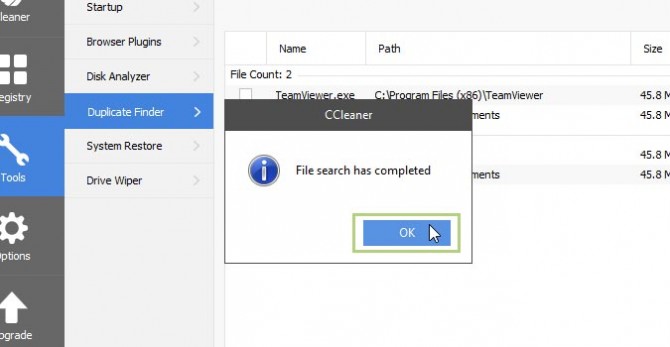
5. Click the OK button once the search has completed.
Sign up to receive The Snapshot, a free special dispatch from Laptop Mag, in your inbox.
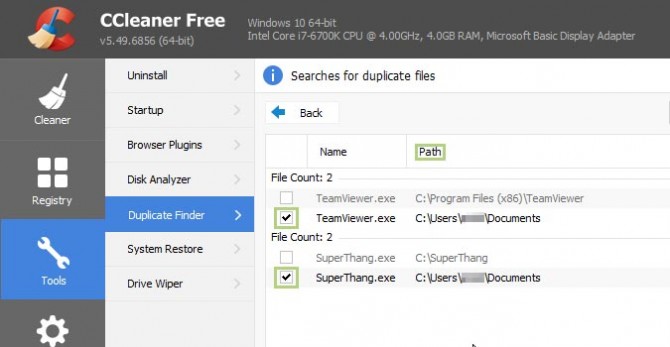
6. Once CCleaner finds your duplicates, go through the list and check the box next to each of them that you’d like to delete.
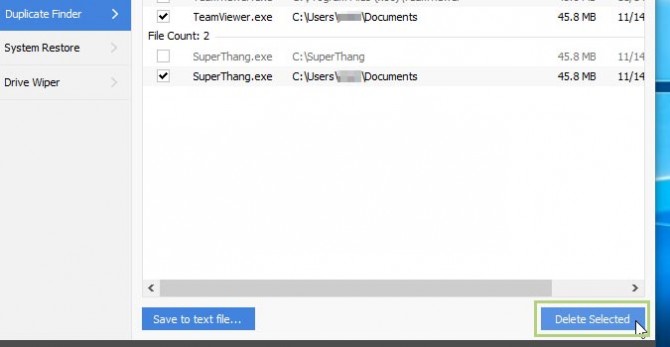
7. Click Delete selected.
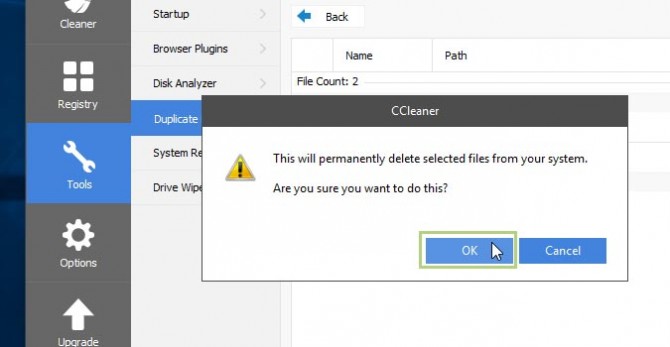
8. Click OK on the prompt that reminds you that this process will permanently delete these files from your system.
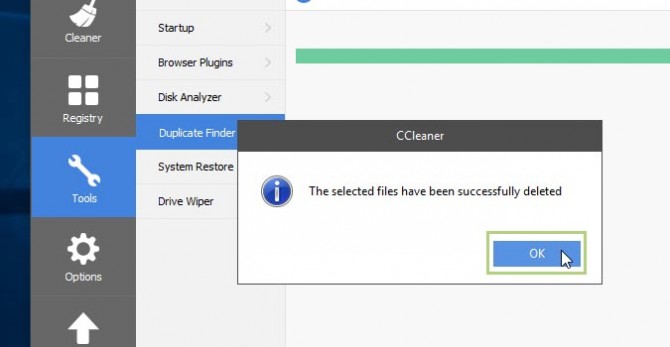
9. Click OK once CCleaner confirms the files are deleted.
Credit: Laptop Mag
- How to Show Hidden Files in Windows 10 and Previous
- How to Add a Printer in Windows 10
- How to Manage Snap Assist Settings in Windows 10
Bryan covers everything you need to know about Windows, social media, and the internet at large for Laptop Mag. Thanks to his extensive knowledge of operating systems and some of the most popular software out there, Bryan has written hundreds of helpful guides, including tips related to Windows 11 drivers, upgrading to a newer version of the OS, editing in Microsoft Photos, or rearranging pages in Google Docs.
