How to Undervolt the HTC One
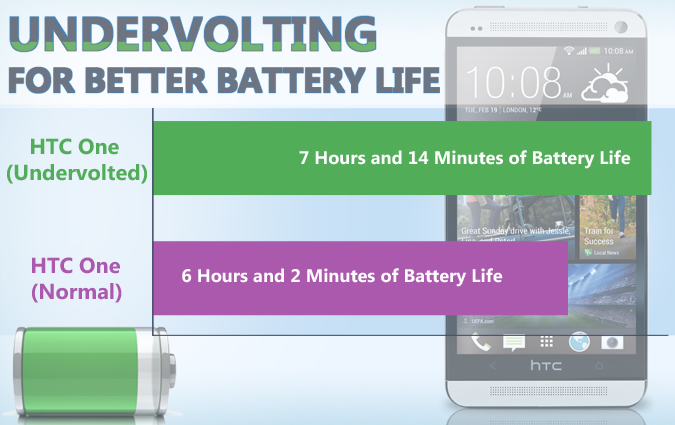
There's no denying that the HTC One is a seriously nice piece of Android hardware. Unfortunately, though, there's also no denying that it could use more endurance. Thanks to the process known as undervolting though, we can at least get an hour of additional endurance. Here's how.
This procedure should work on all GSM versions of the HTC One here in the US.
I. Install the Toolkit
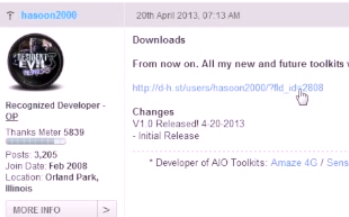
1. Head to this forum post, scroll down to the second post, and click on the link there and head to all of the toolkit's under Downloads. Choose the toolkit for your device and save it to your desktop.
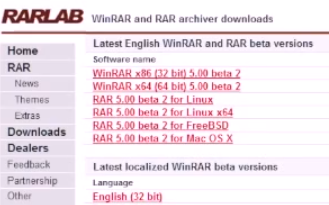
2. Download and install WinRAR.
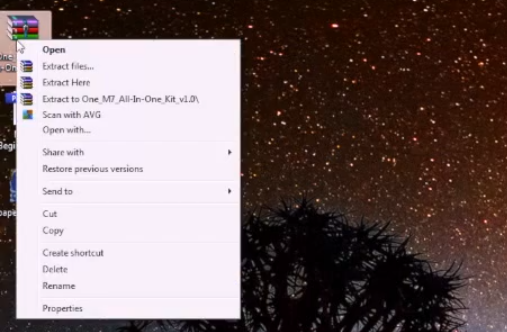
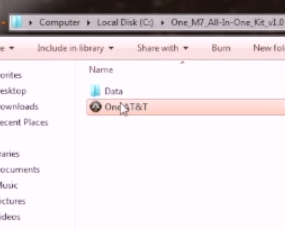
3. Extract the file to your C: drive using WinRAR.
II. Install the Drivers
Sign up to receive The Snapshot, a free special dispatch from Laptop Mag, in your inbox.
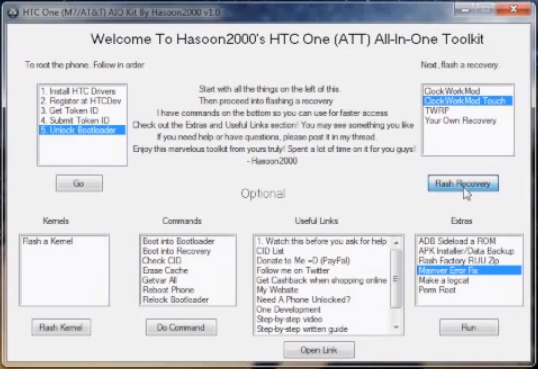
1. Open the Toolkit.
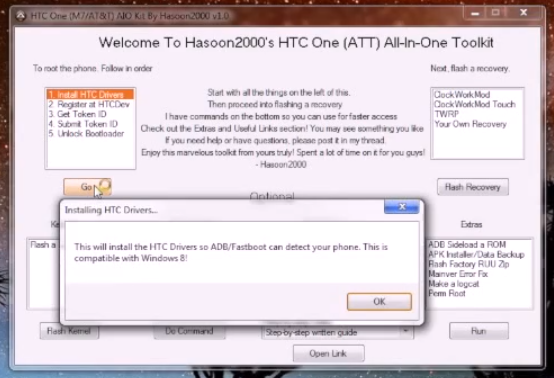
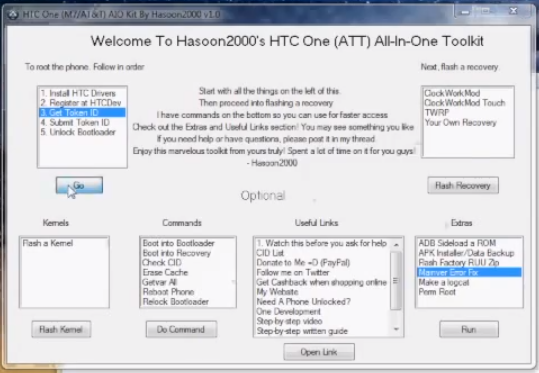
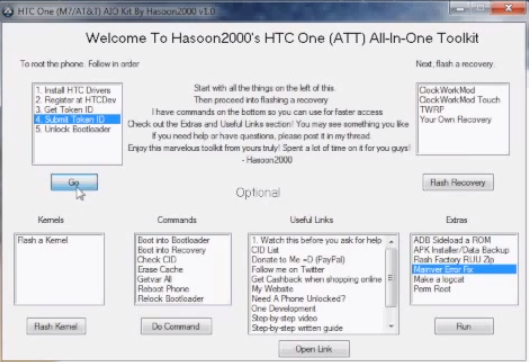
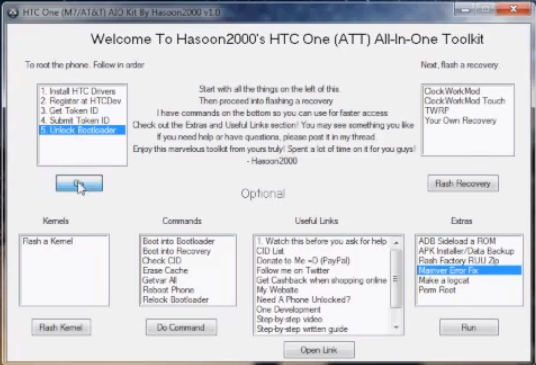
2. Select Install HTC Drivers and click Go.
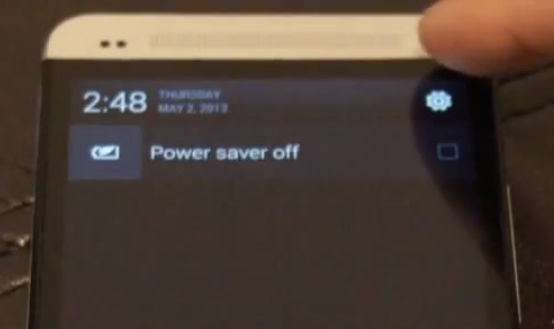
3. Open Settings. You can get there by pulling down the notification bar and tapping the gear in the top right corner.
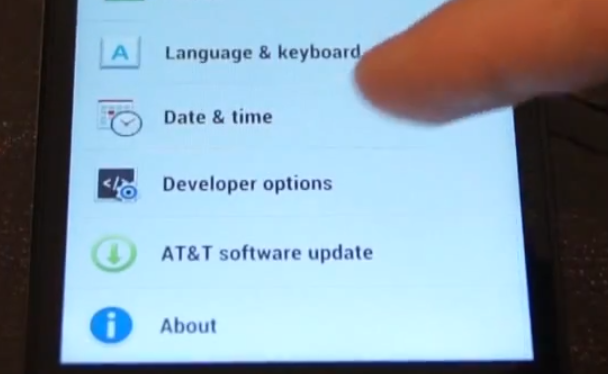
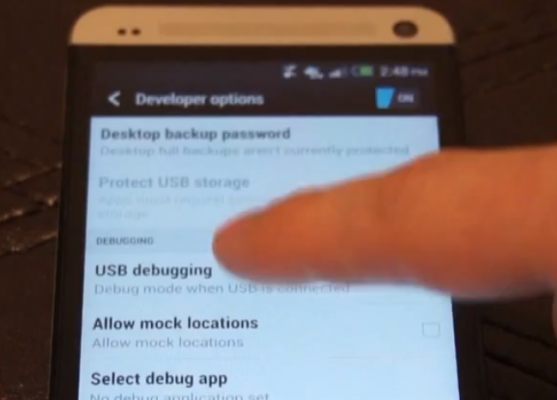
4. Select Developer Options and turn them ON.
5. Turn USB Debugging ON.
6. Attach the HTC One into your computer via USB.
III. Get Token ID
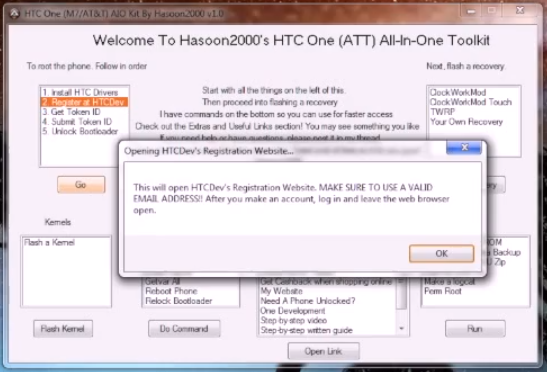
1. In the toolkit, select Register at HTCDev and click Go.
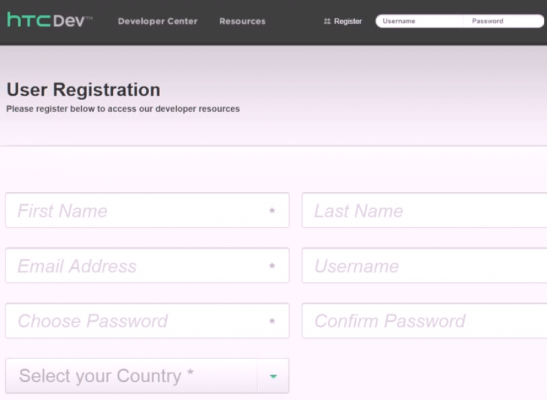
2. Fill in the information and click submit.
3. When you get the email from HTC, tap the link to confirm the account.
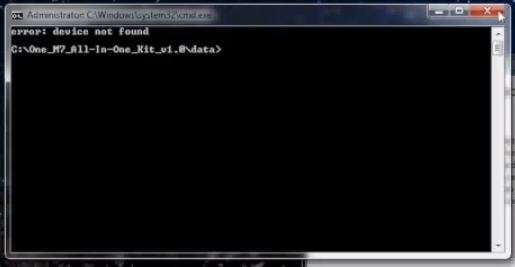
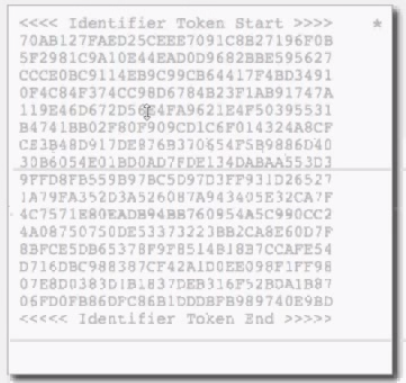
4. Select Get Token ID and click Go.
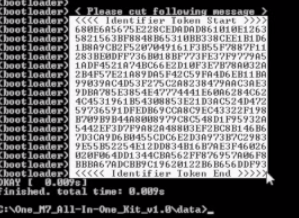
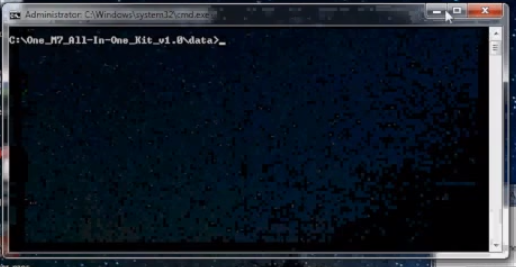
5. Close the first Command Window that pops up when the device enters bootloader mode.
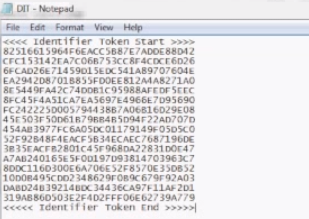
7. Highlight all of the token information starting with and including <<<<< Identifier Token Start >>>>> and ending with and including <<<<< Identifier Token End >>>>>
8. Copy it and paste it into notepad.
9. Select Submit Token ID and click Go.
10. Paste the Identifier Token code at the bottom of the page and hit Submit.
11. Save the Unlock_Code.bin file to your desktop that comes in the email they send you.
IV. Unlock the Bootloader
1. Select Unlock Bootloader and click Go.
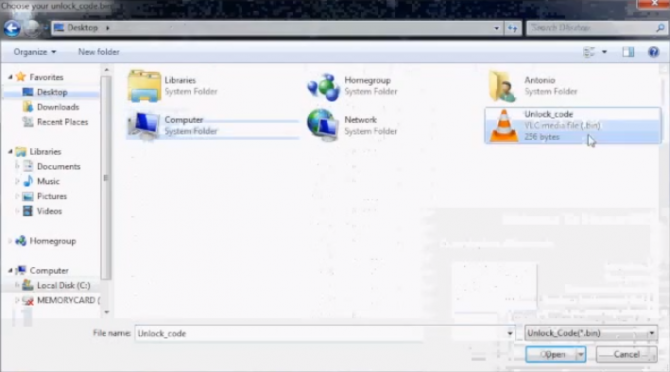
2. Select the Unlock_Code.bin file and click OK
3. Select yes by pushing up on the volume key and then power.
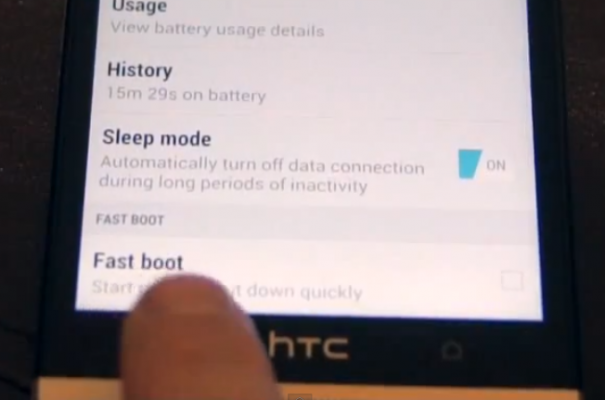
4. Walk through the setup process and then go to Settings then select Power and then turn Fastboot OFF.
5. Make sure to turn on USB debugging again.
V. Flash a Custom Recovery
1. Select ClockworkMod Touch under recovery options and then click Flash Recovery.
2. Close the first command prompt after the device goes into bootloader mode.
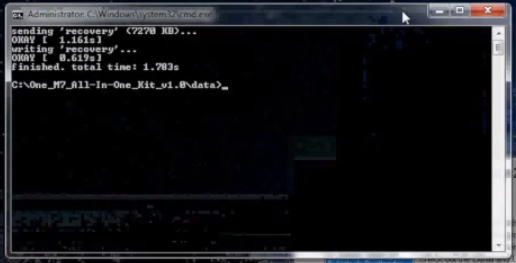
3. When the next command prompt says successfully flashed, close it.
VI. Gain Root Access
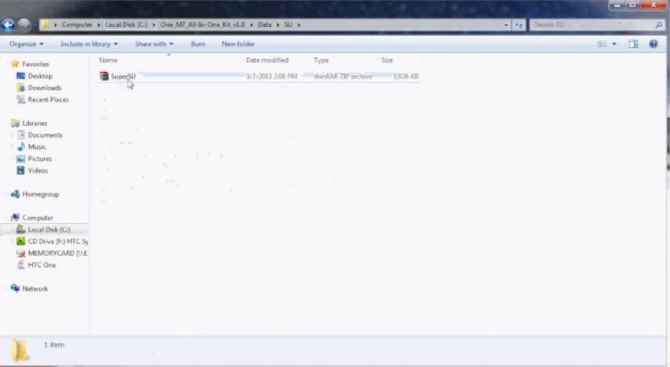
1. Open File Explorer on the computer and leave the device plugged in via USB and in normal mode.
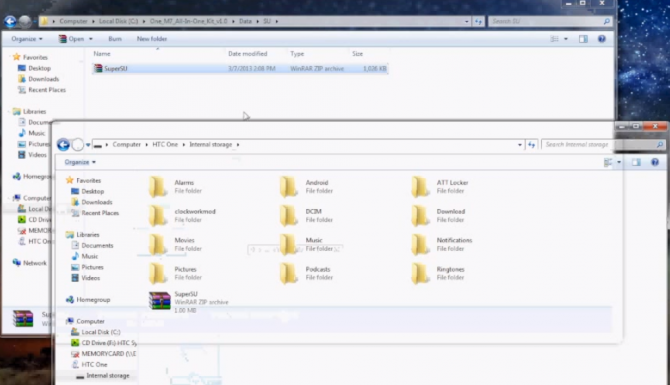
2. Click on C: drive > Toolkit folder > Data > SU and copy the SuperSU.zip file to the internal storage
3. Unplug the HTC ONe.
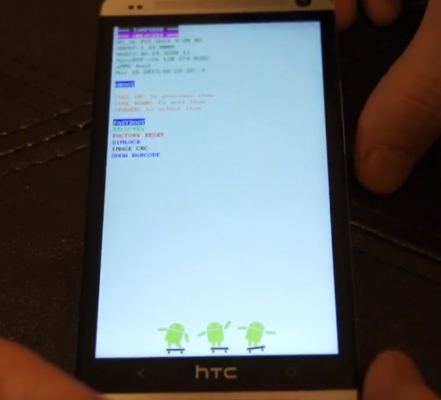
4. Turn the phone off, then turn it back on by holding down Volume Down and Power at the same time. Keep holding them until the hboot screen comes up.
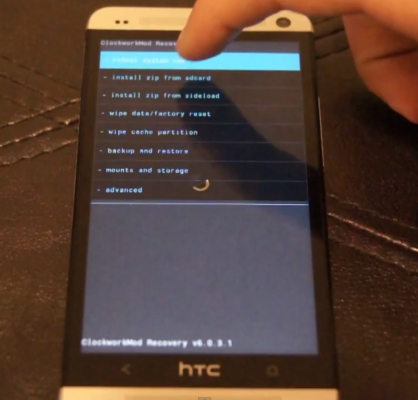
5. Push volume down and then power to select recovery from the list of commands.
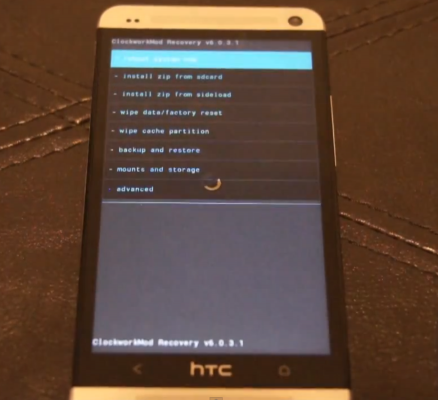
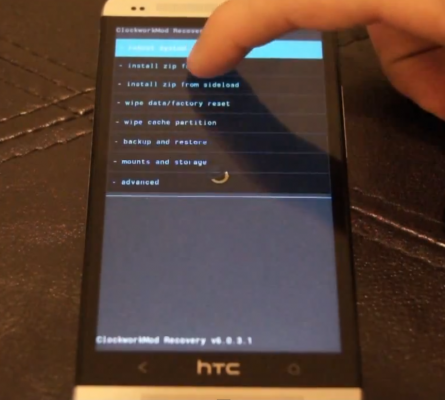
6. Tap Install Zip from SDCard then Choose Zip from SDCard then select the SuperSU.zip file and click Yes to confirm.
7. Once it flashes, click Go Back then click Reboot System Now.
VII. Flash a Custom Kernel
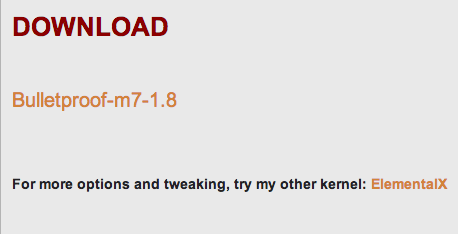
1. Head head to this forum post to download the kernel under the Download section in the first post and save it to your desktop.
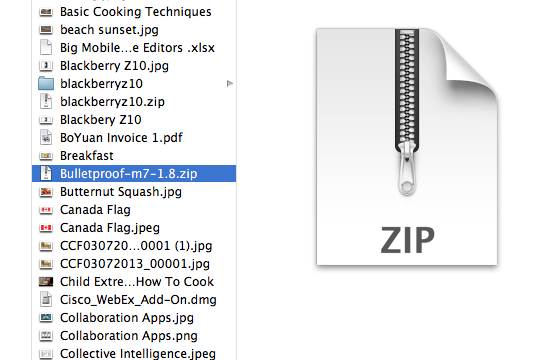
2. Plug your HTC One in via USB and copy the kernel .zip file over to the internal storage of the device.
3. Unplug the device.
4. Turn the device off, then turn it back on by holding down Volume Down and Power at the same time. Keep holding them until the hboot screen comes up.
5. Push volume down and then power to select recovery from the list of commands.
6. Tap Install Zip from SDCard then Choose Zip from SDCard then select the kernel .zip file and click Yes to confirm.
7. Once it flashes, click Go Back then click Reboot System Now.
VIII. Undervolt the Device
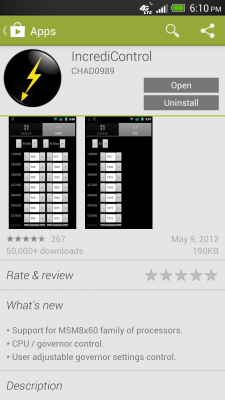
11. Once it reboots, download Intellicontrol from the Play Store.
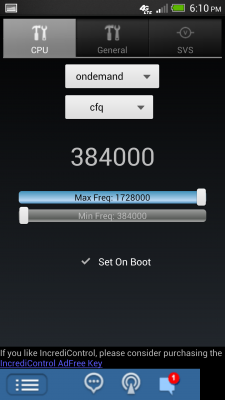
12. Pull the second slider all the way to the left to allow the processor to go to a much lower speed when idle.
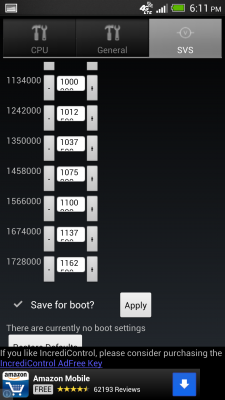
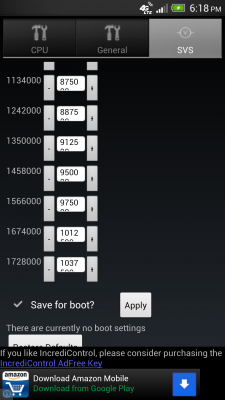
13. Tap on the SVS tab at the top right and push the minus symbol to the left of All until the first value says 1000 (this is the lowest I would go but feel free to adjust this up and down based on your experience).
14. Scroll down and click the Apply button to save the changes. Enjoy the extra battery life! (I don't recommend select Set on Boot simply because you could get stuck if the voltage is too low, so just redo steps 12 and 13 anytime you reboot your device. Trust me it's safer this way).
The Results
Using the Quadrant test found in the app store and LAPTOP's own battery test, here are the results we got before and after undervolting.
| Quadrant Before | Quadrant After |
| Row 1 - Cell 0 | Row 1 - Cell 1 |
| Battery Before | Battery After |
| Row 3 - Cell 0 | Row 3 - Cell 1 |
As you can see, the performance on Quadrant jumped up 1,290 points after undervolting, while battery life increased by 1 hour and 12 mins!
David Cogen is a founder of TheUnlockr.com, the popular site for rooting, jailbreaking, hacking, modding, and other how tos to show you how to unlock your device's true potential. They even have a popular ROM repository. Check out TheUnlockr.com for all your Android, iPhone, and Windows Phone how tos.
