Speech-to-text is a handy tool for dictation available in macOS. Once you set it up, you can scribble words to a page using this tool anywhere you would otherwise type with a keyboard. In addition to typing text, you can also enter punctuation marks and formatting such as line breaks and special symbols by speaking the commands.
While this feature was full of glitches and actually made typing more laborious in years past, Apple really has ironed out most of the wrinkles and made it fairly useful. If you find yourself needing a break from the keyboard, it’s definitely worth trying.
It is a handy tool when you need to work hands-free, or jot down a quick note before its lost forever. That said, it’s still not perfect, and I find that it works best when you speak slowly and accentuate bigger words.

1) Click the Apple icon in the upper left corner.
2) In the menu that opens, select System Preferences.

3) In System Preferences, select Keyboard.

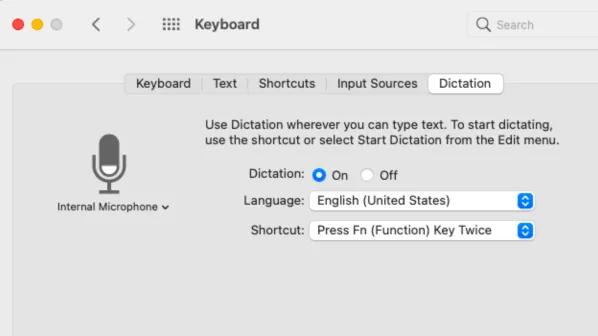
4) In the Keyboard window, go to the Dictation tab.

5) There, switch on the dictation option.

6) Click Enable Dictation to allow Apple to use the recording.

7) In any document processor, click the Dictate icon and start speaking.

8) To change the default language, click the down arrow to open the language drop-down menu.

9) Select a language you would like to convert from speech to text.

