Anytime it comes to changing things up on the hard disk most people begin to sweat. I get it. Doing anything with a disk that also contains the operating system is a bit daunting. In macOS, however, you can do all of this from a Finder window and without erasing or reformatting the drive.
You can do this for any disk connected to the PC, whether internal or external. This could be useful, especially for photo or video editors who might be working from more than one disk or drive at a time.
One last word of note, however. If you’re going to reformat a drive that’s currently an NTFS volume, you’re going to need to do it in Windows. Currently, macOS makes this incredibly difficult as it’s not a native Apple format.

1) Click the Finder icon to open a Finder window from the Dock.
2) In the menu bar, click Go.

3) In the Go menu, select Computer.

4) Right-click on the hard disk you want to rename.

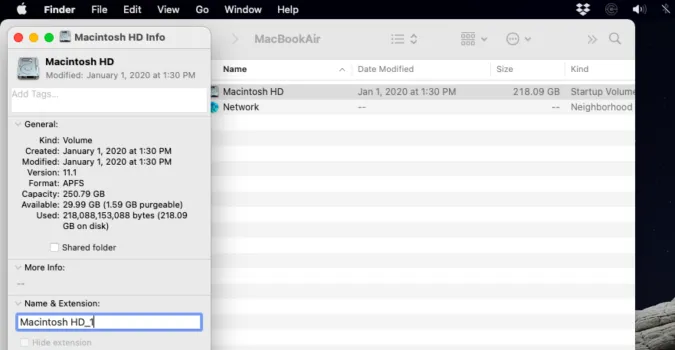
5) In the menu that opens, click Get Info.

6) In the Info window, type a new name.

