
Moving the Windows 11 taskbar should be a a simple drag and drop, but unfortunately, this is no longer the case. After making the leap from Windows 10 it’s a bit of a hassle — one that I’m going to help you overcome.
But why is something that was so simple on the previous OS, now seemingly impossible? According to Tali Roth, Microsoft's head of product over at Windows Core Experiences, the answer is simple: the undertaking is simply too big. During a 2022 Ask Me Anything (AMA) Roth laid out Microsoft’s case:
“When it comes to something like actually being able to move the taskbar to different locations on the screen, there's a number of challenges with that," said Roth (via Neowin). "When you think about having the taskbar on the right or the left, all of a sudden the reflow and the work that all of the apps have to do to be able to understand the environment is just huge."
It’s been almost two years since Windows 11 has launched, and while the adoption rate to the new operating system is moving along at a snail’s pace, it is moving in a positive direction. According to Digital Information World, the current adoption rate for Windows 11 is 18.13% worldwide. But as more consumers and businesses make the switch, the Windows 11 platform will only grow. In that time, Microsoft met users halfway and now allows you to move the Windows 11 taskbar – just not as much as they would like.
I'm going to walk you through two ways to reposition your Windows 11 taskbar.
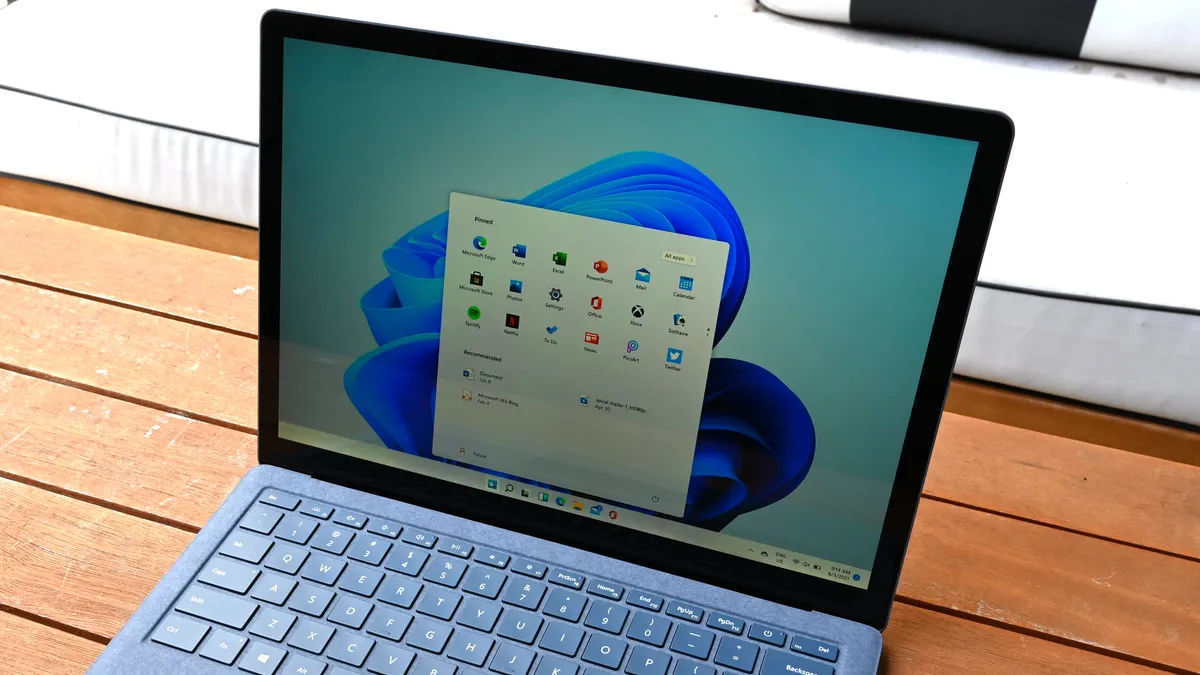
Launch Taskbar Settings

Go to the Search bar and type in Taskbar Settings. Select Taskbar Settings.
Change Taskbar Orientation

In the Taskbar Settings menu, go to Taskbar Behaviors. From there, find Taskbar alignment. Click to switch between Left and Center.
Taskbar Move Complete

If the operation was successful, the Taskbar will now sit in the bottom-left corner of the screen.
If you want to move the taskbar to the right or the top of the screen, you need to do a bit more tinkering. In this case, we’re going to be fiddling around with the Registry Editor to get the desired result. But before we begin, I have a couple of warnings. Please read them in their entirety before deciding to partake in this hack.
If you’re still looking to reposition the taskbar, here’s how you do it.
Launch the Registry Editor

Launch the Registry Editor. You can do this by typing Registry Editor in Search or by hitting Windows+R, typing “regedit”, and pressing Enter.
Navigate to the following key

Navigate to the following key: HKEY_CURRENT_USER\Software\Microsoft\Windows\CurrentVersion\Explorer\StuckRects3
Double-click the Settings binary key.

Double-click the Settings binary key.
Switching the Values

To move the taskbar to the top of the screen, look under the “Value data” section; In the second row and the sixth column, you need to click the 03 value, then press the Delete key, and replace the value with 01 to move the taskbar.
- For a right-mounted taskbar, change the 03 value to 02
- Change the 03 value to 00 to move the taskbar to the left
- To return the taskbar to the bottom, change the value to 03
Change the Values Correctly

In order to change the values correctly, place the cursor just to the right of the “03”, press Backspace once, then type in the number corresponding to the taskbar position in the list above. Then just click “OK.”
Restart Windows Explorer

When you’re done tweaking the Registry Editor, you’ll need to close it and restart Windows Explorer. This doesn’t mean restarting your laptop. In fact, if you restart the notebook without rebooting Explorer, none of your changes will stick.
To restart Explorer, you first need to launch Task Manager (just press Ctrl+Shift+Esc). If the Window is too small, click “More Details” to expand the window and select the “Processes” tab. Right-click “Windows Explorer” and select “Restart.”
If your changes worked, you should see that the bottom bar is empty and a few jumbled system icons wherever you positioned the taskbar. It’s not the most useful hack at this point; I recommend waiting until Microsoft gets around to creating a more feasible solution.

