How to Use Video on Instagram Like a Pro
Sign up to receive The Snapshot, a free special dispatch from Laptop Mag, in your inbox.
You are now subscribed
Your newsletter sign-up was successful
Facebook and Instagram today took the wraps on its Vine-killer, called Video on Instagram. It allows users on iOS and Android to shoot, edit, filter and share 15-second videos in their social networking feed. While the Instagram app still maintains its easy-to-use format, newbies will appreciate a few pointers.
1. Install or Update your app
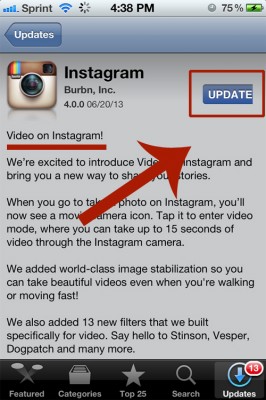
Open the App store and go to Updates. Look for Instagram and select it. Tap the Update button to get the latest version (4.0) of Instagram. We've noticed that not all Android devices have this ability just yet, despite the company's claim.
If you don't have Instagram yet, join 130 million active users in chronicling your life one filtered picture or video at a time. Search the App store for "Instagram" and install the free app. The open the app.
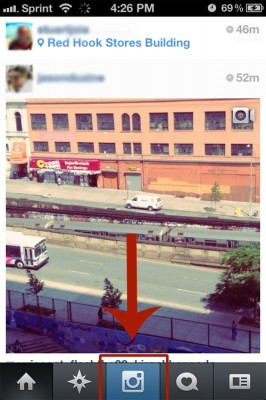
2. On your home feed, tap the Camera button at the bottom of the screen.
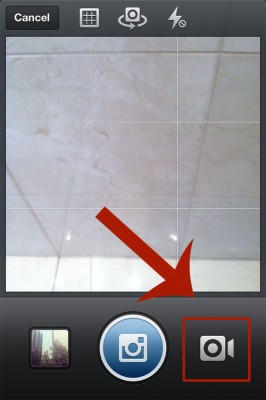
3. Tap the Video camera icon to the right of the Camera button.
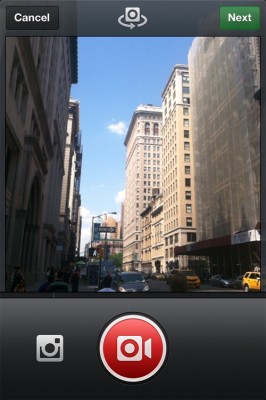
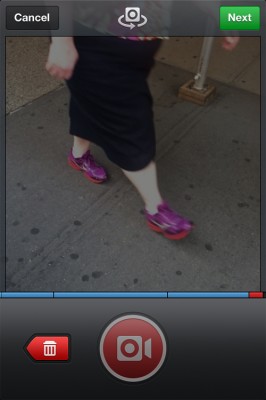
4. Once you've framed your shot (hint, it's nice to start videos with a wide-angle shot that gives a big overview of where you are), tap the round Video Camera button in the middle and hold it to record. A blue bar will start loading to show how long you've recorded.
Sign up to receive The Snapshot, a free special dispatch from Laptop Mag, in your inbox.
5. Let go when you're done with a particular clip to stop recording. Change your angle and tap and hold again to add another clip. To delete an unsatisfying portion of a clip, tap the arrow to the left of the Video Camera button.
It turns red and the previous clip is highlighted. Tap the arrow again to delete the clip.'
6. Stabilize moving shots
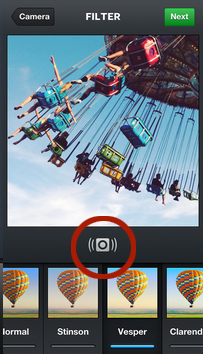
According to Instagram's help page, the Stabilizer function is on by default, and an icon is supposed to appear on the page where you apply your filter to your video, as shown in their screenshot above. We were unable to test this feature, but Instagram says that the missing button is supposed to serve as a toggle to turn the feature on or off.
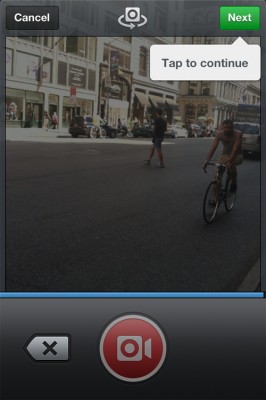
7. Click Next at the top right after you've filled up 15 seconds of video. Now you can add other features to your video.
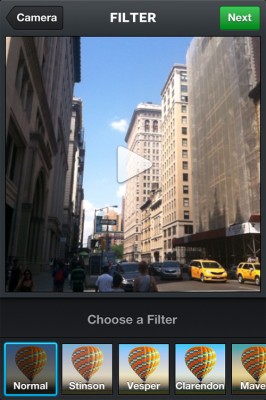
8. Select a filter from Instagram's 13 brand new filters custom designed for video. You can swipe across the screen from right to left to see them all and try them out on top of your video.
The clip will play in a live preview of what your filter will look like. Since you're not applying a filter to a still image anymore, it is a good idea to watch how the filter affects your entire clip - some shots will be darker, and applying a dark filter like Clarendon may make it hard to watch. When you're happy with your filter, tap Next.
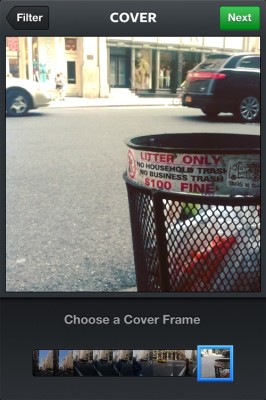
9. Select the most eye-catching frame in your video to designate it as your Cover image. To do this, drag the small oblong frame along the timeline below the preview screen.
This will be the image people first see when your video scrolls along their feeds. Once you're happy with your cover frame, tap Next again.
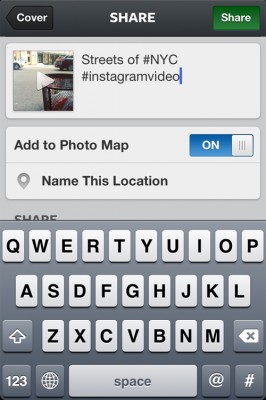
10. Type a caption so people know what they are seeing.
11. Add hashtags to make the video easily searchable.
12. Tag any Instagram friends that appear in your video. Then hit Share.
And voila! You're done! It takes awhile longer for videos to be posted on Instagram, so give it some time to upload the file.
13. View other people's videos.
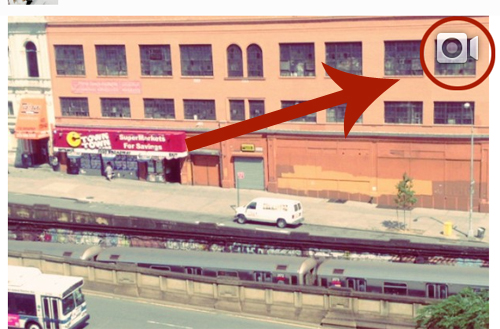
Videos auto-play on your feed by default. As you scroll, videos start playing once you take your finger off the screen. Videos are indicated by a video camera badge on the top right of the image. The process takes awhile since videos do take some time to load.
14. Turn off Auto-Play to speed up load times.
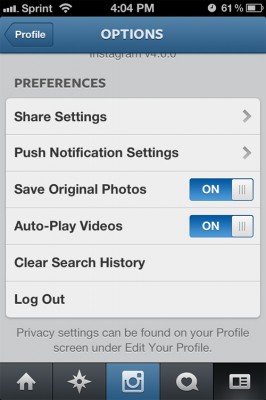
You can turn off auto-play by going into your Profile (tap the right most button at the bottom of the screen) and tapping the gear icon for Settings.
Scroll down to Preferences and tap the toggle for Auto-Play Videos to Off.

