How to Show Formatting Marks in Microsoft Word 2016 and Prior
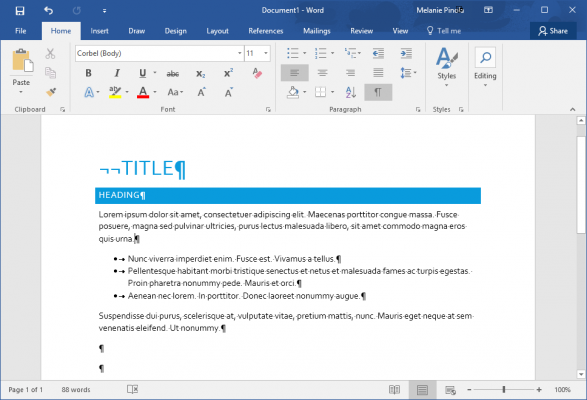
When you need to make sure your document is formatted and laid out perfectly--no extra blank pages or stray spaces, for example--look to Word's formatting marks feature. Toggle the marks on and you can see every non-printing character in your Word doc.
When shown, the formatting marks reveal spaces, tabs, and paragraph breaks in your document. Spaces are shown as a dot between words and punctuation, tabs are shown as arrows, and paragraphs are shown with the paragraph symbol. These tips work in Word 2016 and prior versions.
Show or Hide the Formatting Marks
- To show the formatting marks: Press Control+Shift+*. Press those three keys again to hide the formatting marks.
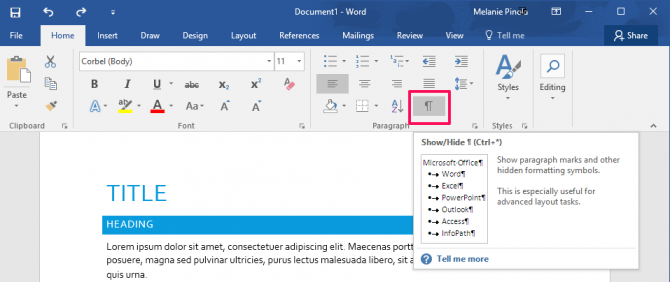
- Alternatively, click the paragraph symbol in the Paragraphs section of the Home tab:
Revealing the formatting marks can help you find blank paragraphs that are causing your document to add an extra blank page, places where spaces were used instead of tabs, and other formatting issues.
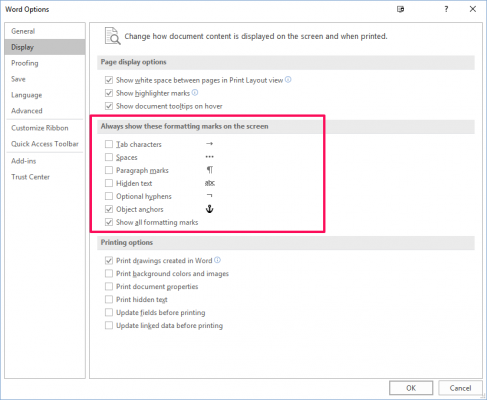
Always Show Formatting Marks
If you always want to see the formatting marks in your Word documents, there's a setting for that.
1. Click File.
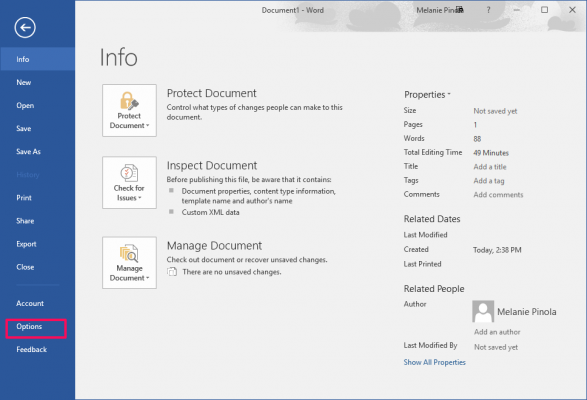
2. Click Options.
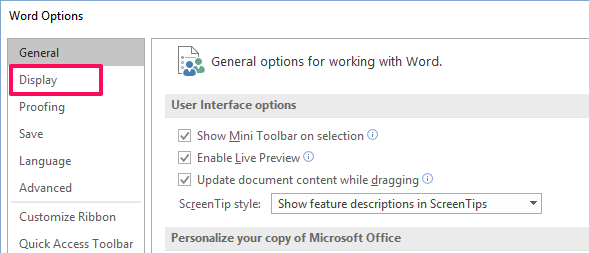
3. Click Display.
4. Check the formatting marks you want always shown.
Sign up to receive The Snapshot, a free special dispatch from Laptop Mag, in your inbox.
5. Click OK.
Melanie was a writer at Laptop Mag. She wrote dozens of helpful how-to guides, covering both the software and the hardware side of things. Her work included topics like SSDs, RAM, Apple, Excel, OneDrive, and detailed guides for Windows users. Outside of all her useful advice, Melanie also penned a few reviews for Laptop Mag, including Android emulators that help you run apps on your PC.
