How to Use Pinterest: Step-by-Step Guide
There’s just something about Pinterest. Since its launch in May 2011, the new social network has grown to a whopping 12 million unique monthly visitors in the U.S., becoming the fastest site to cross the 10 million mark in history. Essentially a virtual cork board, Pinterest gives users the ability to share all of their favorite images, organizing them into different boards. Similar to Twitter, users can follow Pinners with similar interests.
According to TechCrunch, Pinterest has become increasingly popular among women from the 18-34 year old demographic. While some might be quick to dismiss the site as a hub for fashion lookbooks and recipes, others have begun using to highlight other interests including cars and technology while others are using it to extend or strengthen their brand.
Intrigued? Ready to start pinning? Here are some helpful tips to help you on your way to becoming a Pinterest master.
How to Join Pinterest
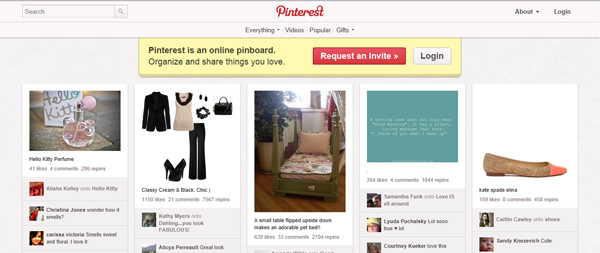
Like the hottest clubs in town, you can’t just join Pinterest. Since it’s currently in beta, interested Pinners will have to secure an invite. This might be easier said than done, however.
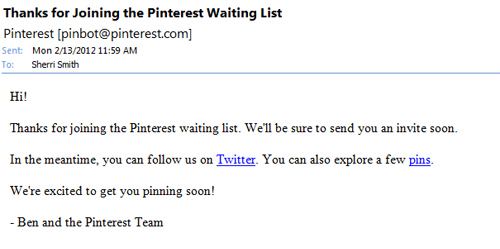
When we attempted to snag an invite by clicking the "request an invite" button and entering our email address, we received an email informing us that we successfully landed on the waiting list with no word on how soon we’d gain access behind Pinterest’s velvet rope.
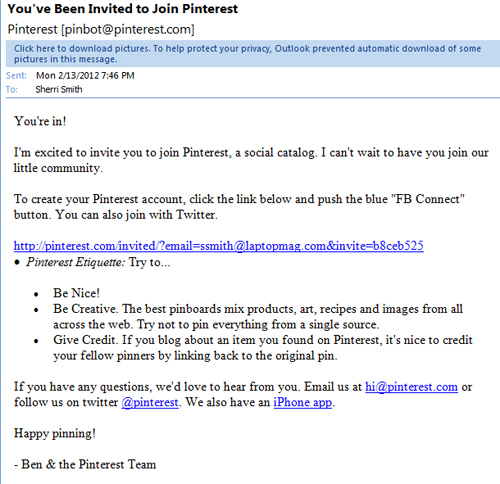
We eventually gained admission from Ben and the Pinterest Team.
Sign up to receive The Snapshot, a free special dispatch from Laptop Mag, in your inbox.
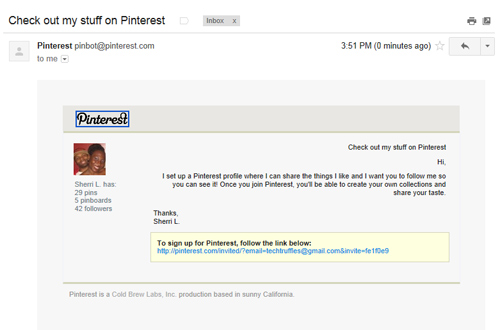
However curious visitors can score an invite from friends already using the service.
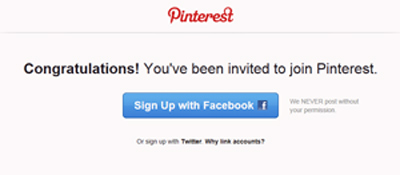
Once you receive your invite, click on the included link. A new page will open inviting you to join Pinterest using Facebook Connect or your Twitter account.
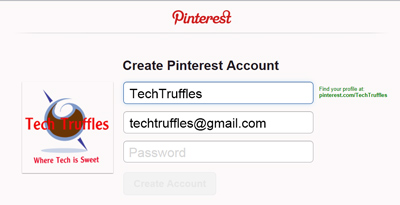
From there, enter your screen name, email, and password in the corresponding fields and click the Create Account button.
Set Up Your Pinterest Profile
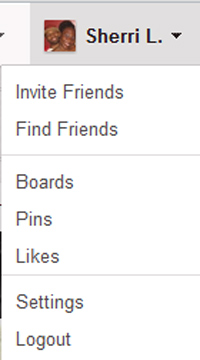
To complete your profile, mouse over the tab with your screen name in the upper navigation bar.
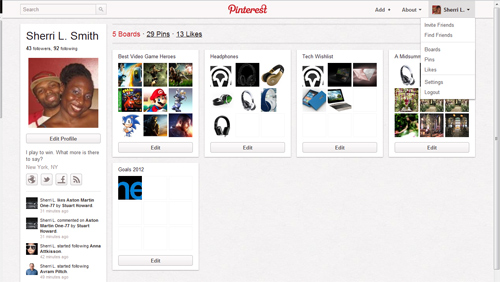
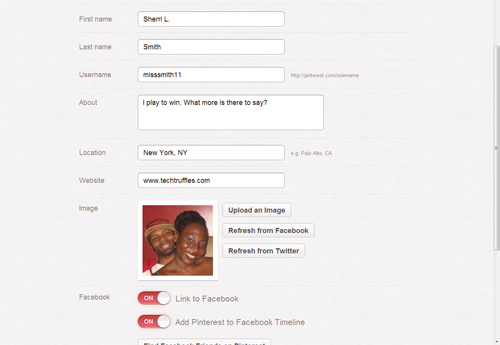
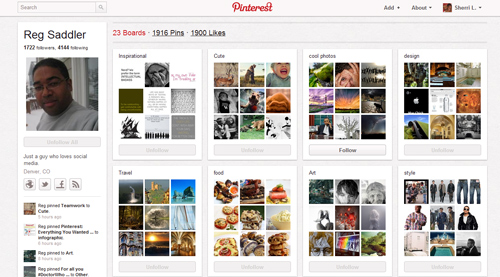
On your Pinterest page, you'll see a list of all your boards with your profile details and recent activity in the left column. Hit the Edit Button to access your Profile Details page.
On the Profile Details page you can make changes including name, location and a short bio.You can also upload a picture and link your Pinterest accounts to your Twitter and Facebook accounts. Facebook users can also add Pinterest to their Facebook Timeline status updates by checking the Timeline box in their Profile Settings.
What to Do on Pinterest
So now you’re on Pinterest, what’s next? You can either spend countless hours checking out all the varied, interesting pins other users have posted or you can create a profile, find friends to follow and create a board and post some pins of your own.
Browsing Pinterest Boards and Pins
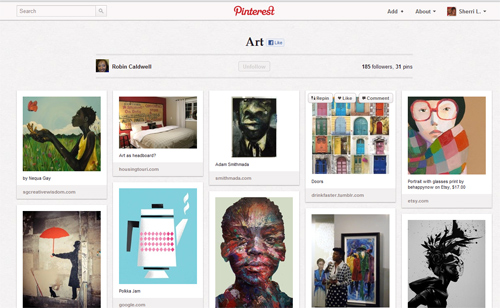
Pinterest displays some of its most recent and interesting pins on the homepage. Users can simply scroll down to see what the site has to offer. Mousing over an image will provide a few options including Repin, Like and Comment.
Clicking on an image brings up a larger pop-up image. In addition to the picture, user comments, recent pins, total number of pins and total likes are displayed. Social media mavens can share their finds via provided links for Facebook and Twitter along with an embed code for blogs. There's also a Report Pin button for inappropriate content.
Repinning vs. Liking on Pinterest
During your time on Pinterest, you’re bound to come across some images you want to share with others while some you’ll just want to give a thumbs up to show your appreciation.
Hitting the Like button on a pin will leave a notification on a friend’s timeline about your approval. It will also post a notification to your Facebook Timeline if that feature is enabled.
Repinning means that you’re taking an image from someone else’s board and posting it to one of your own. Similar to Liking, notifications will be sent to both parties when an item is repinned.
Finding Pinterest Friends
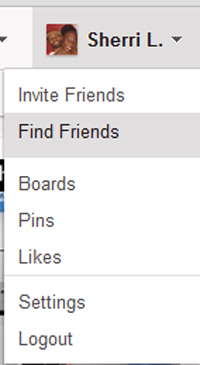
Chances are you’ve already got a few friends using Pinterest. To find and follow their boards and pins, go to your profile tab in the upper right corner. Mouse over the tab and select the Find Friends option.
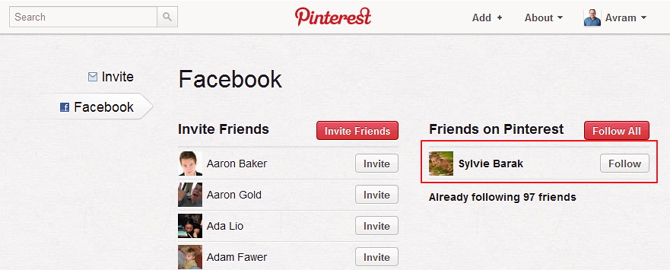
From there, Pinterest will display a list of friends that are already on Pinterest from your Facebook and Twitter accounts.
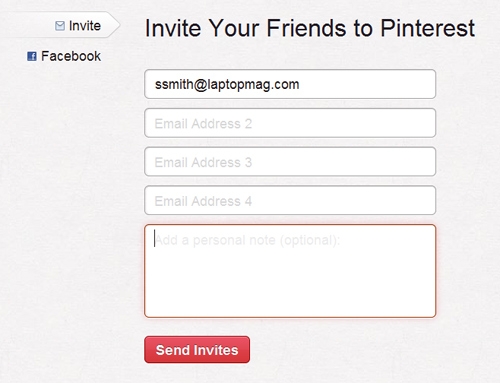
You can also invite friends by clicking the Invite Friends tab where you can invite a maximum of four friends in one invite.
Following People on Pinterest
Unlike Facebook or Linked In which require you to file a friend request to access all of users' updates, Pinterest boards are 100 percent public so you can follow complete strangers. To follow a user, you can click on her name, board or pin. Clicking on a person's name will take you to her Pinterest page, where you can view all her boards, current activity and profiles. You can also be specific with your follows. Instead of following every board a person has on their profile, you can pick and choose which boards you wish to follow.
To follow a board on the main Pinterest page, simply click on it. You'll be taken to a full view of the board where you can Follow/Unfollow the board or Like it on Facebook. You can also click on the board's author's name in the left corner to visit their main page.
Clicking on a pin causes a large pop-up box featuring the image, the board it appears on and the original Pinner (if applicable) will appear. Click the Follow button to by the person’s name to follow that person and their recent activity. If you want to follow that person’s board, or the original pinner, click the corresponding Follow buttons next to their names.
Using Pinterest as a Branding Tool
Sure Pinterest is cool to look at and getting people to repin your pins is awesome, but what does that get you in the long run? Some companies have put their pins to work establishing or strengthening their brands. Mashable, Etsy, and General Electric are good examples.
Adding Pinterest to a Blog
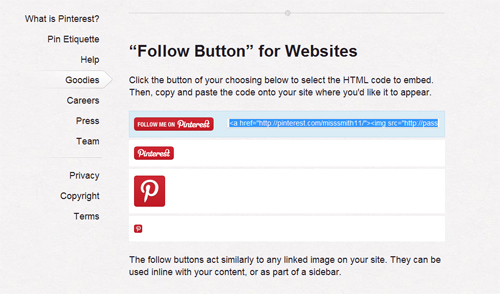
One way to foster brand continuity is to link your Pinterest account to your blog with the Follow button. The button connects the blog or website to Pinterest providing additional content. Pinterest provides four different styles of Follow buttons for websites.
After clicking the About tab in the top navigation bar, select the Goodies tab on the left side of the screen. Scroll down to the Follow Button section and select your button choice. Copy the code and paste onto the site where you’d like it to appear.
Add a Pin It Button to Any Page of Your Site
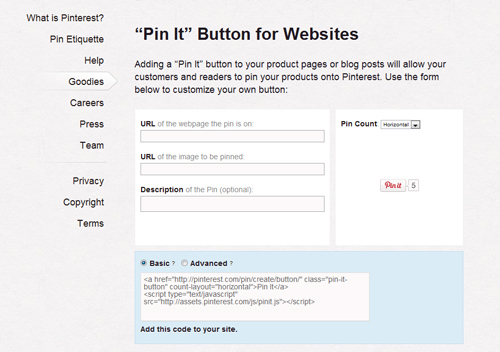
Users can make their sites pinnable by placing Pin It buttons on their pages. Simliar to Facebook's share buttons, adding a Pin It button will make it easier for readers to share your content with their Pinterest followers.
Users can create a custom Pin It button on the Goodies page. Simply add the webpage’s url, the url of the image you want to appear with the pin, and a brief description. Users can also choose to show the Pin Count, the number of pins an article has amassed. After configuring the Pin, simply copy and paste the HTML code the tool generates into the appropriate place on your site.
Add a Pin It Button to a Web Browser
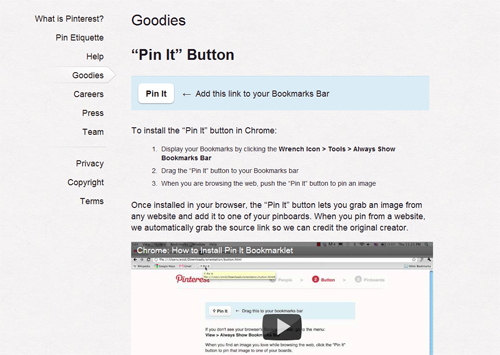
To enable faster pinning, Pinterest has created a Pin It button for your web browser. Conveniently located in the Bookmarks bar, the Pin It button compiles every viable image on the page.
To add the button to your web browser, first go to the Settings menu in your web browser and enable the Show Bookmarks Bar option (CTRL + Shift + B in Chrome). On Pinterest, mouse over the About tab in the top navigation bar and click Help. Next click the Goodies tab along the left side of the page. From there, drag the Pin It button up to the Bookmarks Bar.
Although Pinterest says that the button is Google Chrome exclusive, we were also able to get it to work in Mozilla Firefox.
Creating a Pinterest Board
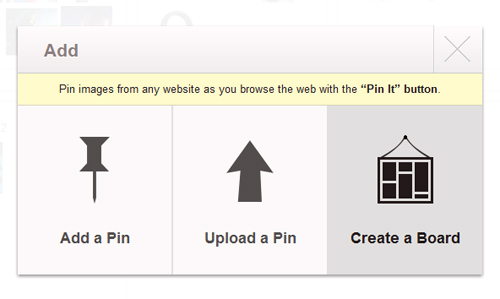
Ready to start pinning? Simply click on the Add+ tab in the navigation bar. A new window will appear with options to Add a Pin, Upload a Pin, and Create a Board.
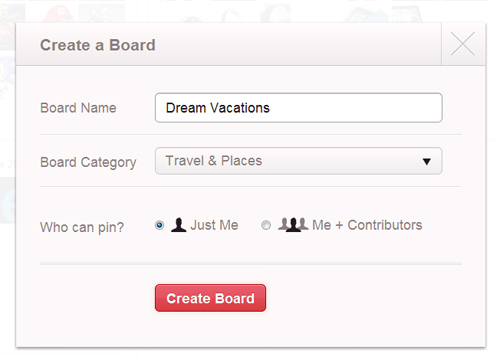
Select Create a Board and a window appears with a few selections. First off, name your board and try to make it something compelling that describes the board’s subject matter. Next choose a Board Category from the 33 pre-listed categories or choose Other to create your own category.
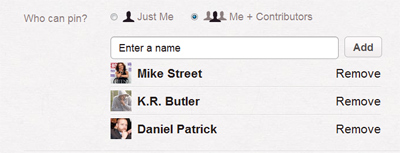
Next, choose who can pin to your board. If you want friends to have pinning rights, click Me + Contributors. Enter the name or email of the contributor and hit add.
To keep pinning rights to yourself, click Just Me. After everything has been selected click the Create Board button.
Add a Pin with the Pin It Web Browser Button
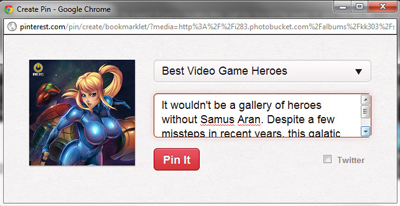
If you’ve added the Pin It button to your web browser, click whnen you are on a page with an image you wish to pin. A list of available images will appear in your browser. You can then mouse over the desired image and click the blue Pin This button.
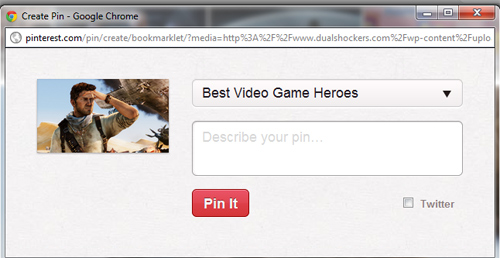
A pop-up window will appear with the chosen image, a dropdown menu of your available boards and a description field. If you are not already logging into Pinterest, you will be asked to supply your credentials.
After entering all the necessary details, simply click the Pin It button and the pin will appear on the designated board.
Upload a Pin in Pinterest
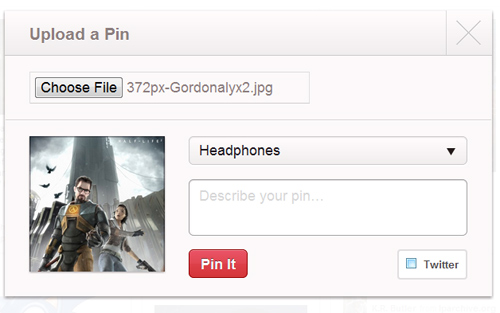
You can upload photos from your laptop by clicking the Add+ tab in Pinterest and selecting Upload a Pin.
Next choose the image file you wish to post. Pinterest will generate a preview image in a new window. From there, you can choose which of your boards the pin will appear on by selecting the board’s title in the dropdown menu. Once complete, click the Pin It button to post the pin.
Add a Pin From Its URL
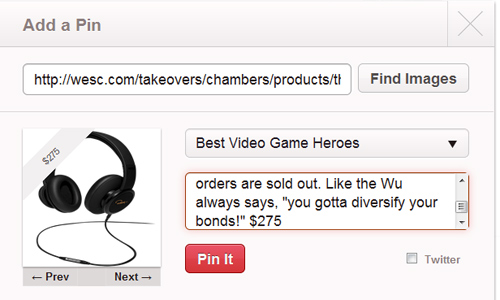
Users can also copy and paste to create a new pin. Select the Add+ tab and choose Add a Pin.
After finding and copying the desired image’s url, simply click Add a Pin. From there, paste the url into the empty field and click Find Images.
Next select the image, chose which board it's being pinned to and hit Pin It.
Repinning Someone Else's Pin
See a pin on someone’s board that would look better on one of yours? Simply mouse over the image and click the Repin button. Next choose which board you want the pin to appear on and press Pin It.
Adding Prices to Pin
As you check out other Pinners boards, you might run across a pin with a price tag displayed across the top right corner. To add a pricetag to your pins, simply place a $ or £ symbol before the price in the description field. Hit the Pin It button to post the pin.
Pinning Videos
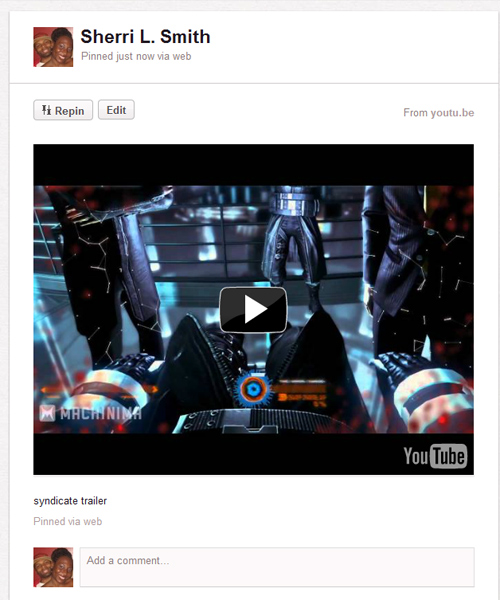
Although Pinterest primarily handles photos, you can also pin video as well. Similar to images, video can be added to a board by copying and pasting the video link, uploading the file, or pressing the Pin It button installed on the Bookmarks Bar.
Editing Boards/Pins
On second thought, maybe that “Sweetest 80’s Mullets” board wasn’t that good an idea. Editing boards and pins is pretty straightforward.
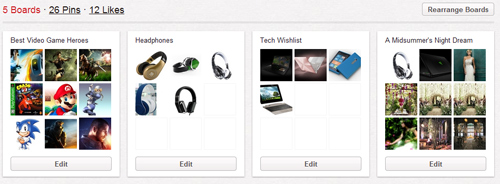
To begin editing boards, go to your Pinterest page where each board will feature a large edit button.
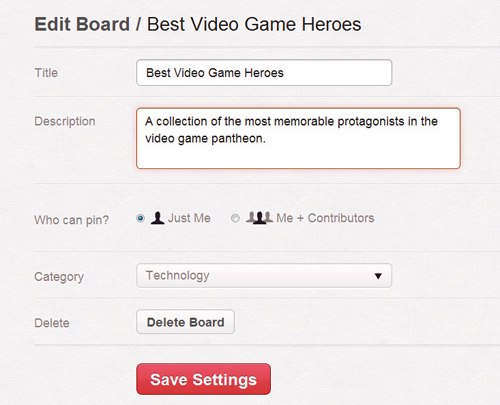
Click the Edit button to open the Edit Board page where you can change the board’s title, description, contributor status and category. You can also delete the board entirely. After the changes have been made, click the Save Settings button to see the new improved board.
Editing Pins
Click on the board with the pin that needs to be edited. On the board page, mouse over the the offending pin and click the Edit button.
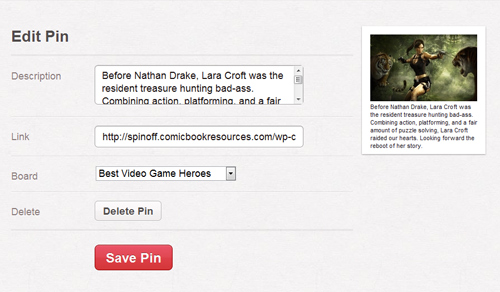
On the Edit Pin page, users can edit the description, image link and board. Similar to boards, pins can also be deleted using the Delete Pin button. Once the changes have are complete, simply click Save Pin to view the updated pin.
Following Pinterest Etiquette
Aside from posting interesting content, part of being a successful Pinner is being a polite Pinner. With that said there are a few things to keep in mind.
- Give credit where it's due. Include a little note saying where an image comes from if Pinterest doesn’t display the link’s source.
- Keep your content PG-13. Pinterest doesn’t allow nudity or hate speech. This rule also extends to commenting on other people’s content. Keep comments clean and tasteful. If you see something questionable, hit the Report Pin link next to the pin in the pop-up window.
- Don't post too often. As with most social networking sites, too much self promotion can potentially lower your credibility and damage your brand.

Sherri L. Smith has been cranking out product reviews for Laptopmag.com since 2011. In that time, she's reviewed more than her share of laptops, tablets, smartphones and everything in between. The resident gamer and audio junkie, Sherri was previously a managing editor for Black Web 2.0 and contributed to BET.Com and Popgadget.
