How to restore deleted files from the Windows and macOS Recycle Bins
Here’s how to get your lost files back
Deleting a file accidentally can make your heart stop in an instant. Fortunately, both Windows and macOS “transfer” your deleted files into a dedicated Recycle Bin instead of outright deleting and removing them from your system. You can restore your deleted files without losing anything as long as you follow the steps below.
Many software programs in the market make money by helping people restore deleted items from their Recycle Bins. Ironically, you can do this independently without having to download any paid applications. The Windows and macOS secure and reliable Recycle Bins ensure that you can recover your files if you need to.
- More: Read more How-to guides
- Best Laptop deals: Cheap Windows and Mac systems
- Amazon Prime Day: Everything you need to know
Before you restore any of your files, let’s take some precautions. First, double-check that the file that you are restoring is the correct one. Next, remember the folder from which the file you are planning to restore originally came. Otherwise, you may have difficulty finding it after you complete the recovery.
How to restore a deleted file from the Windows Recycle Bin
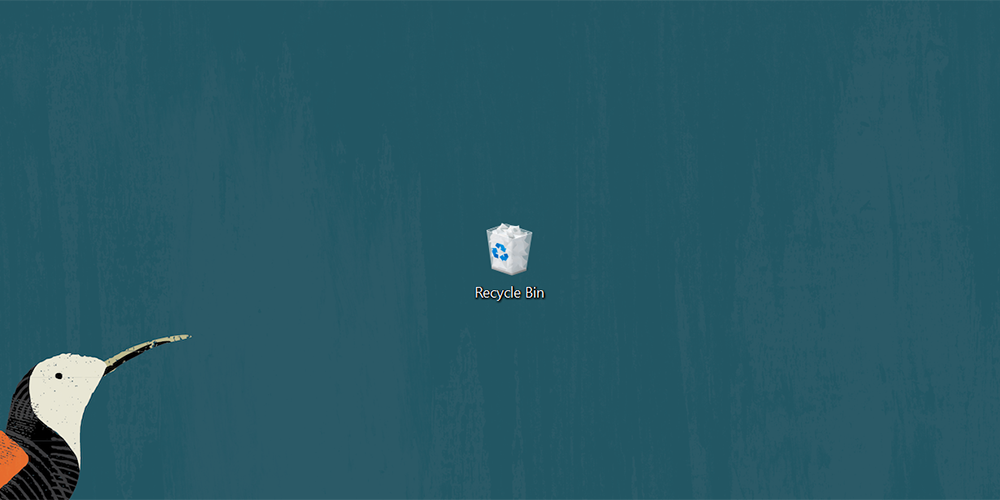
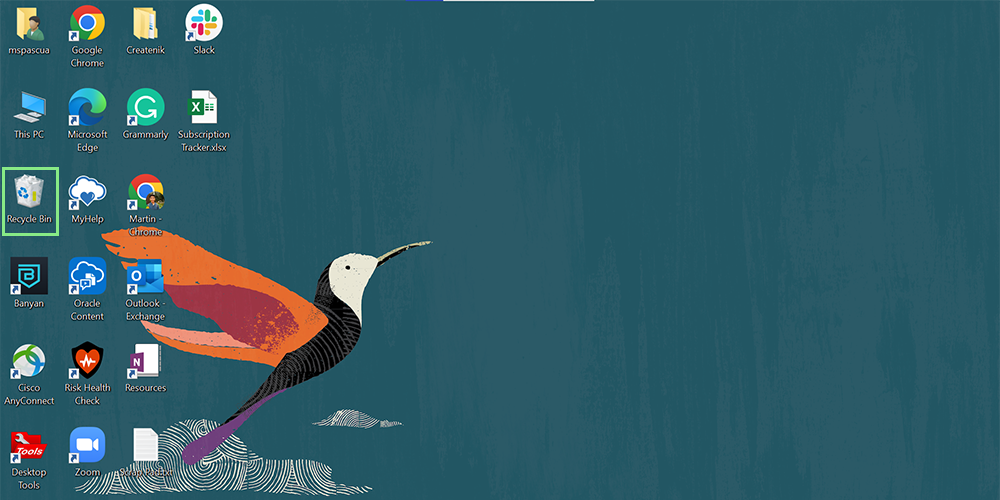
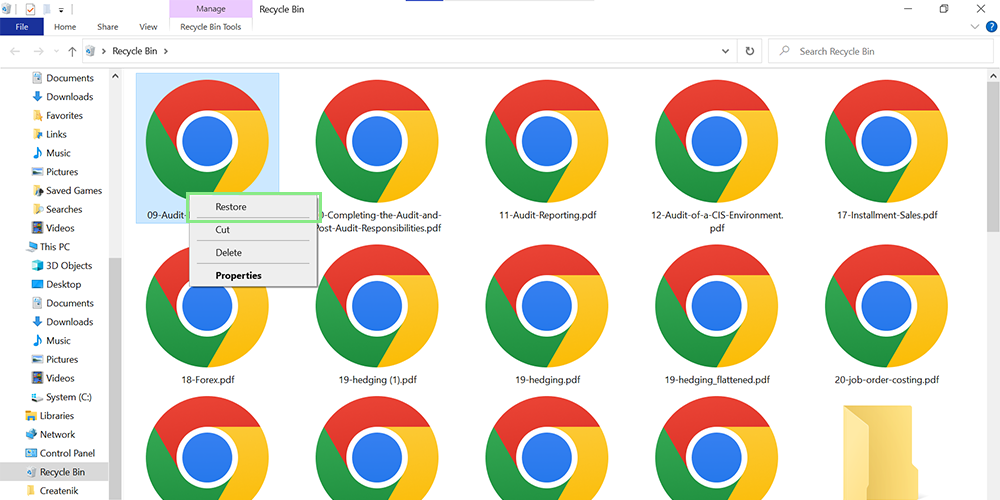
To restore a deleted file inside your Windows Recycle Bin, open your Recycle Bin. It usually looks like a trash can located on your Desktop.
Then, locate the file you need and right-click it. A context menu shows you different actions available for this file type.
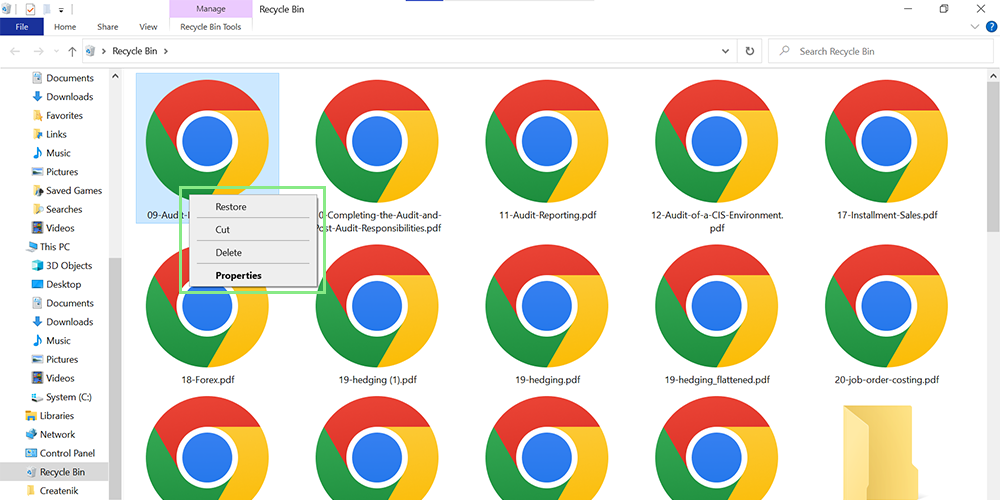
From the options above, select Restore. The file should now appear in the folder it was initially in before getting deleted.
How to restore a deleted file from the macOS Trash
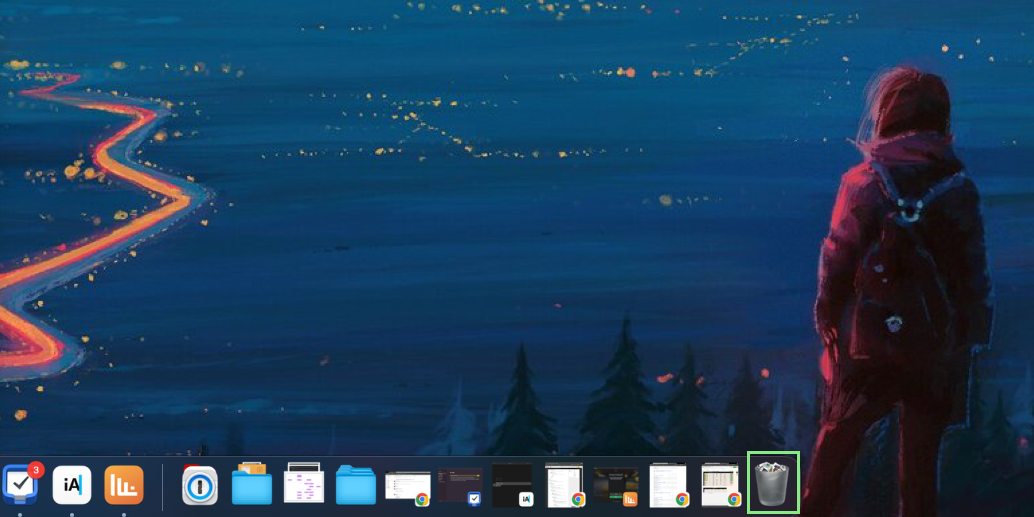
Similar to Windows, restoring files from macOS Trash is pretty simple. To open your Trash, click the trash can-like icon on the right side of your Dock.
Sign up to receive The Snapshot, a free special dispatch from Laptop Mag, in your inbox.
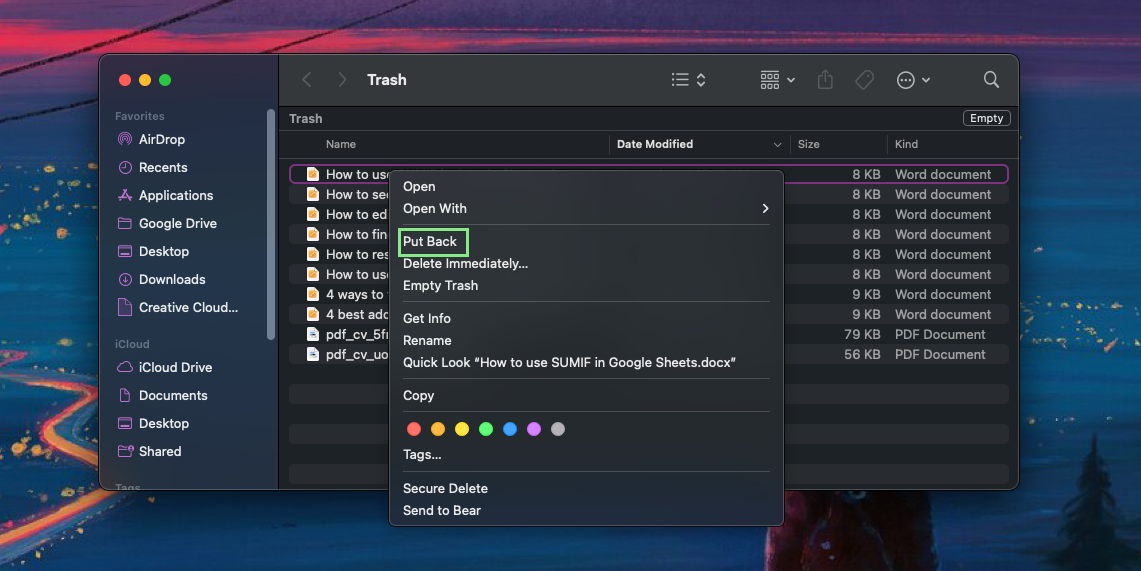
Locate and right-click the file you wish to restore.
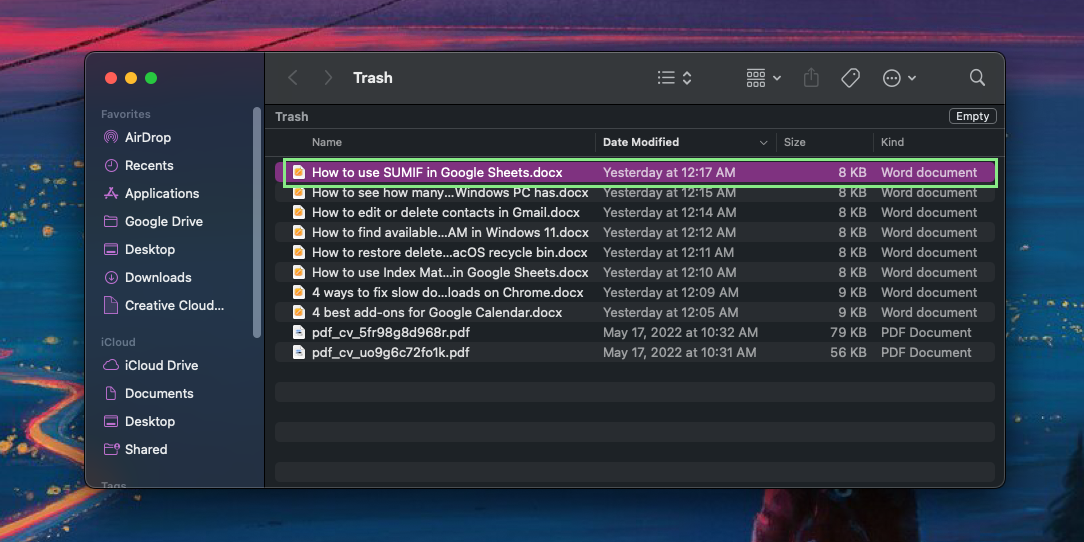
Instead of selecting Restore, select Put Back from the options provided. There you have it. You now have your files back where you want them.
