How to Add Simple 3D Special Effects to Movies in Windows 10
The Windows Photos app has really come along way after the last couple of Creators Updates. Today it’s a feature-rich editor for both photos and video, an application for simple edits and creations that doesn’t have the learning curve required of some of its peers. It’s not a pro-level application, but for the casual creator it’s a simple way to make use of the images and videos collecting dust on your mobile device.
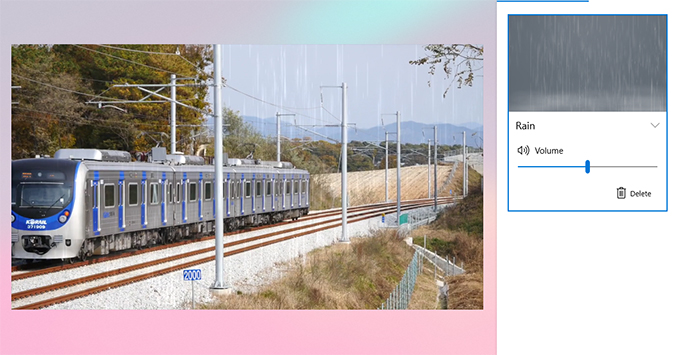
One of my favorite features is the ability to add 3D special effects to movie clips. It’s a simple process, and doesn’t require the technical expertise of a program like Adobe After Effects.
- Open Photos.
- From the top, select Create and then Custom video with music from the dropdown.
- Check the box in the top right corner of the video you want to edit.
- Click Add.
- Drag the video to the timeline below.
- Click 3D effects and wait for the effects to load.
- Choose any effect from the right sidebar.
- Drag the blue section in the timeline to choose where to apply the effect within the video. You can apply it to part of the video, or stretch it out to use throughout.
- Click Done to apply the effect and return to the editor.
- How to Add 3D Objects to Powerpoint Presentations
- How to Use Windows 10’s Built-In Currency Converter
- How to Set Up Continue on PC in Windows 10
Sign up to receive The Snapshot, a free special dispatch from Laptop Mag, in your inbox.
Bryan covers everything you need to know about Windows, social media, and the internet at large for Laptop Mag. Thanks to his extensive knowledge of operating systems and some of the most popular software out there, Bryan has written hundreds of helpful guides, including tips related to Windows 11 drivers, upgrading to a newer version of the OS, editing in Microsoft Photos, or rearranging pages in Google Docs.

