How to use Virtual Desktops in Windows 11
Organize your work with Windows 11’s Virtual Desktops
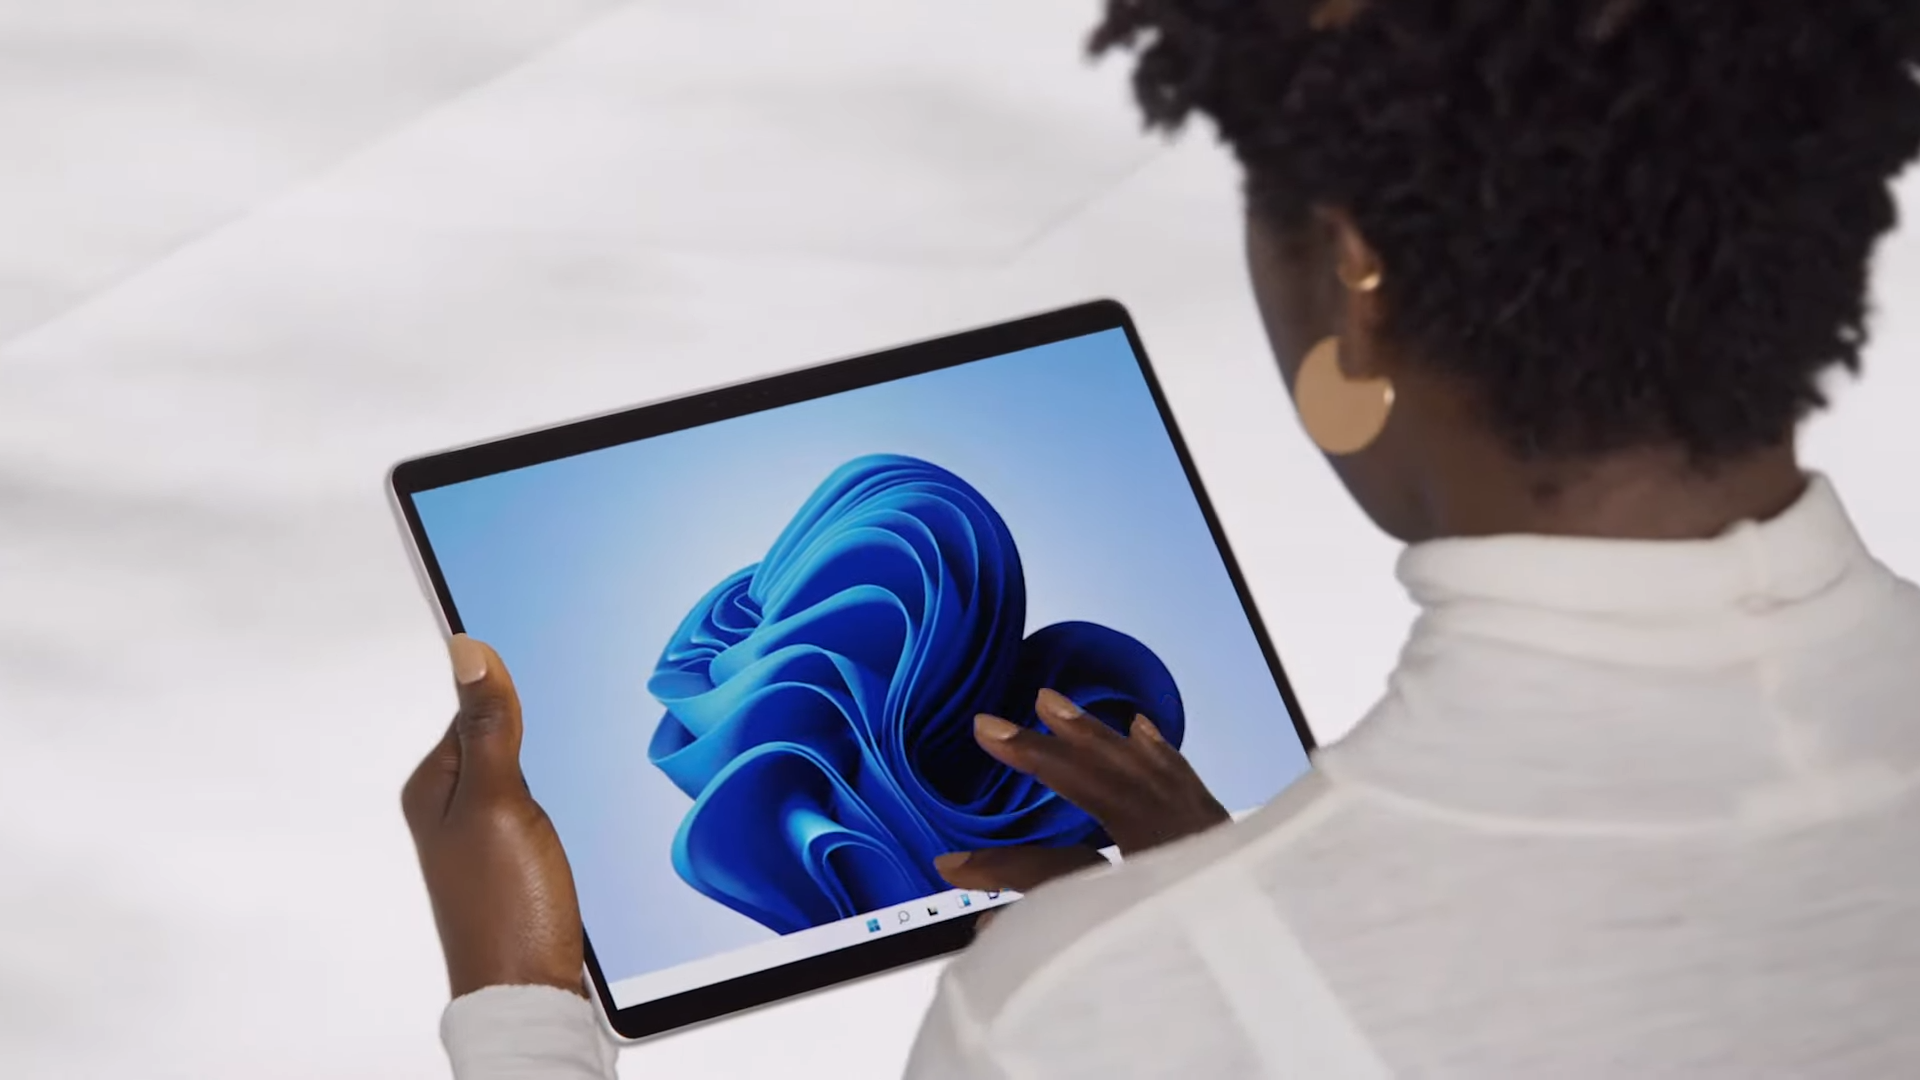
Windows 11's Virtual Desktops are ideal for multitasking masters who'd thrive on juggling multiple desktops that run applications independently from each other. With this feature, you can swap between virtual desktops to help you focus better on each group of tasks.
Windows 11, poised to launch on Oct. 5, will offer several new features: better UI, integrated Android Apps, and more appearance settings, to name a few. It will also provide some of our favorite features from previous Windows versions, such as Virtual Desktops.
- How to download Windows 11 for free
- The best laptops of 2021
As Microsoft prepares to usher in a new era, perhaps it’s about time that you, too, revivify your productivity by taking advantage of all the perks Virtual Desktops has to offer. Here are easy, step-by-step instructions on how to create and manage Virtual Desktops on Windows 11.
How to Create a Virtual Desktop on Windows 11
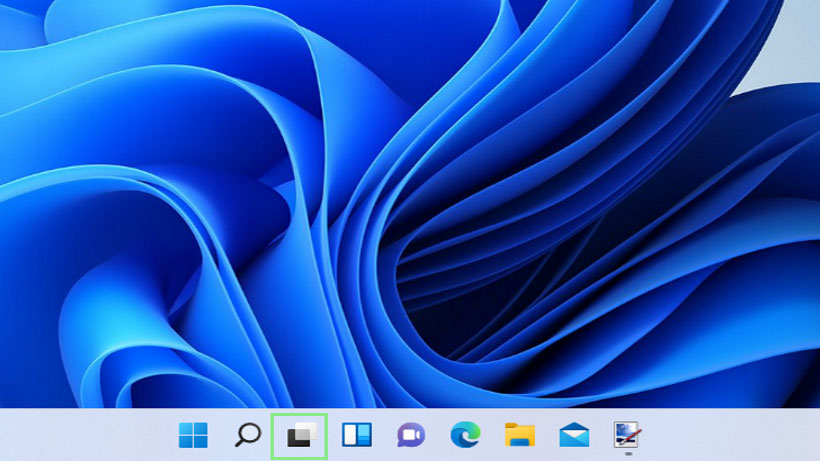
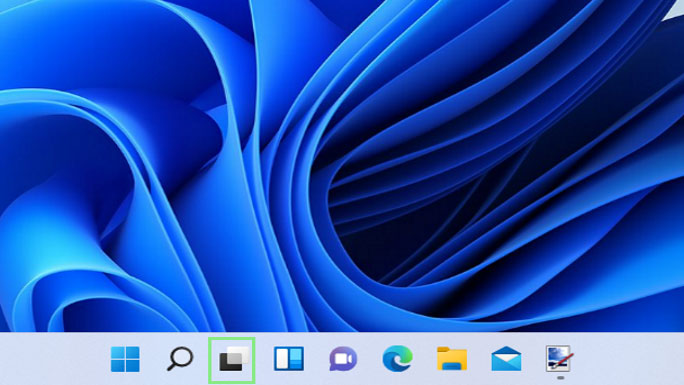
1. To create a new virtual desktop, hover your mouse pointer on or click the virtual desktops button on your taskbar.
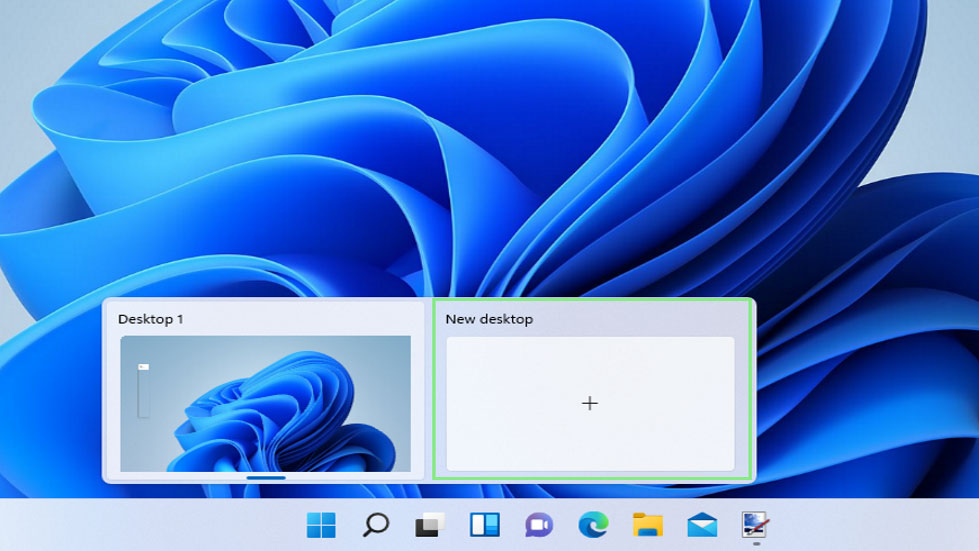
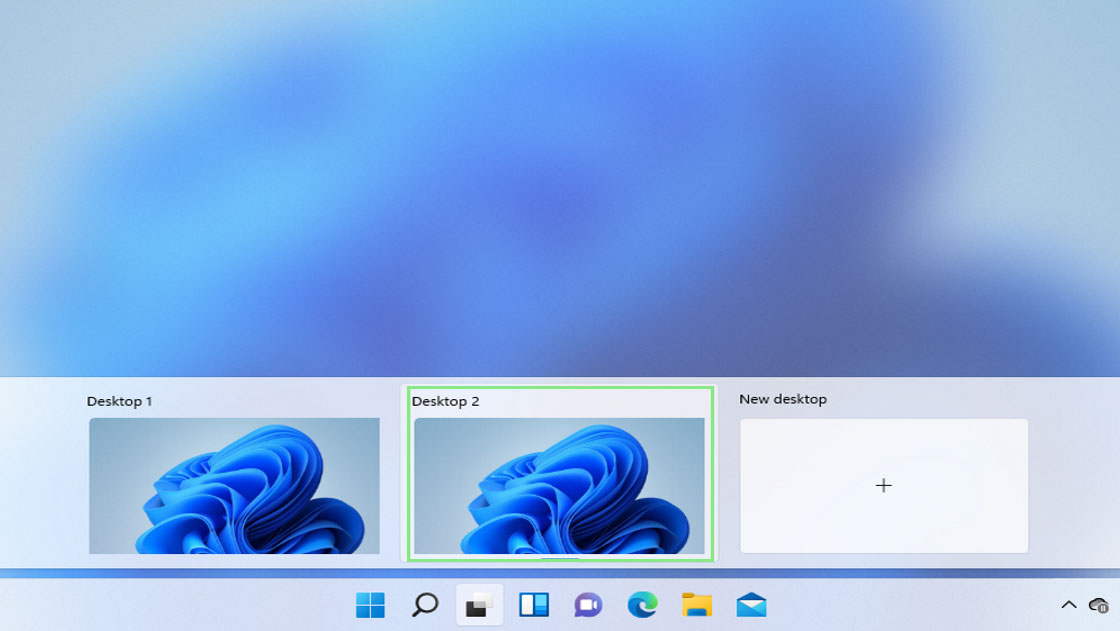
2. From the menu shown at the bottom of your screen, click the New desktop option. This action will immediately open a new virtual desktop with no active foreground applications.
How to Switch Between Virtual Desktops
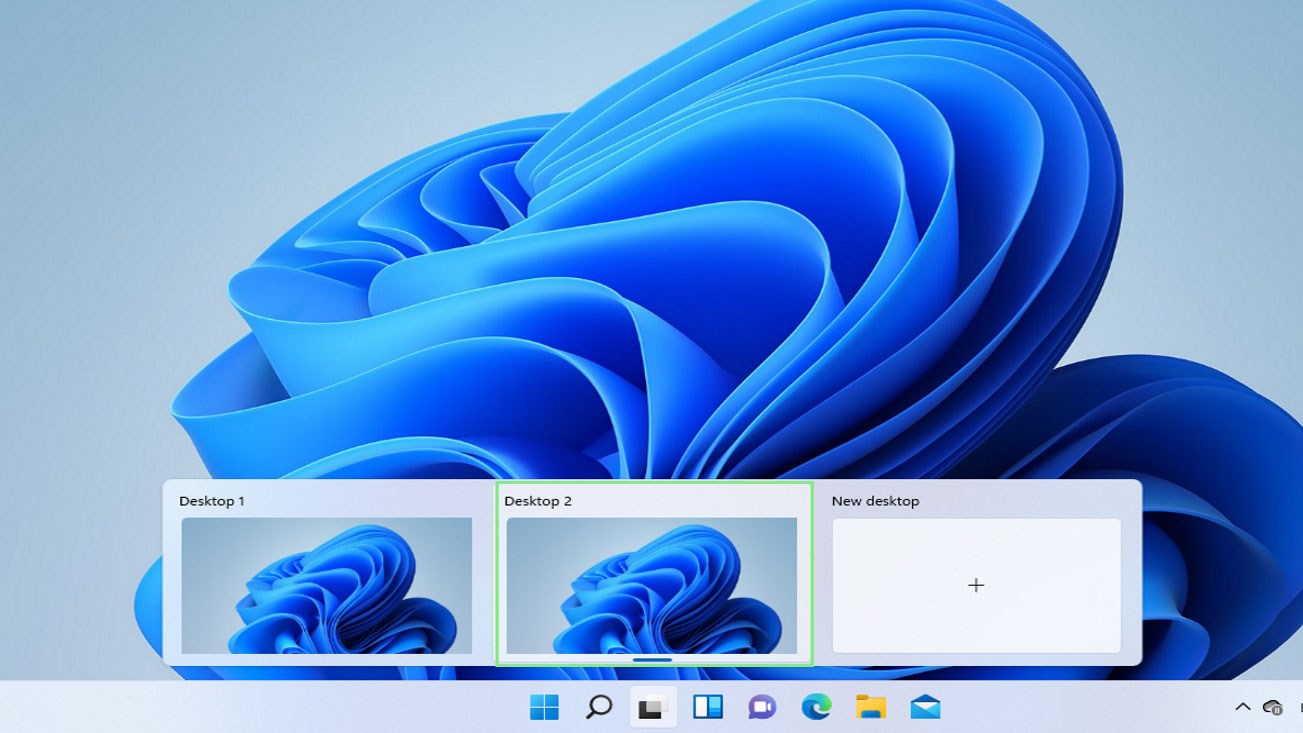
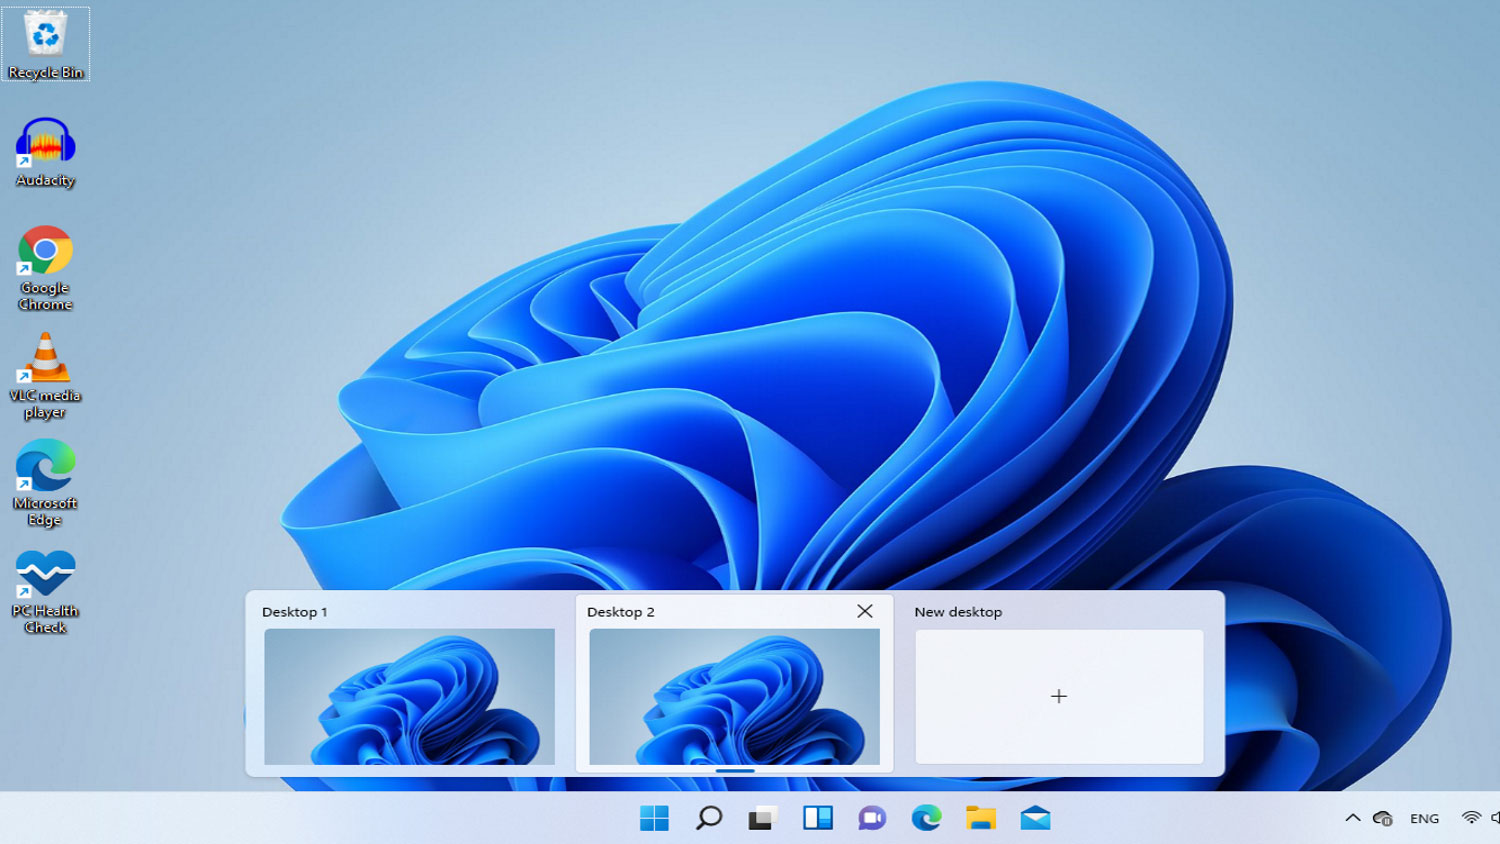
1. Hover your mouse pointer on or click the virtual desktops button on your taskbar. This should open the same menu that you saw in the guide above. But this time, you’ll see multiple active desktop screens instead of one.
2. Click on your chosen virtual desktop to jump into it.
Sign up to receive The Snapshot, a free special dispatch from Laptop Mag, in your inbox.
Alternatively, you can follow the steps below.
1. Press the Windows key and Tab on your keyboard simultaneously. This will open the Task View interface.
2. From the menu shown in the first step, use your arrow keys to select your preferred desktop.
3. Press the enter key to jump to your selected desktop.
How to Close a Virtual Desktop
1. Hover your mouse pointer on or click the virtual desktops button on your taskbar. You can also use Windows key + Tab to access the Task View interface.
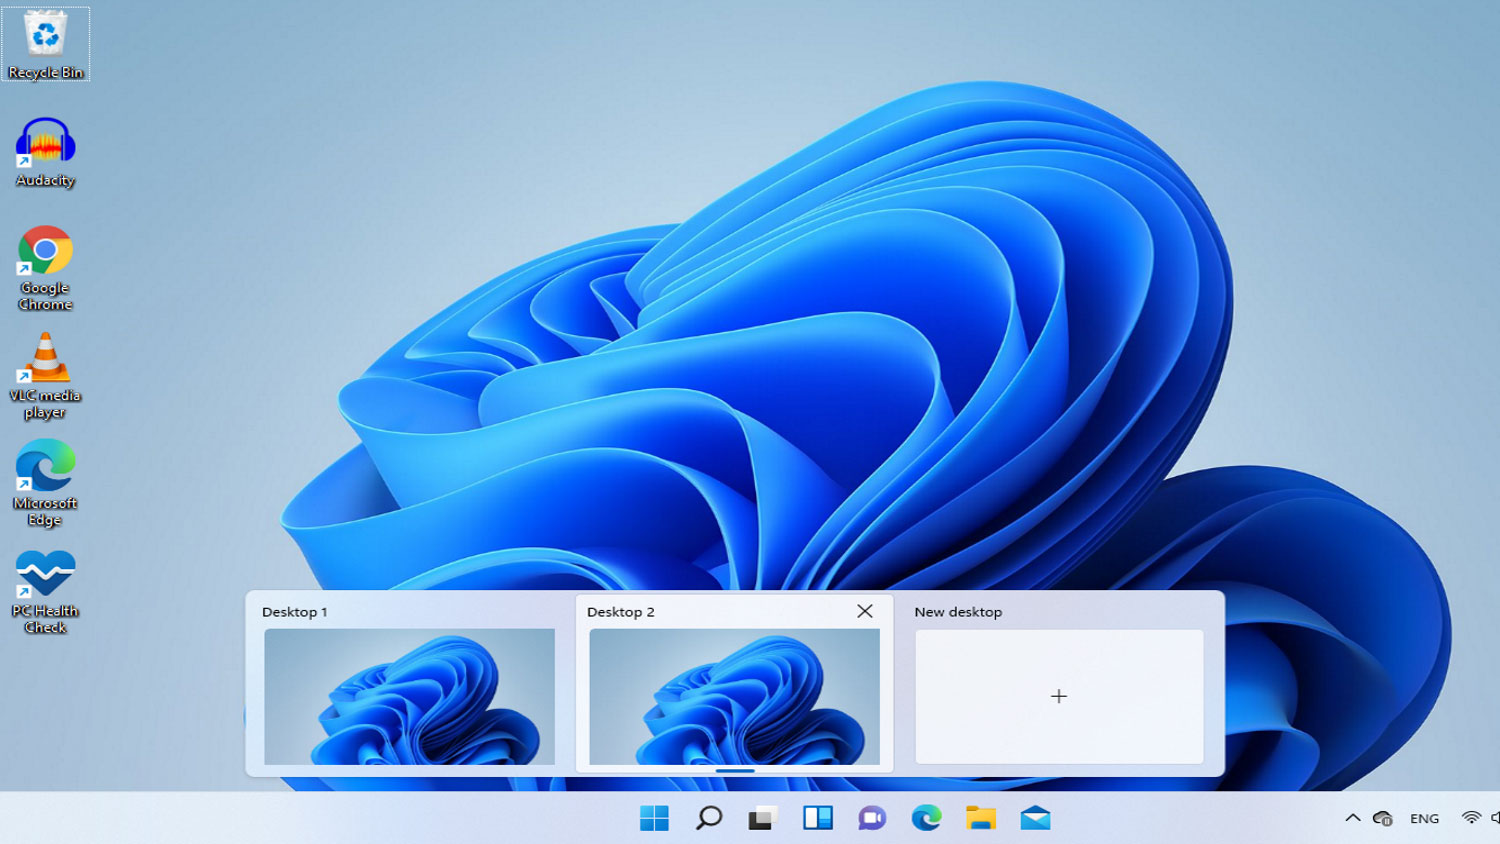
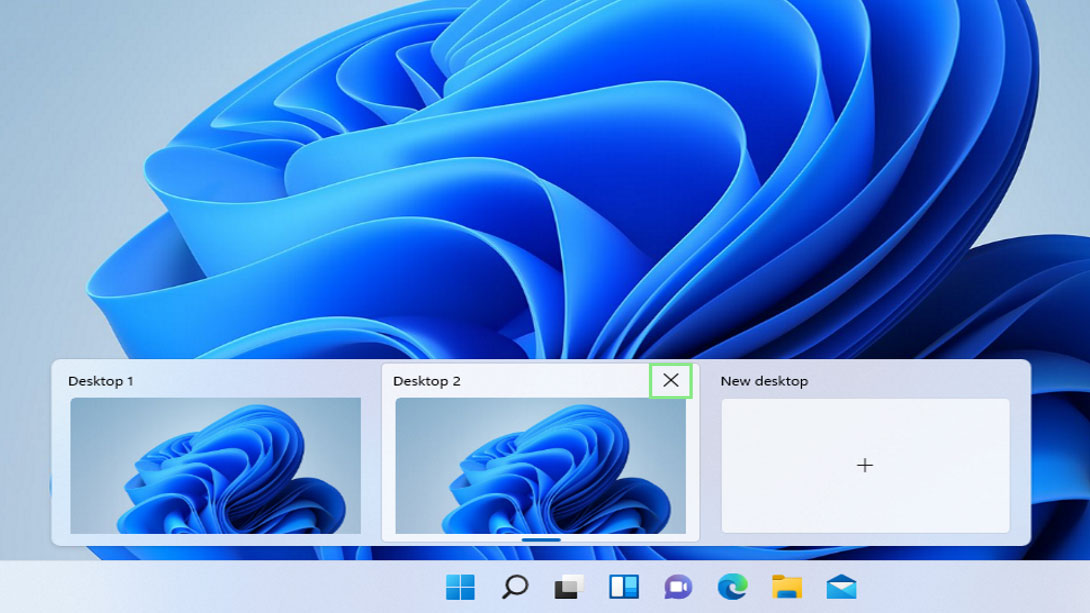
2. Hover your mouse on the virtual desktop you wish to close. Doing so will show a close button at the top-left corner of the virtual desktop’s thumbnail.
3. Click the close button. After your virtual desktop is closed, all running foreground programs will be moved to the desktop immediately preceding it. This means that you do not have to worry about accidentally closing your workflow.
Bryan covers everything you need to know about Windows, social media, and the internet at large for Laptop Mag. Thanks to his extensive knowledge of operating systems and some of the most popular software out there, Bryan has written hundreds of helpful guides, including tips related to Windows 11 drivers, upgrading to a newer version of the OS, editing in Microsoft Photos, or rearranging pages in Google Docs.
