The Mac Mail app is a powerhouse. It makes it easy to manage multiple accounts, from a number of different email providers. You can easily add filters, smart folders, and quickly unsubscribe from annoying mailing lists in just a few clicks.
But like all email applications, it isn’t always effective at stopping spam. Using the Unsubscribe feature, of course, is usually the easiest way to get rid of mail from unwanted senders, though it doesn’t mean they’ll actually remove you from their lists. In this case, the best course of action is blocking the sender entirely.
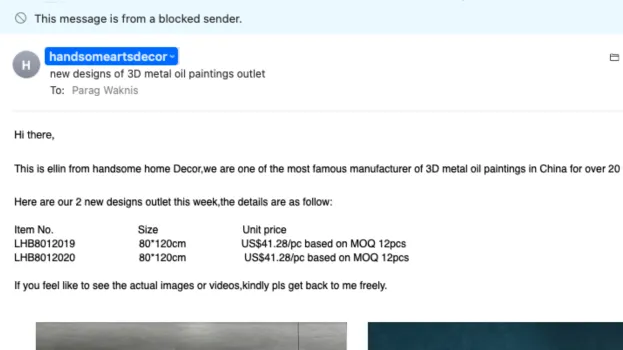
The Block Sender icon appears next to the sender and the message is tagged as blocked. If later you would like to start receiving emails, you can easily unblock them as well.
Article continues below
1) Click Launchpad on the Dock.
2) Open Mail from the Launchpad.

3) Search the email or sender you want to block.

4) In the email, right-click on the name of the sender you want to block.

5) Click Block from the context menu.

