For ease of access you can pin a folder or a drive to the Taskbar. This is useful if you use a drive (local or network) frequently. It can also be useful on a public device where you expect multiple people to access a drive without your guidance to search for it. In such a case, the pinned drive can be labelled appropriately so that users intuitively understand where to click.
1) Right-click on the desktop to open the context menu.

2) Select New to create a new shortcut.
Article continues below 
3) Select Shortcut to create a shortcut for the drive.

4) In the location field, type the drive letter.

5) Click Next to complete the process.

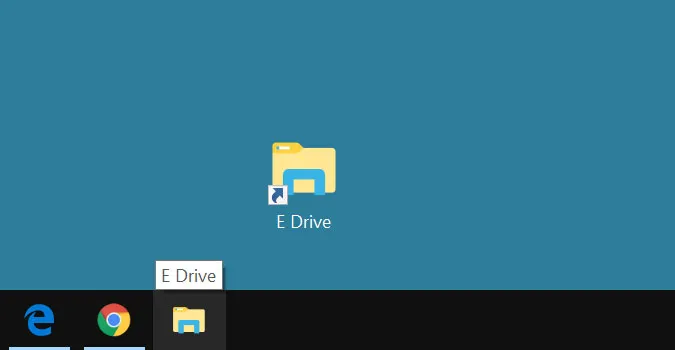
6) Right-click the shortcut created on the desktop.

7) In the menu, click Properties.

8) In the Properties dialogue box, under the Shortcut tab, type explorer before the drive letter.

9) Click Apply to accept the change.

10) Click OK to close the window.

11) Right-click on the edited shortcut icon.

12) In the menu that opens, select Pin to Taskbar.

