There’s no such thing as a perfect photo. Sometimes it’s realizing an image that looked great on your viewfinder or phone screen in person could use a better crop once you see it on your monitor. For this, there’s no need for fancy image editing tools. You don’t even need to open the built-in Photos app. As long as you’re a macOS user, you can handle simple edits like these using Preview.
Preview comes with all Macs and has a fairly straightforward image editor for simple edits like this. You can also use Preview to annotate the image or resize it. There’s really no need to open Photoshop, or even Photos, when all you need to do is crop, resize, or make simple edits.
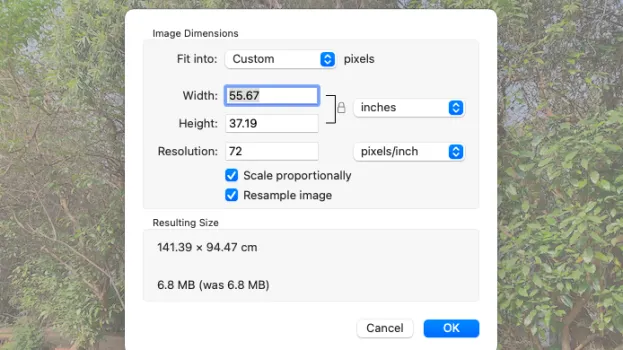
One quick note about resizing: Make sure the option to “scale proportionally” is selected. This ensures that when you change the values for one dimension -- height, for example -- the other dimension (width) changes with it. Skip this and you’ll be left with a warped image.
Article continues belowAs for resizing, make sure to deselect the option to “resample image” if your goal is to maintain the original image quality.
Crop an image
1) Double-click the image to open it in Preview.

2) Drag the mouse across the image to define the area of the image you want to crop.

3) Click Tools on the menu bar, to open the menu.

4) In the Tools menu, click Crop.

Resize an image
1) Click Tools on the menu bar.
2) In the Tools menu, select Adjust Size.

3) Type a new value in the width of the image.

4) Click OK to confirm the changes.

