How to Resize Columns or Rows with Precision in Excel
Everyone knows the simplest way to resize a row or column in Microsoft Excel is to simply click and drag it to the desired size, letting go of the mouse button only after you’ve reached the desired result. But aside from the numerical help that pops up as tooltips (the inch measurements seen as you’re dragging the bar left, right, up, or down), this really doesn’t offer much precision. Besides, it’s slow, and a manual process that requires doing it for each column or row you want to resize.
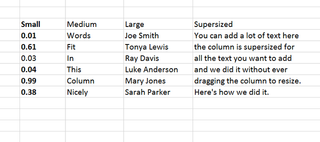
There’s a better way.
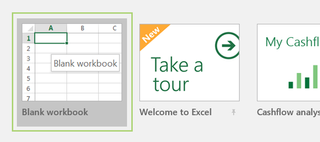
1. Open Excel and choose a document to load. I’m going to load a Blank workbook, for the sake of this guide.
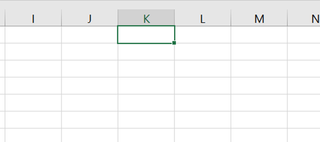
2. Place the mouse pointer inside a cell and click to select it.
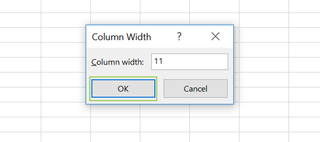
3. Click the Format icon in the ribbon (on the right side) and select Column Width (or Row height if you want to change the height of a Row instead).
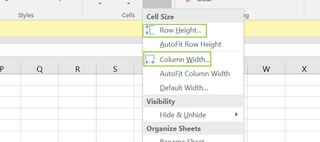
4. Enter the desired width, and press OK.
To do this for all columns, instead of a single one, keep reading.
Stay in the know with Laptop Mag
Get our in-depth reviews, helpful tips, great deals, and the biggest news stories delivered to your inbox.
1. Select an area by clicking in one cell, and dragging the highlighted portion to span the entire width and height of the section you’d like to resize.

2. Repeat steps 3 and 4.
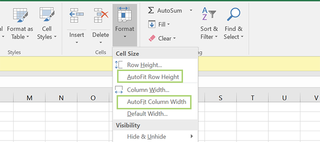
As an aside, there are also two cool tools within the Format menu (from step 3) -- AutoFit Row Height and AutoFit Column Width. These two will automatically resize the column or row to encompass the size of the characters within it. For dates, it’ll remains small, while names and URLs will grow in size to accommodate.
Microsoft Excel Tips
- Use VLOOKUP in Excel
- Back Up Files Automatically in Excel
- Remove Duplicate Data in Excel
- Create a Waterfall Chart in Excel
- Lock Cells in Excel
- Freeze Rows and Columns in Excel
- Build a Forecast Chart in Excel
- Create a Funnel Chart in Excel
- Make a Treemap in Excel
- Convert Excel Sheets to Google Sheets
- Open Google Sheets in Excel
- Combine Data from Different Cells
- Merge Cells to Span Multiple Columns
- Use AutoFill for Repetitive Data
- Copy and Paste Repetitive Data the Easy Way
- Use Text to Columns
- Draw Diagonal Line in a Cell
- Create a New Shortcut Menu
- Transpose Columns Using Paste Special
